This project was completed a few months ago, I had been meaning to piece together a blog post but I've been a little pre-occupied.
The Mini Quad

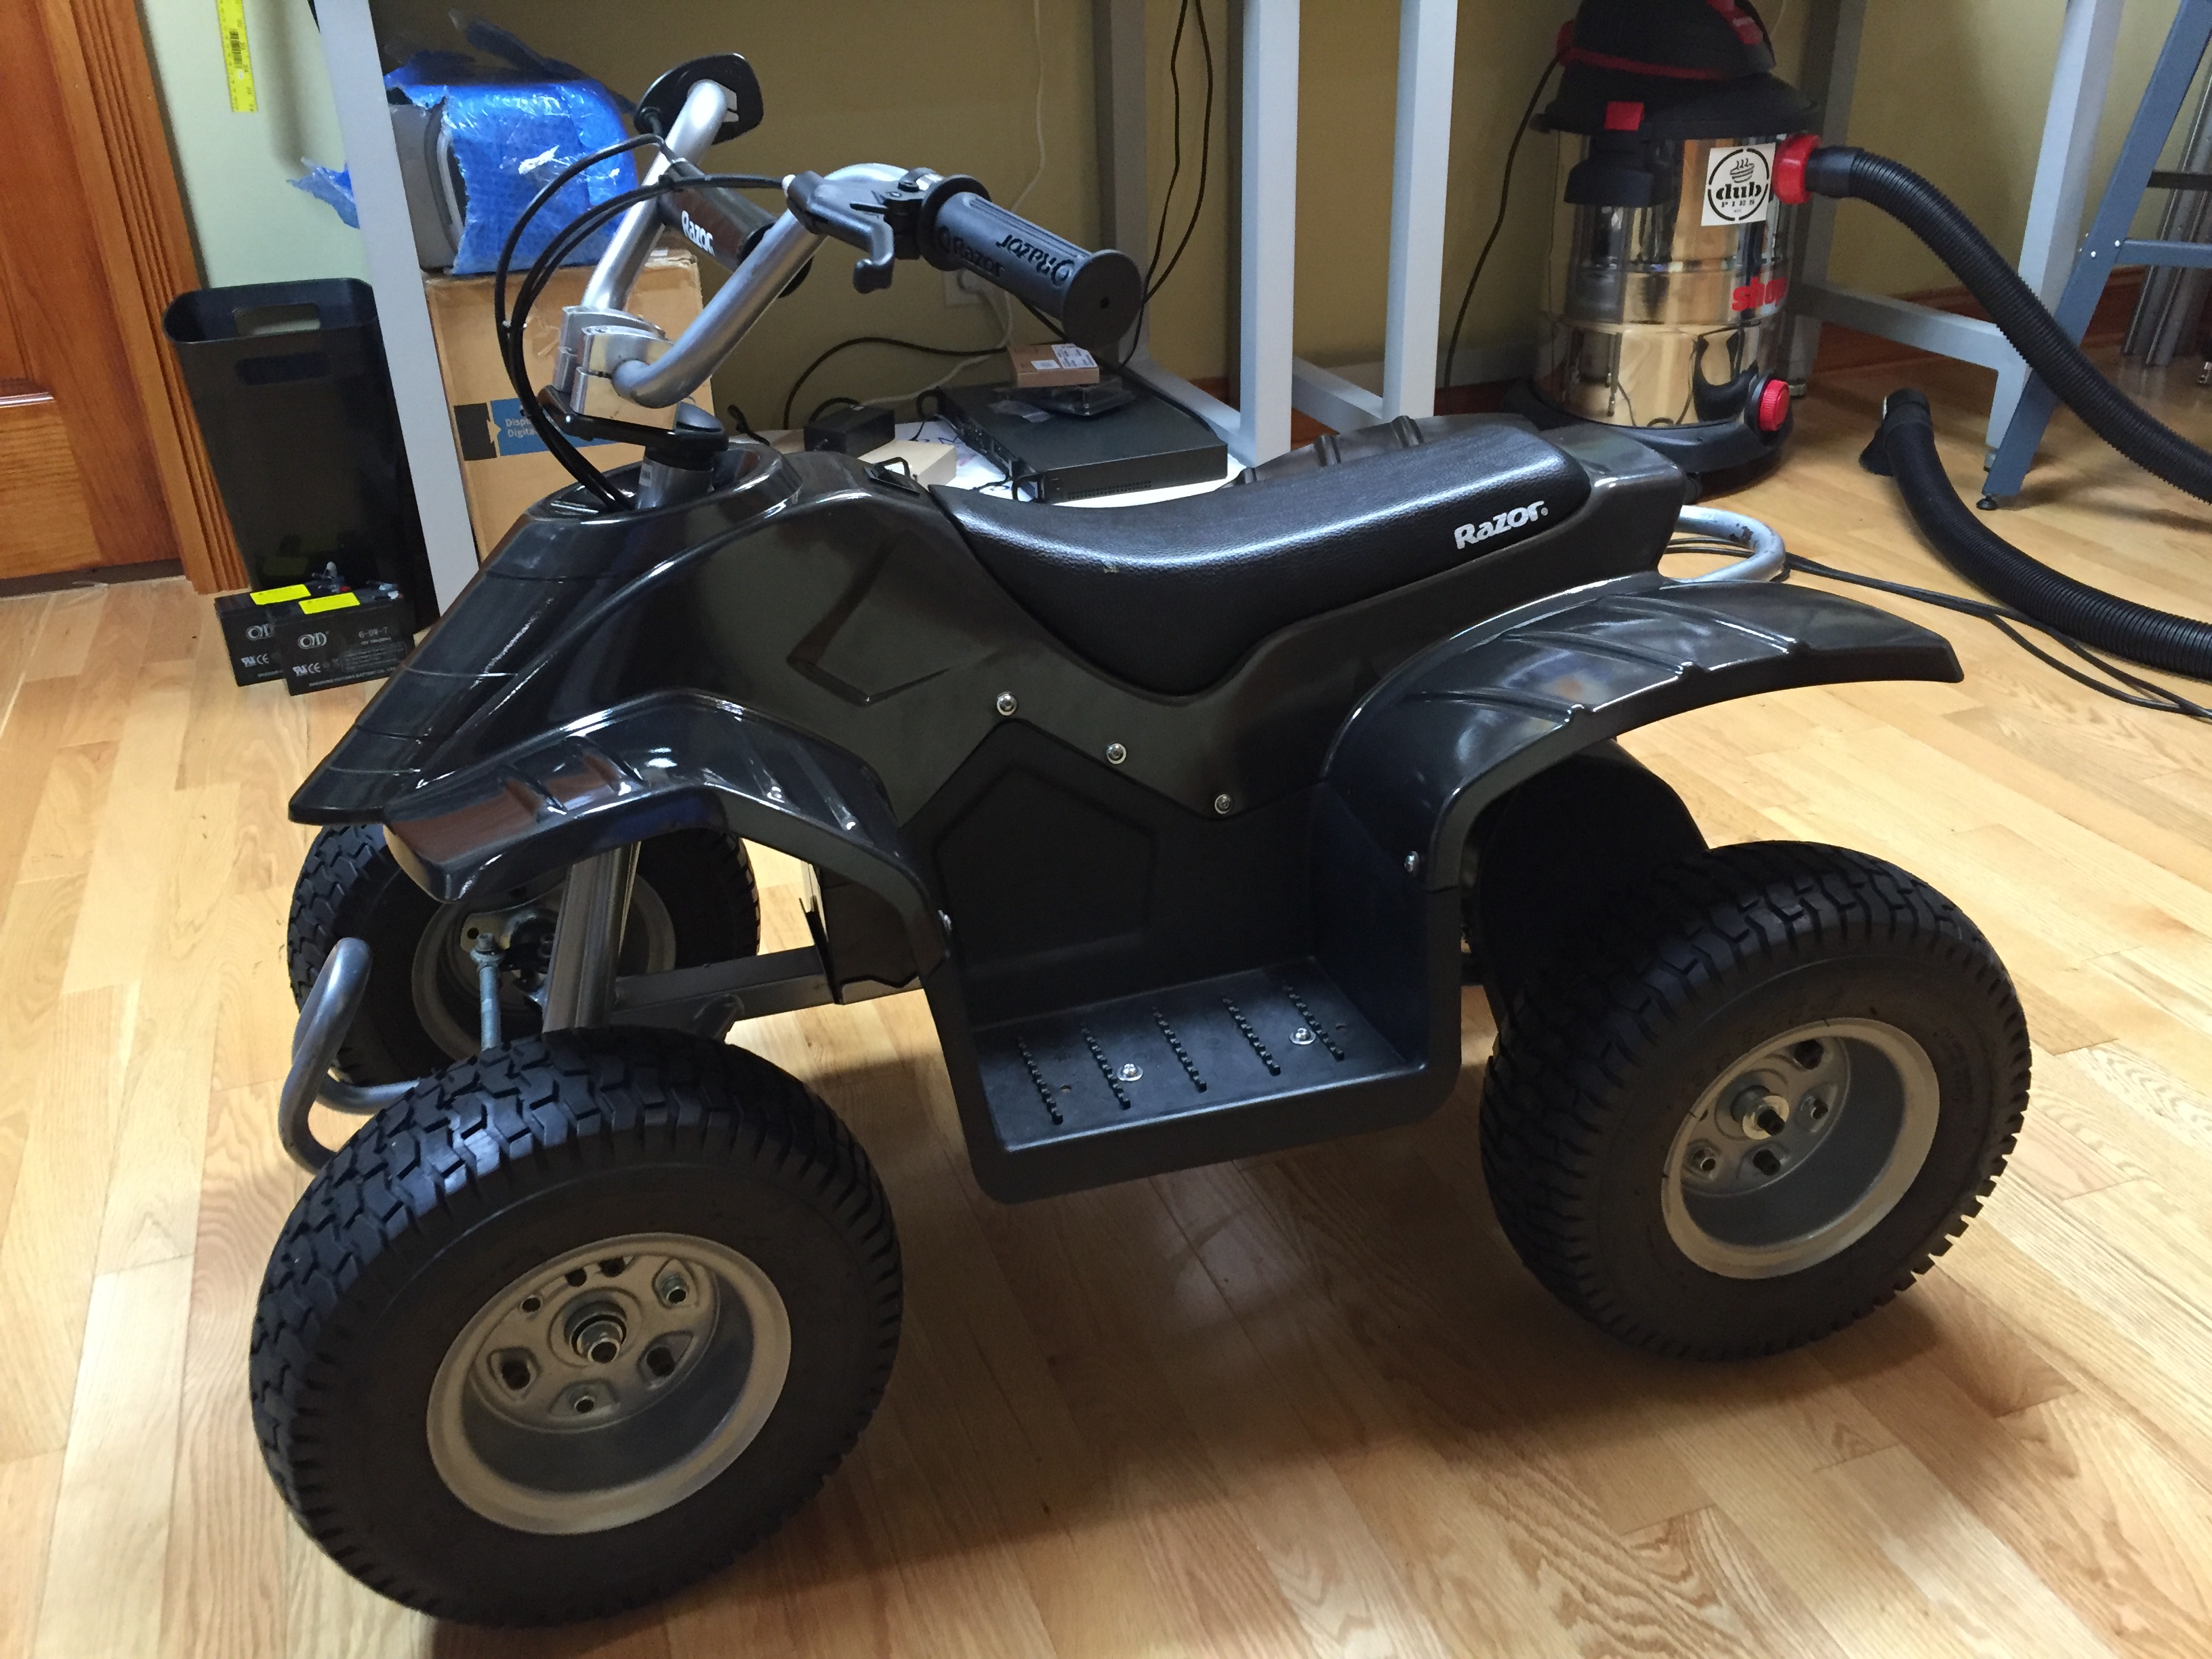
I happened across this Razor Dirt Quad while driving my kids to daycare one morning, I drove them in to town hoping that it was still going to be there on my way back. Much to my delight it was! It's a heavy little thing, but easily fit in the back of my Toyota Highlander.
At first inspection there didn't seem like there could be much wrong with it. The batteries seemed dead, the charger port was hanging loose, there wasn't a charger, and it was missing a few small pieces.
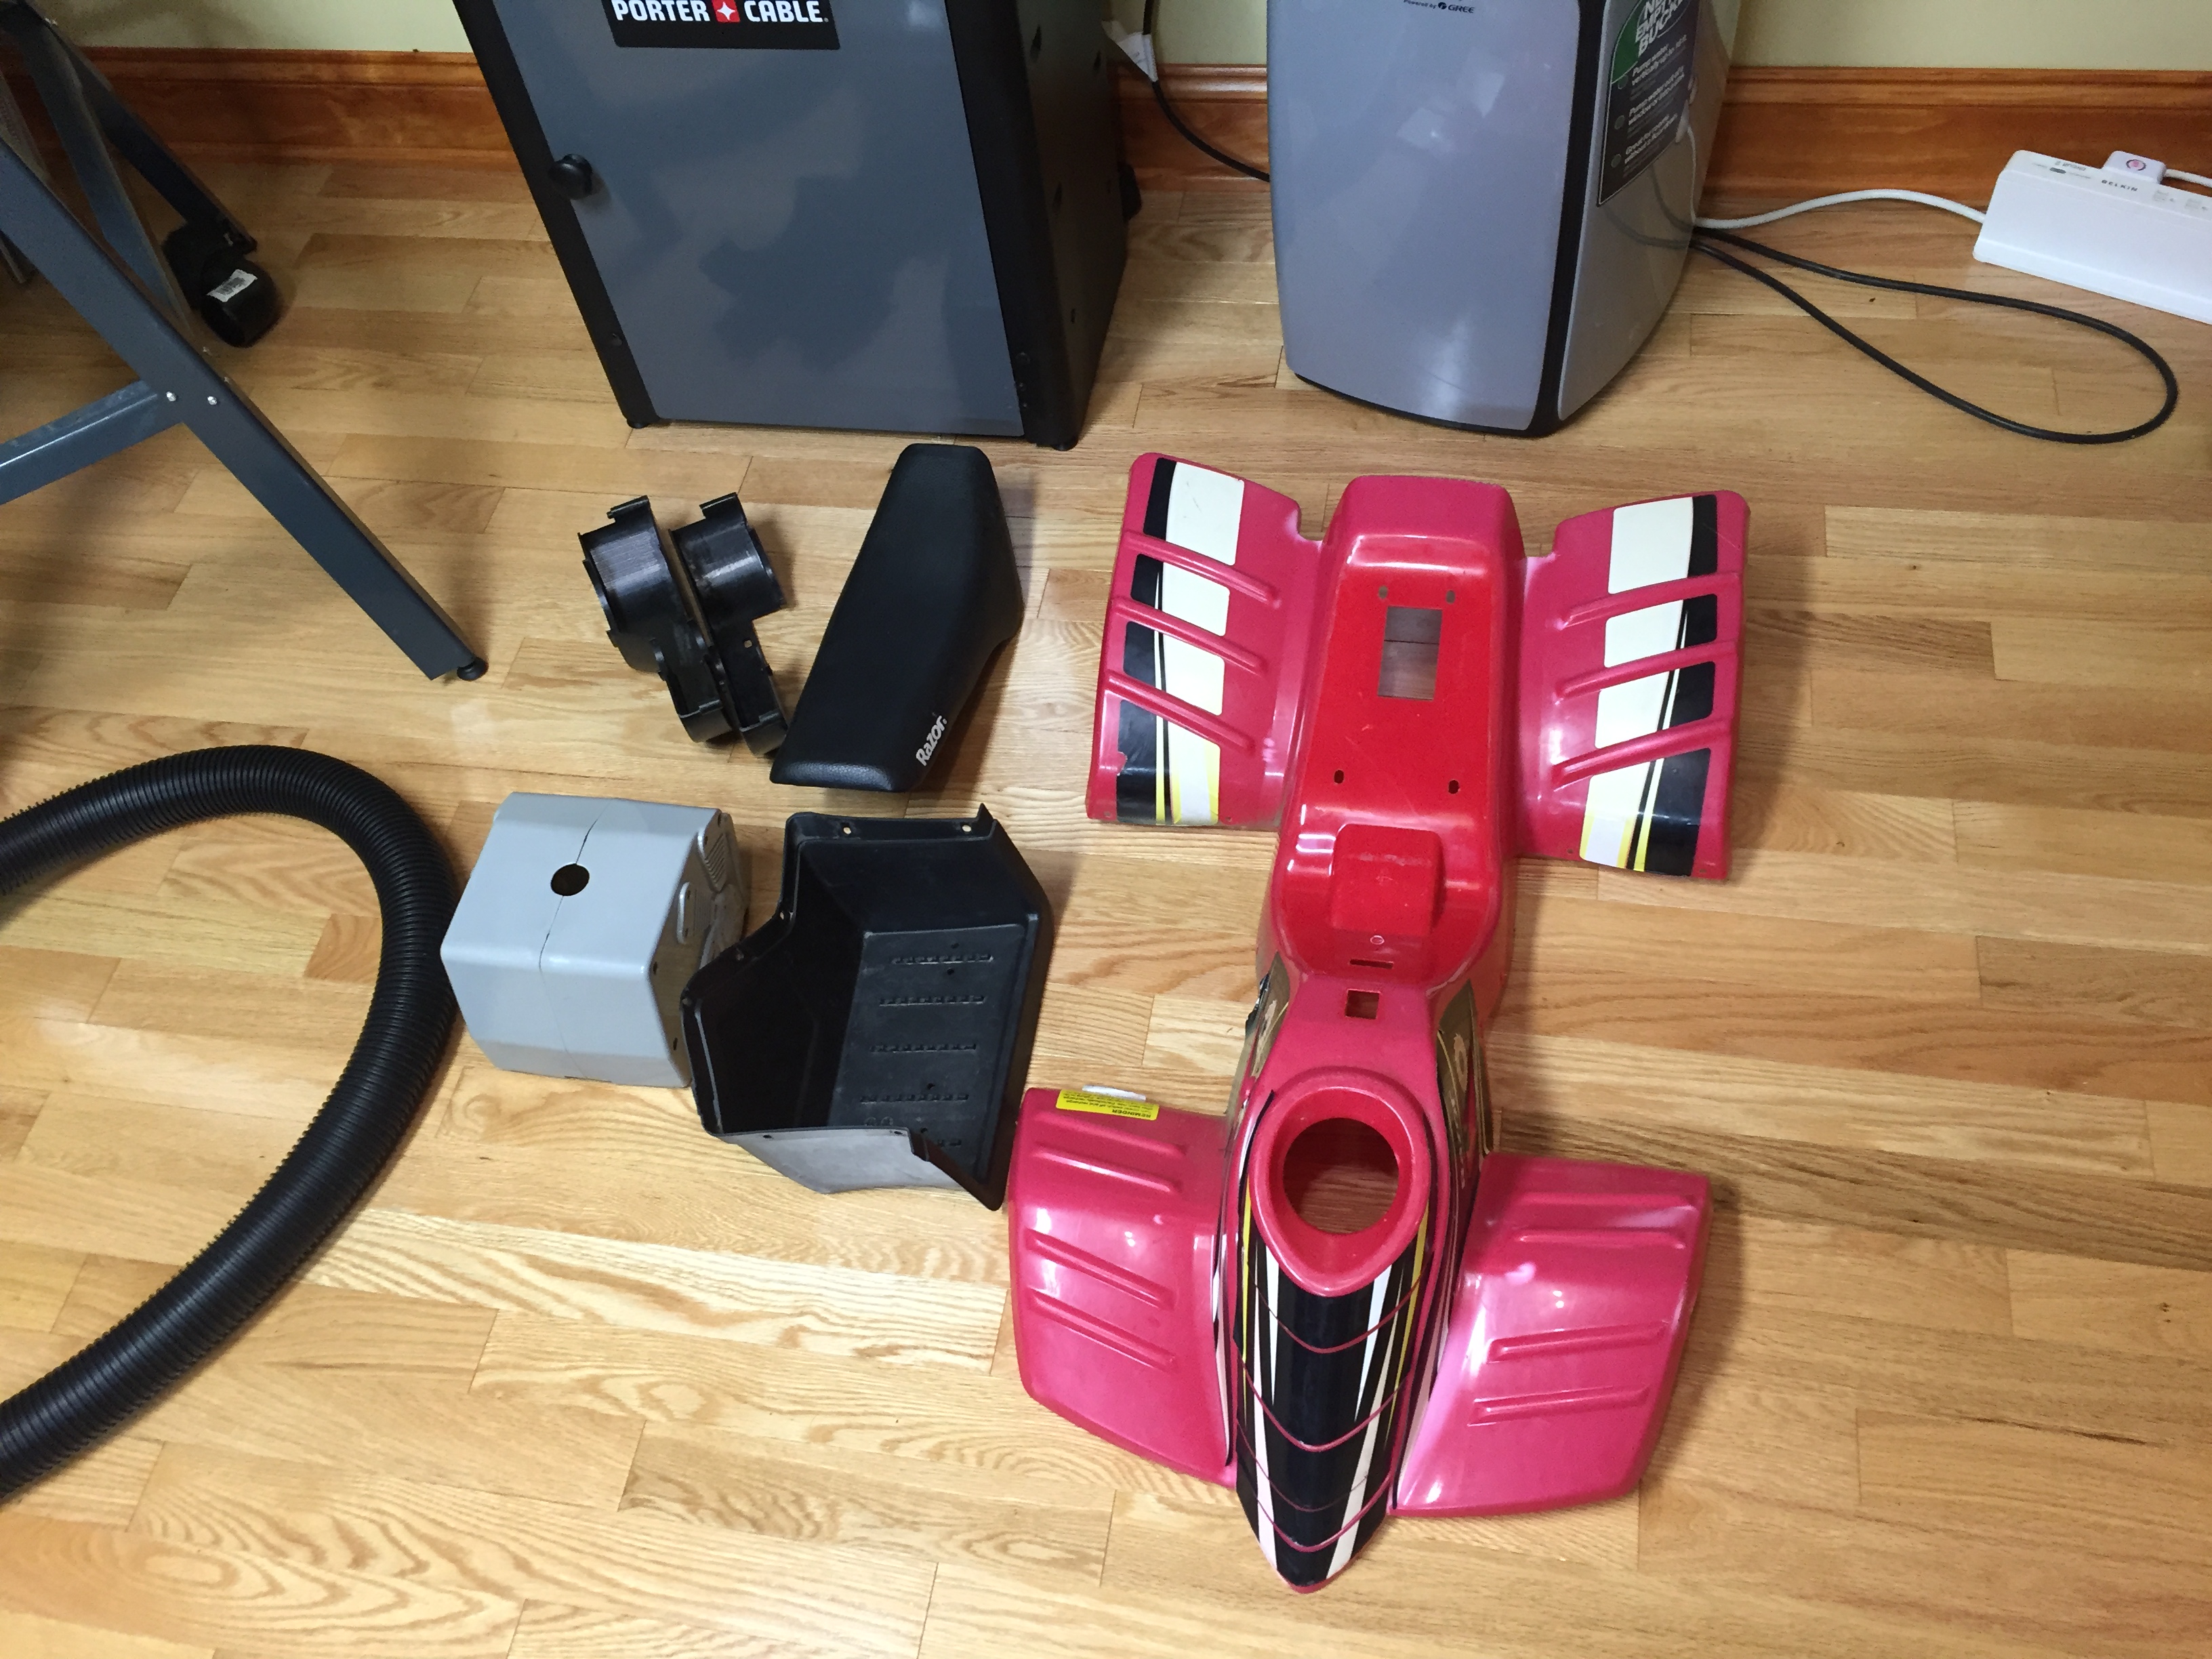
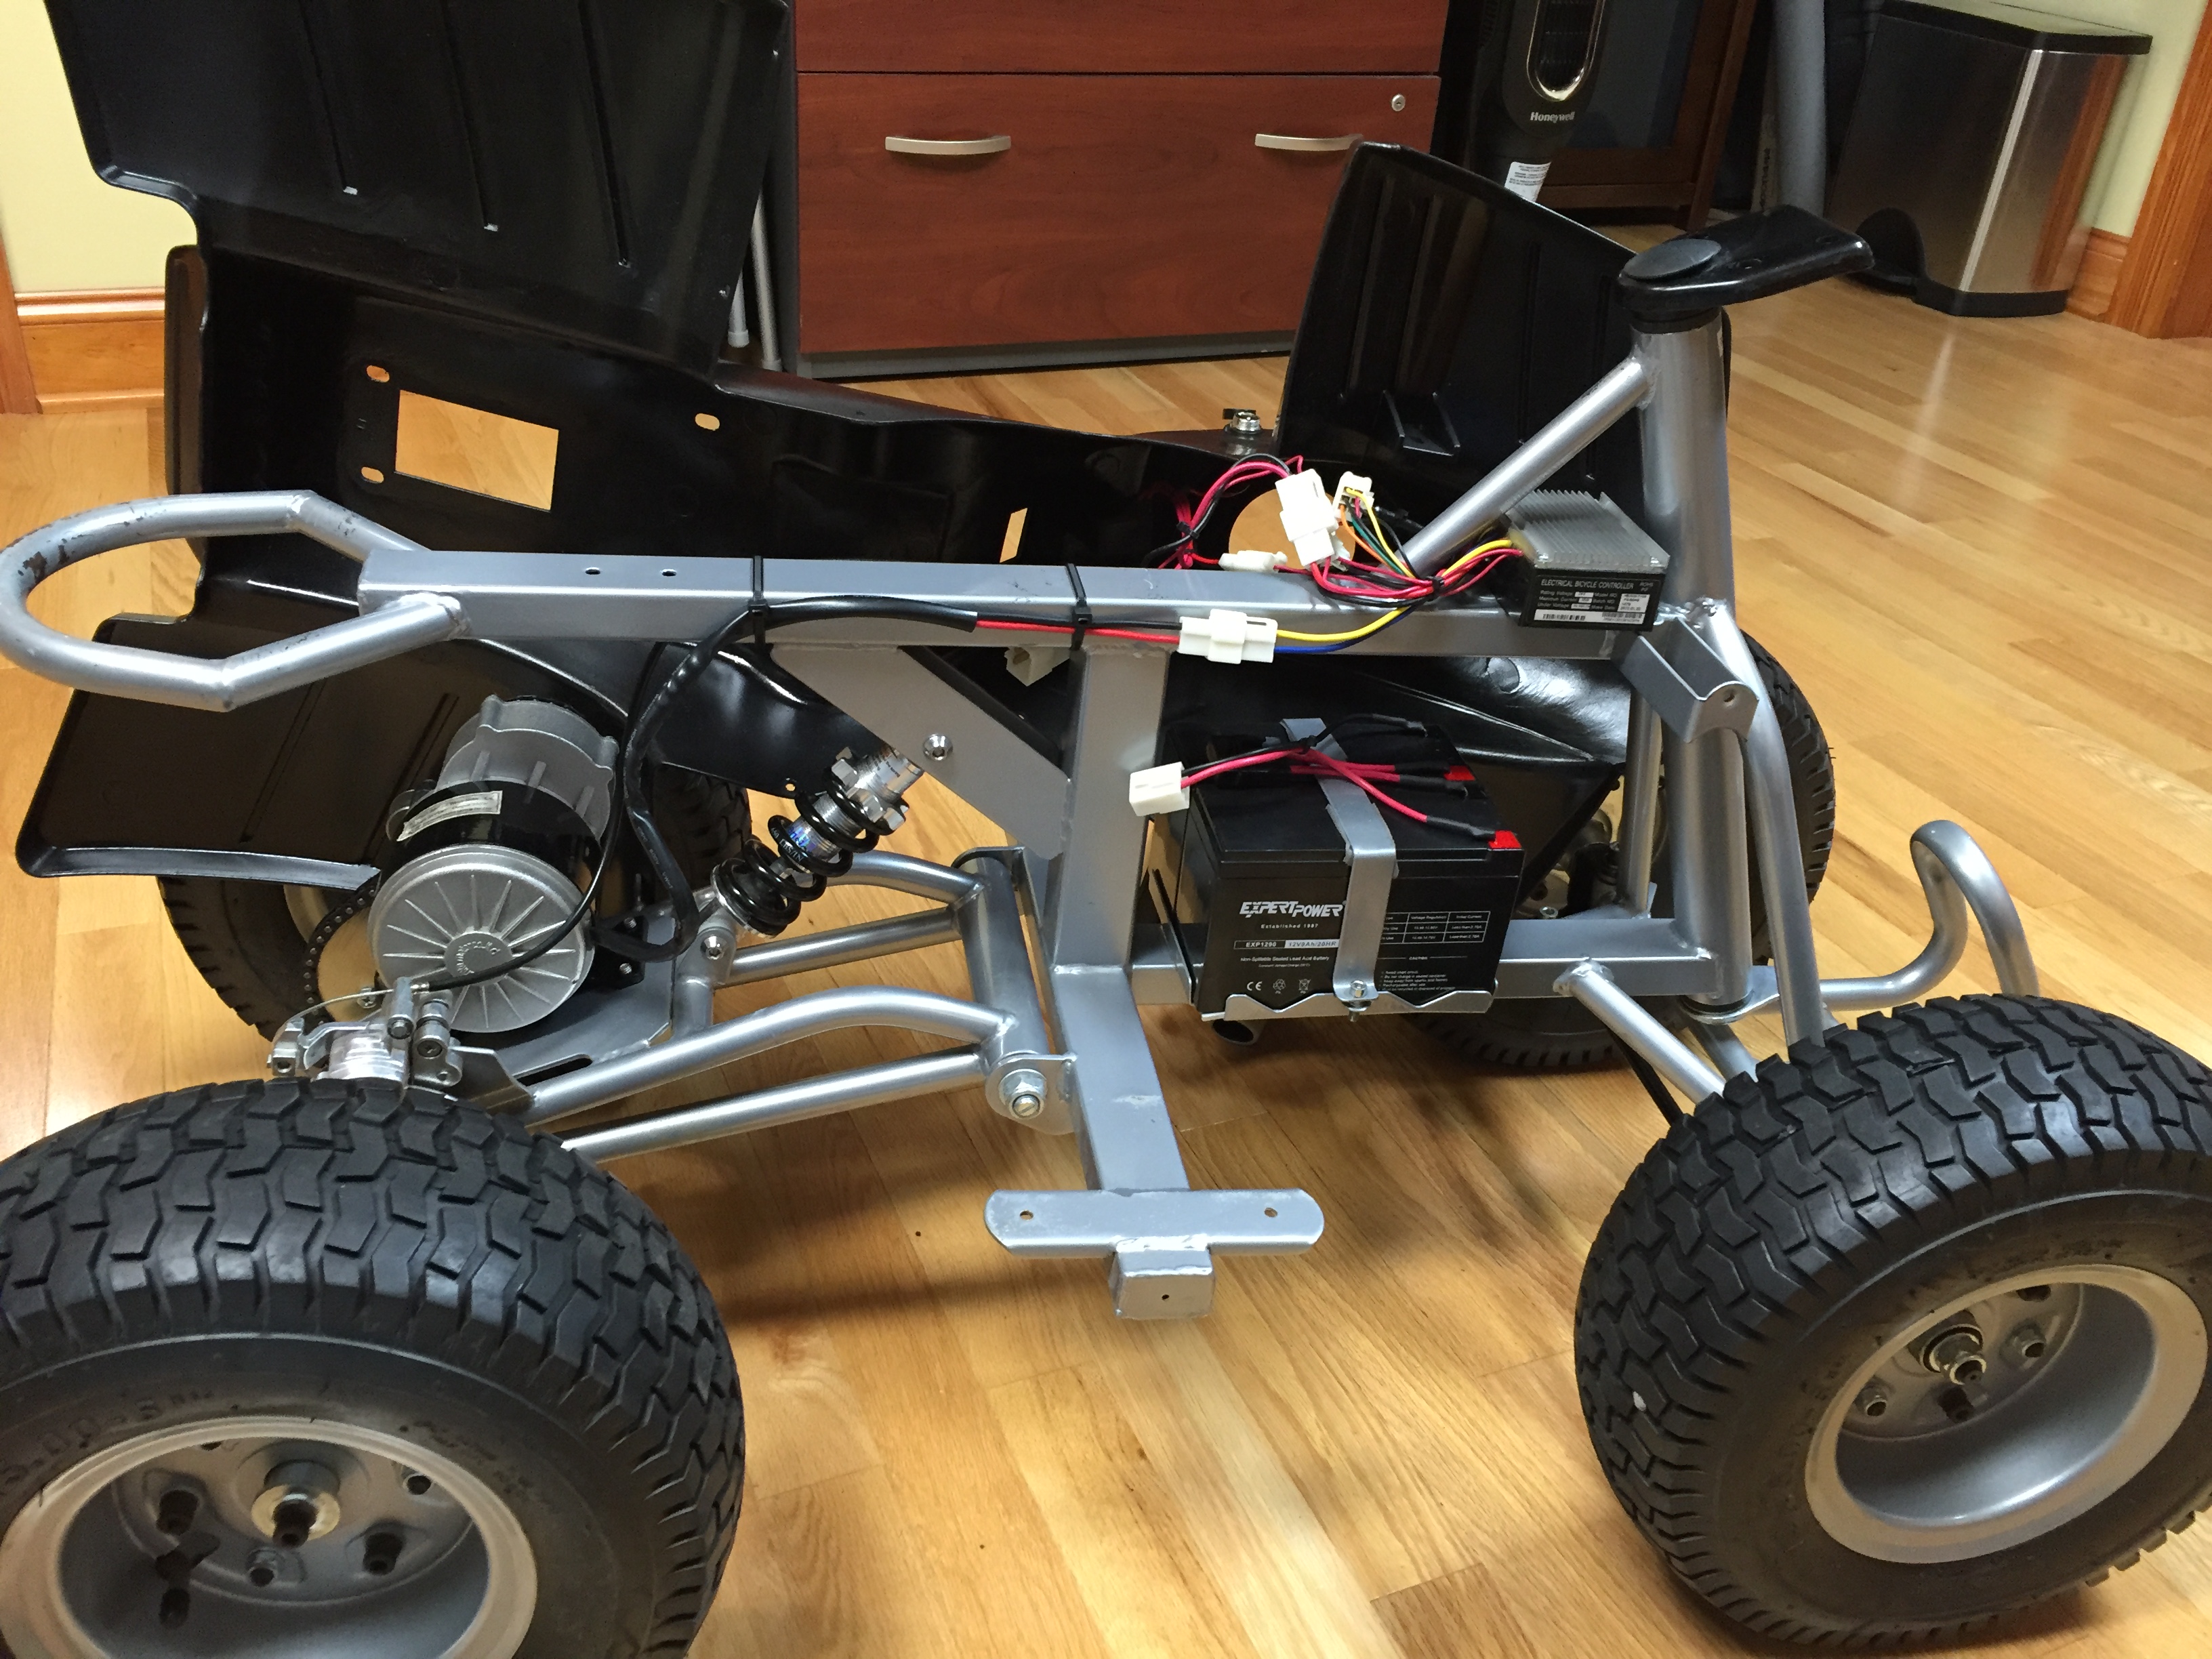
Stripping it down
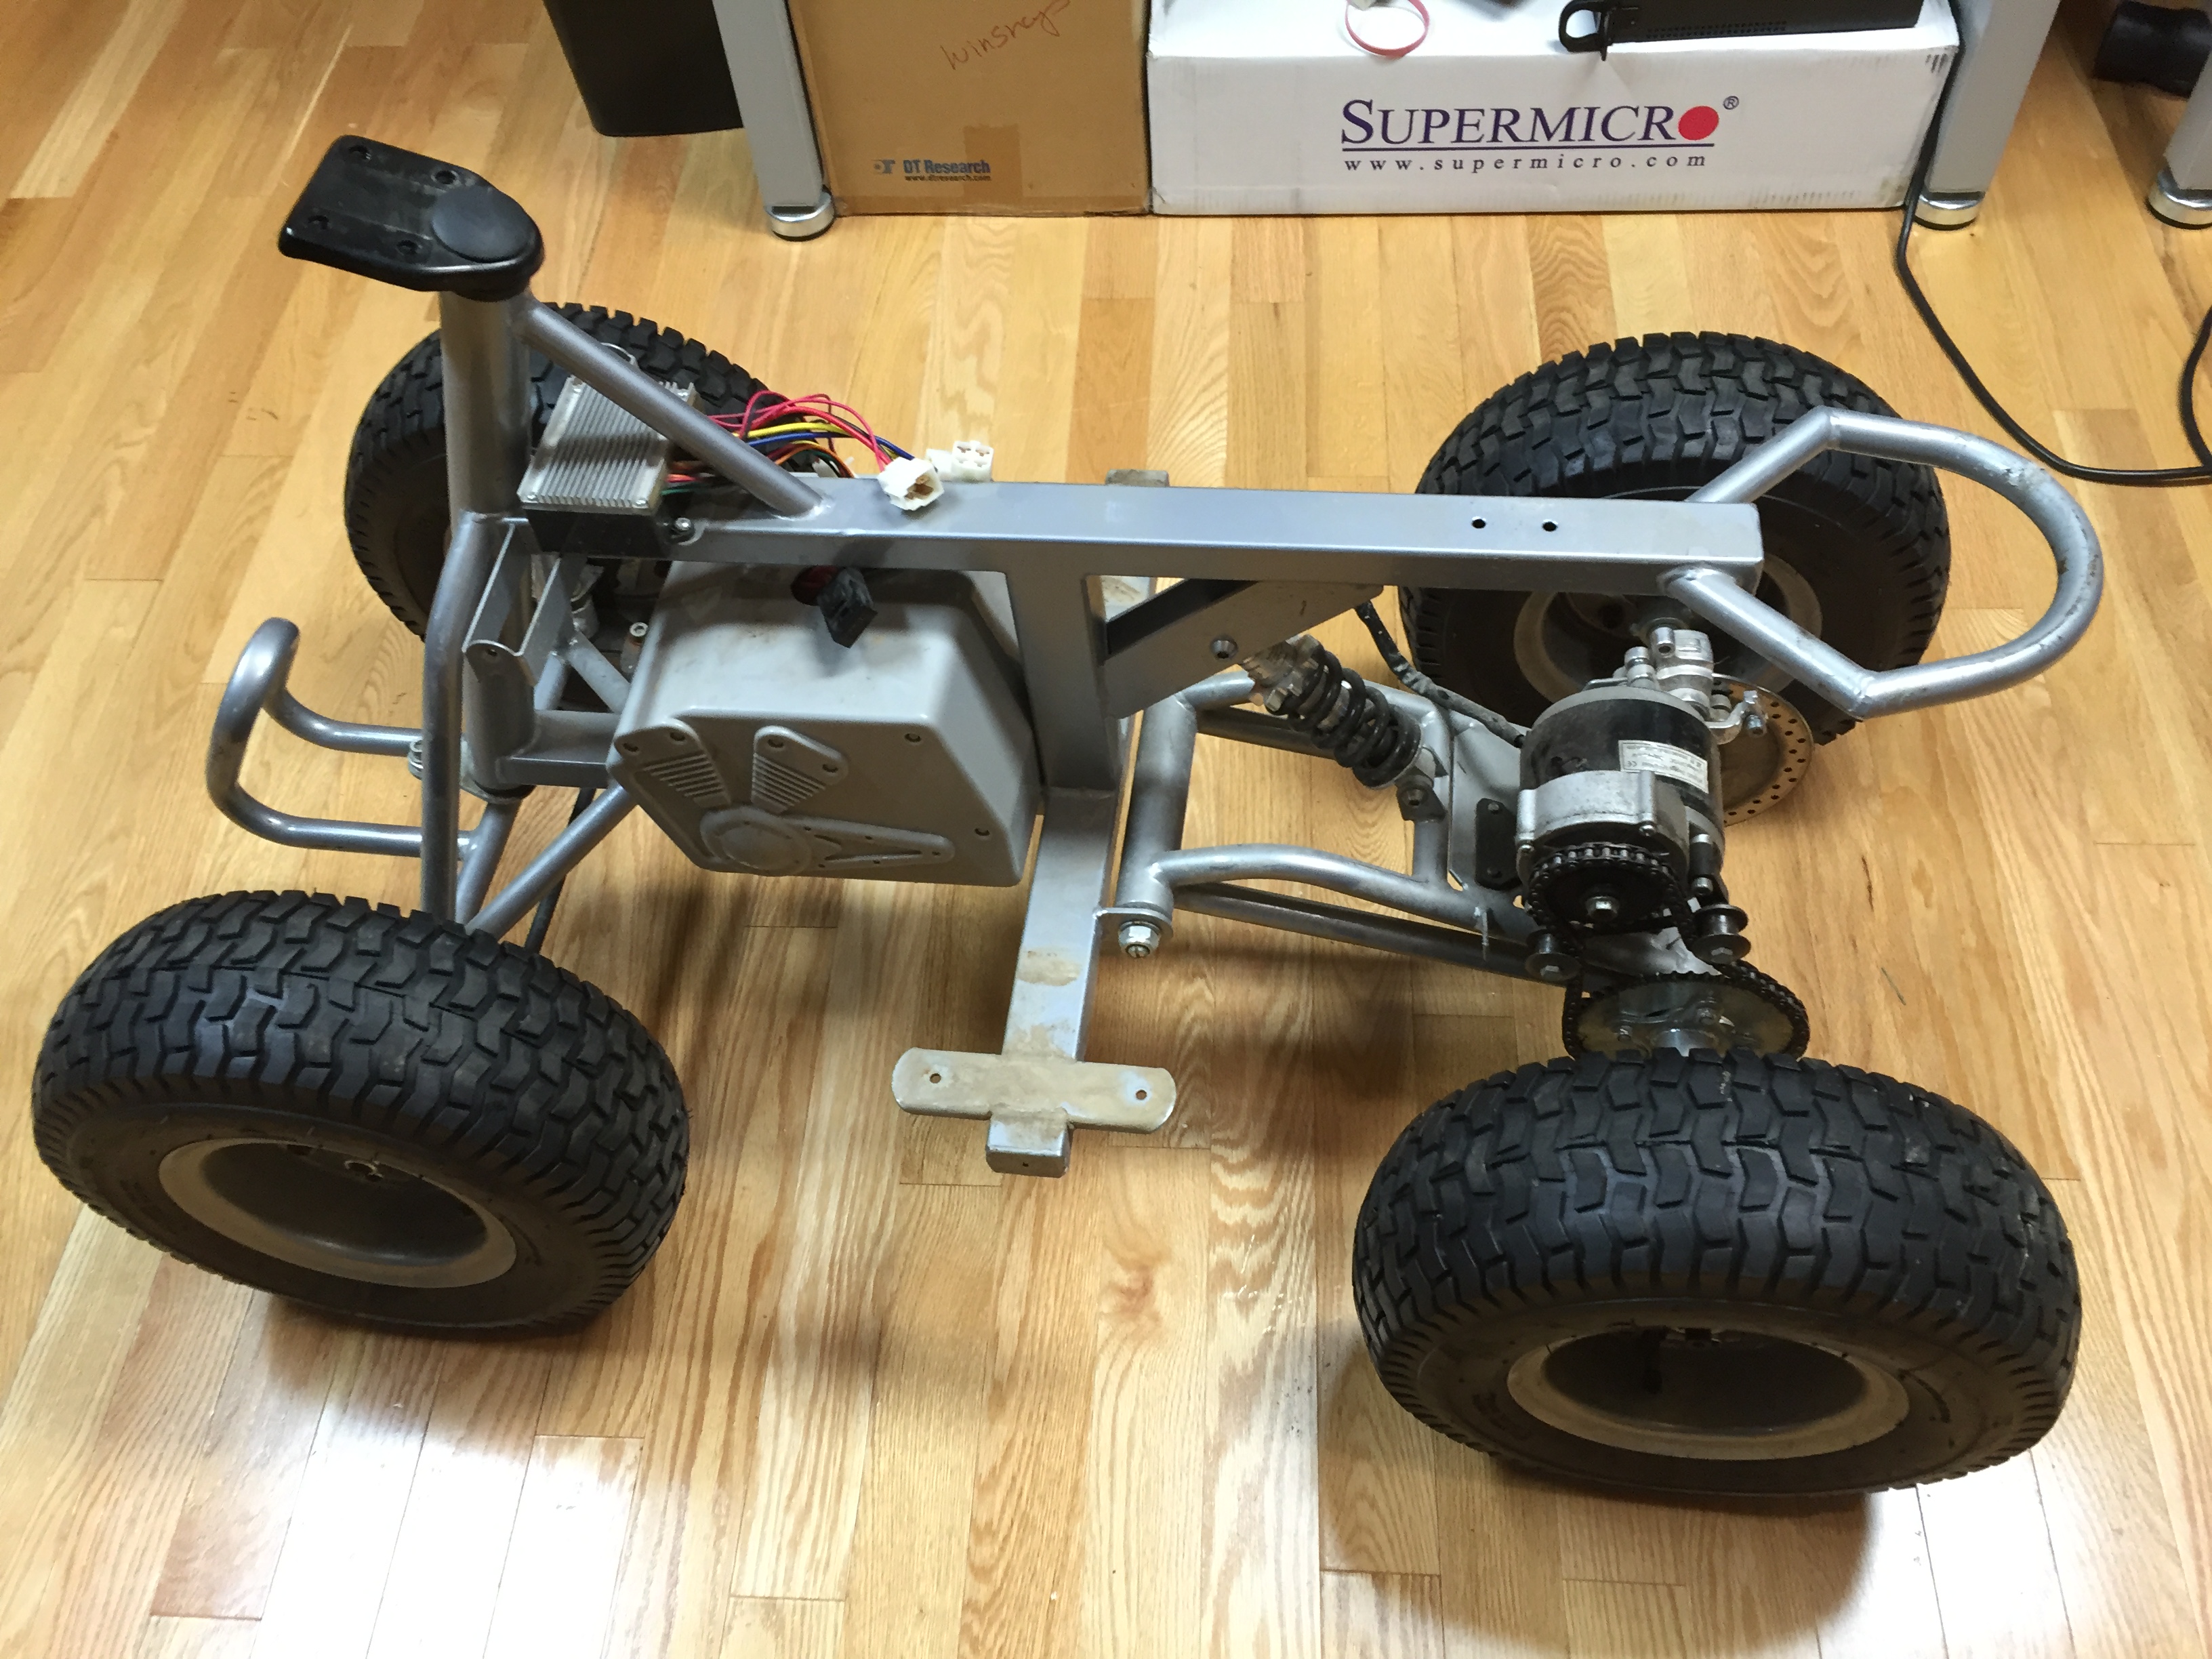
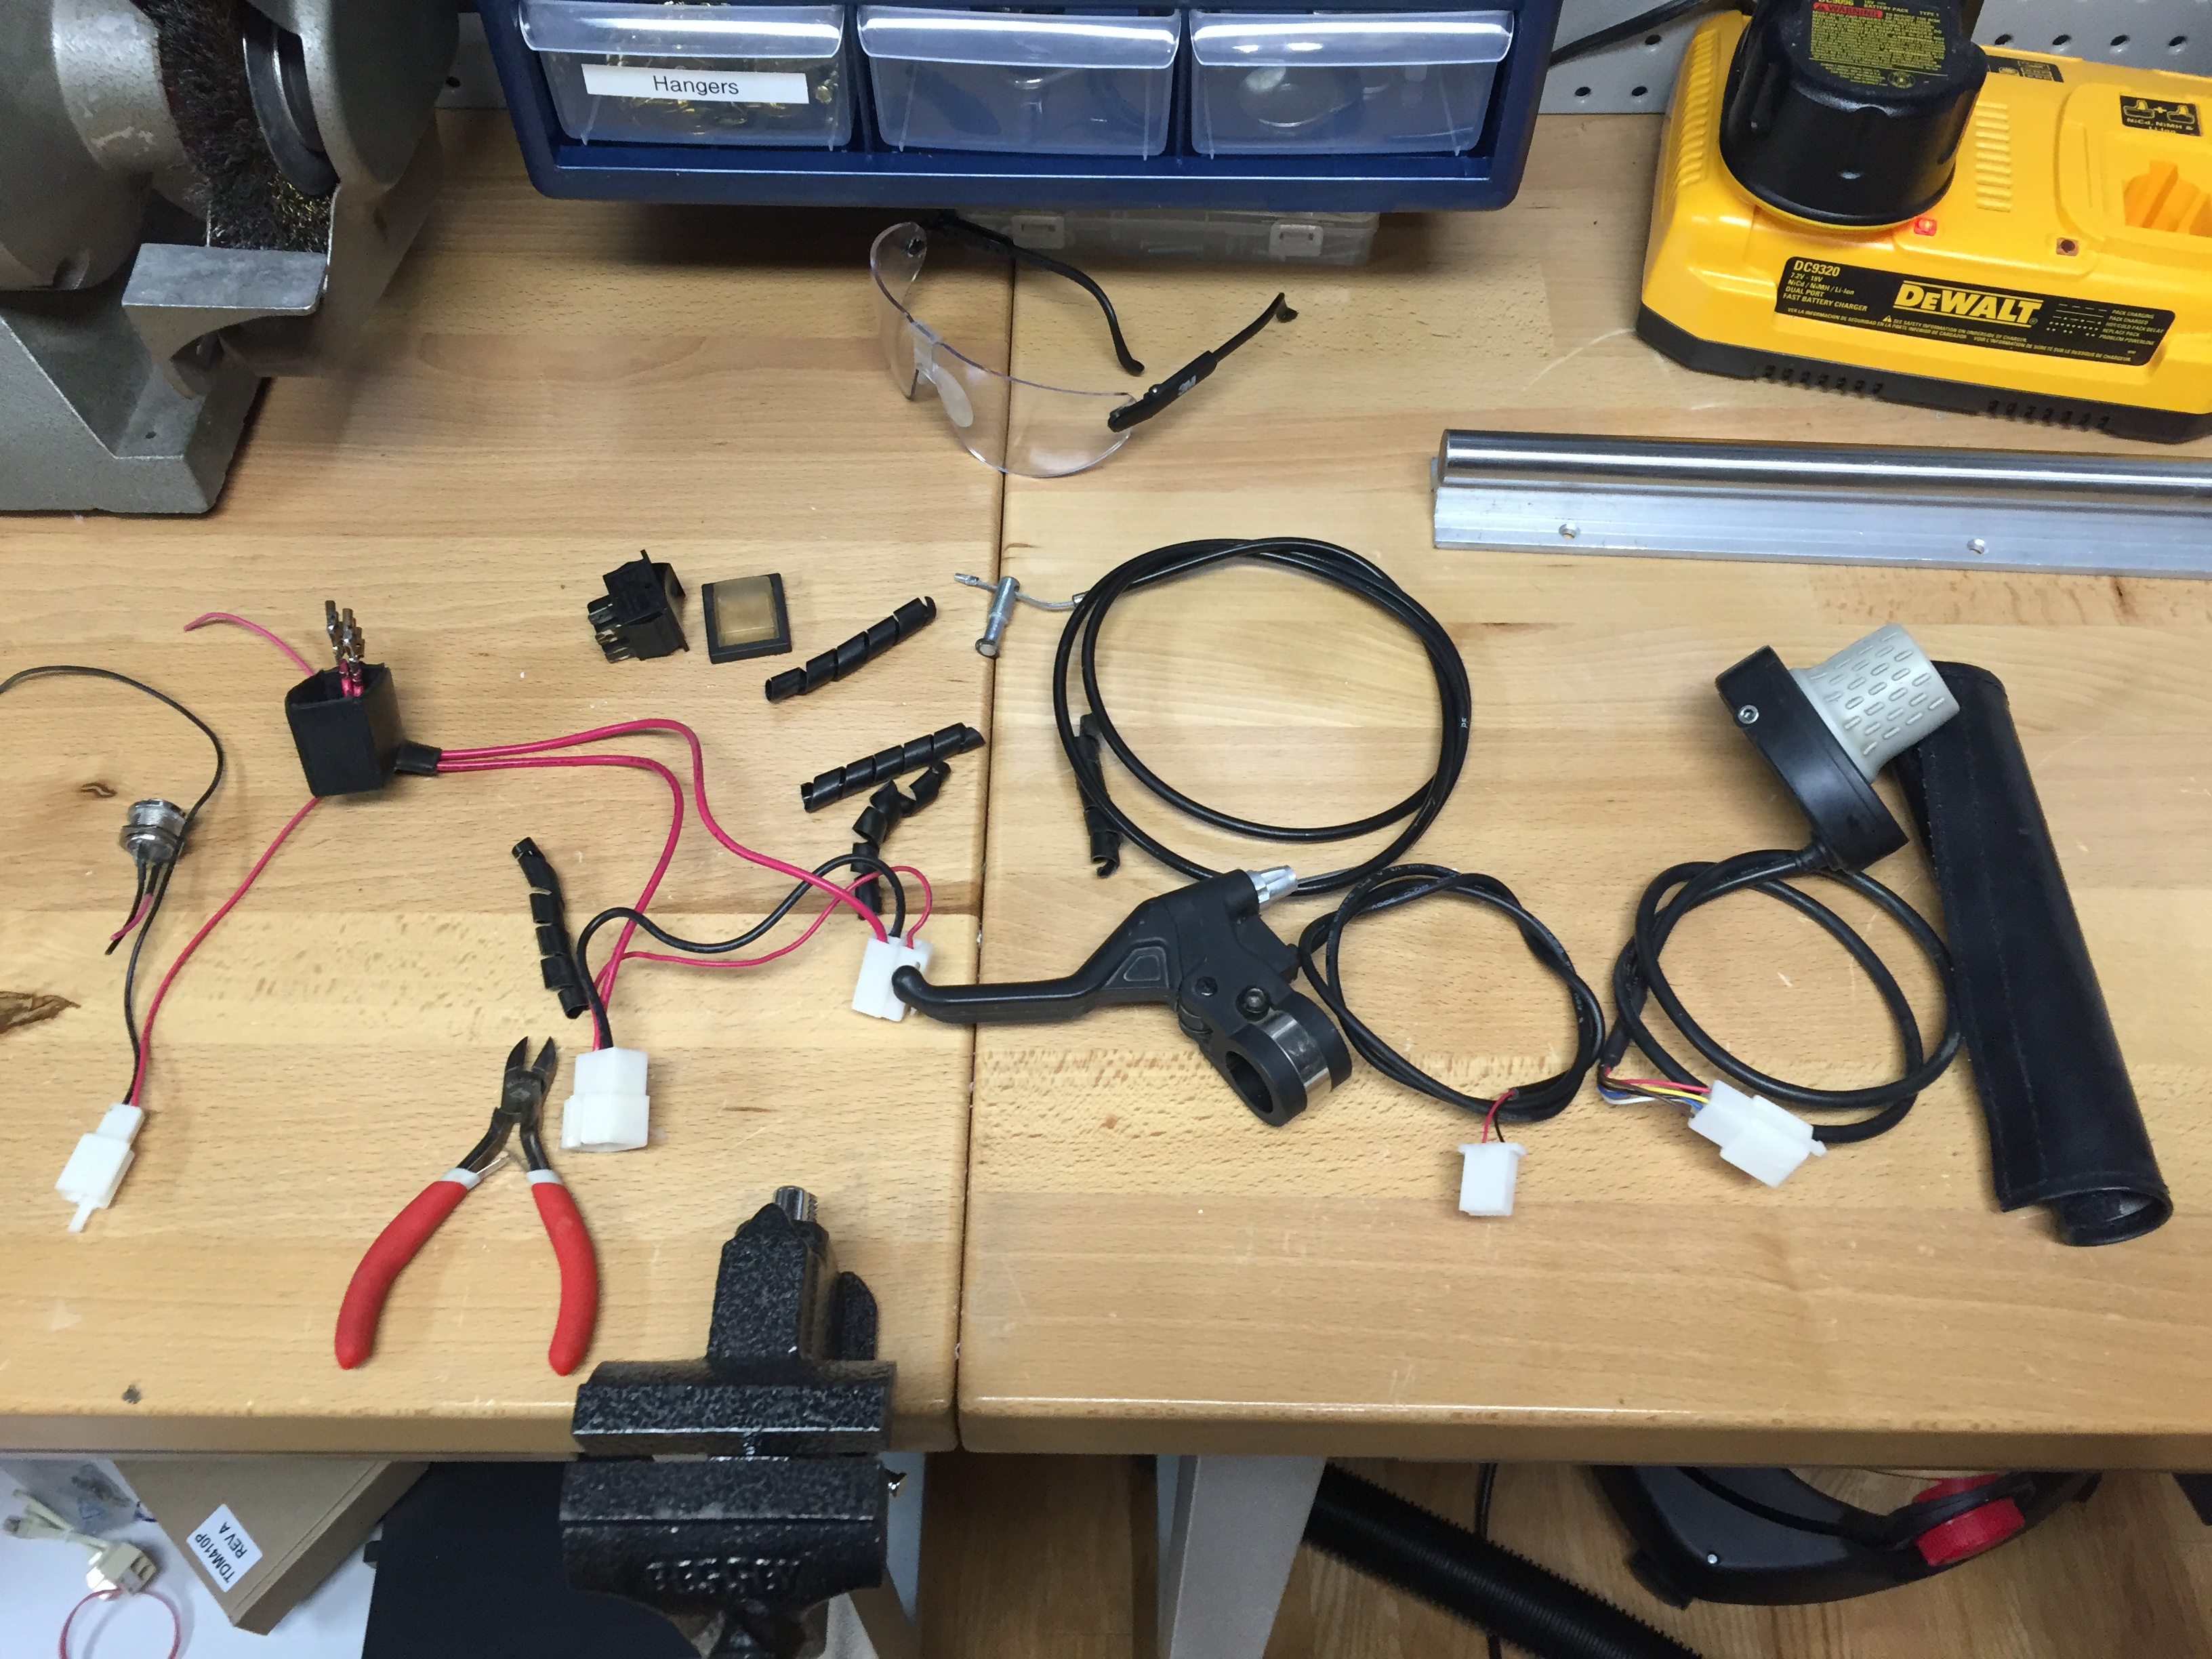
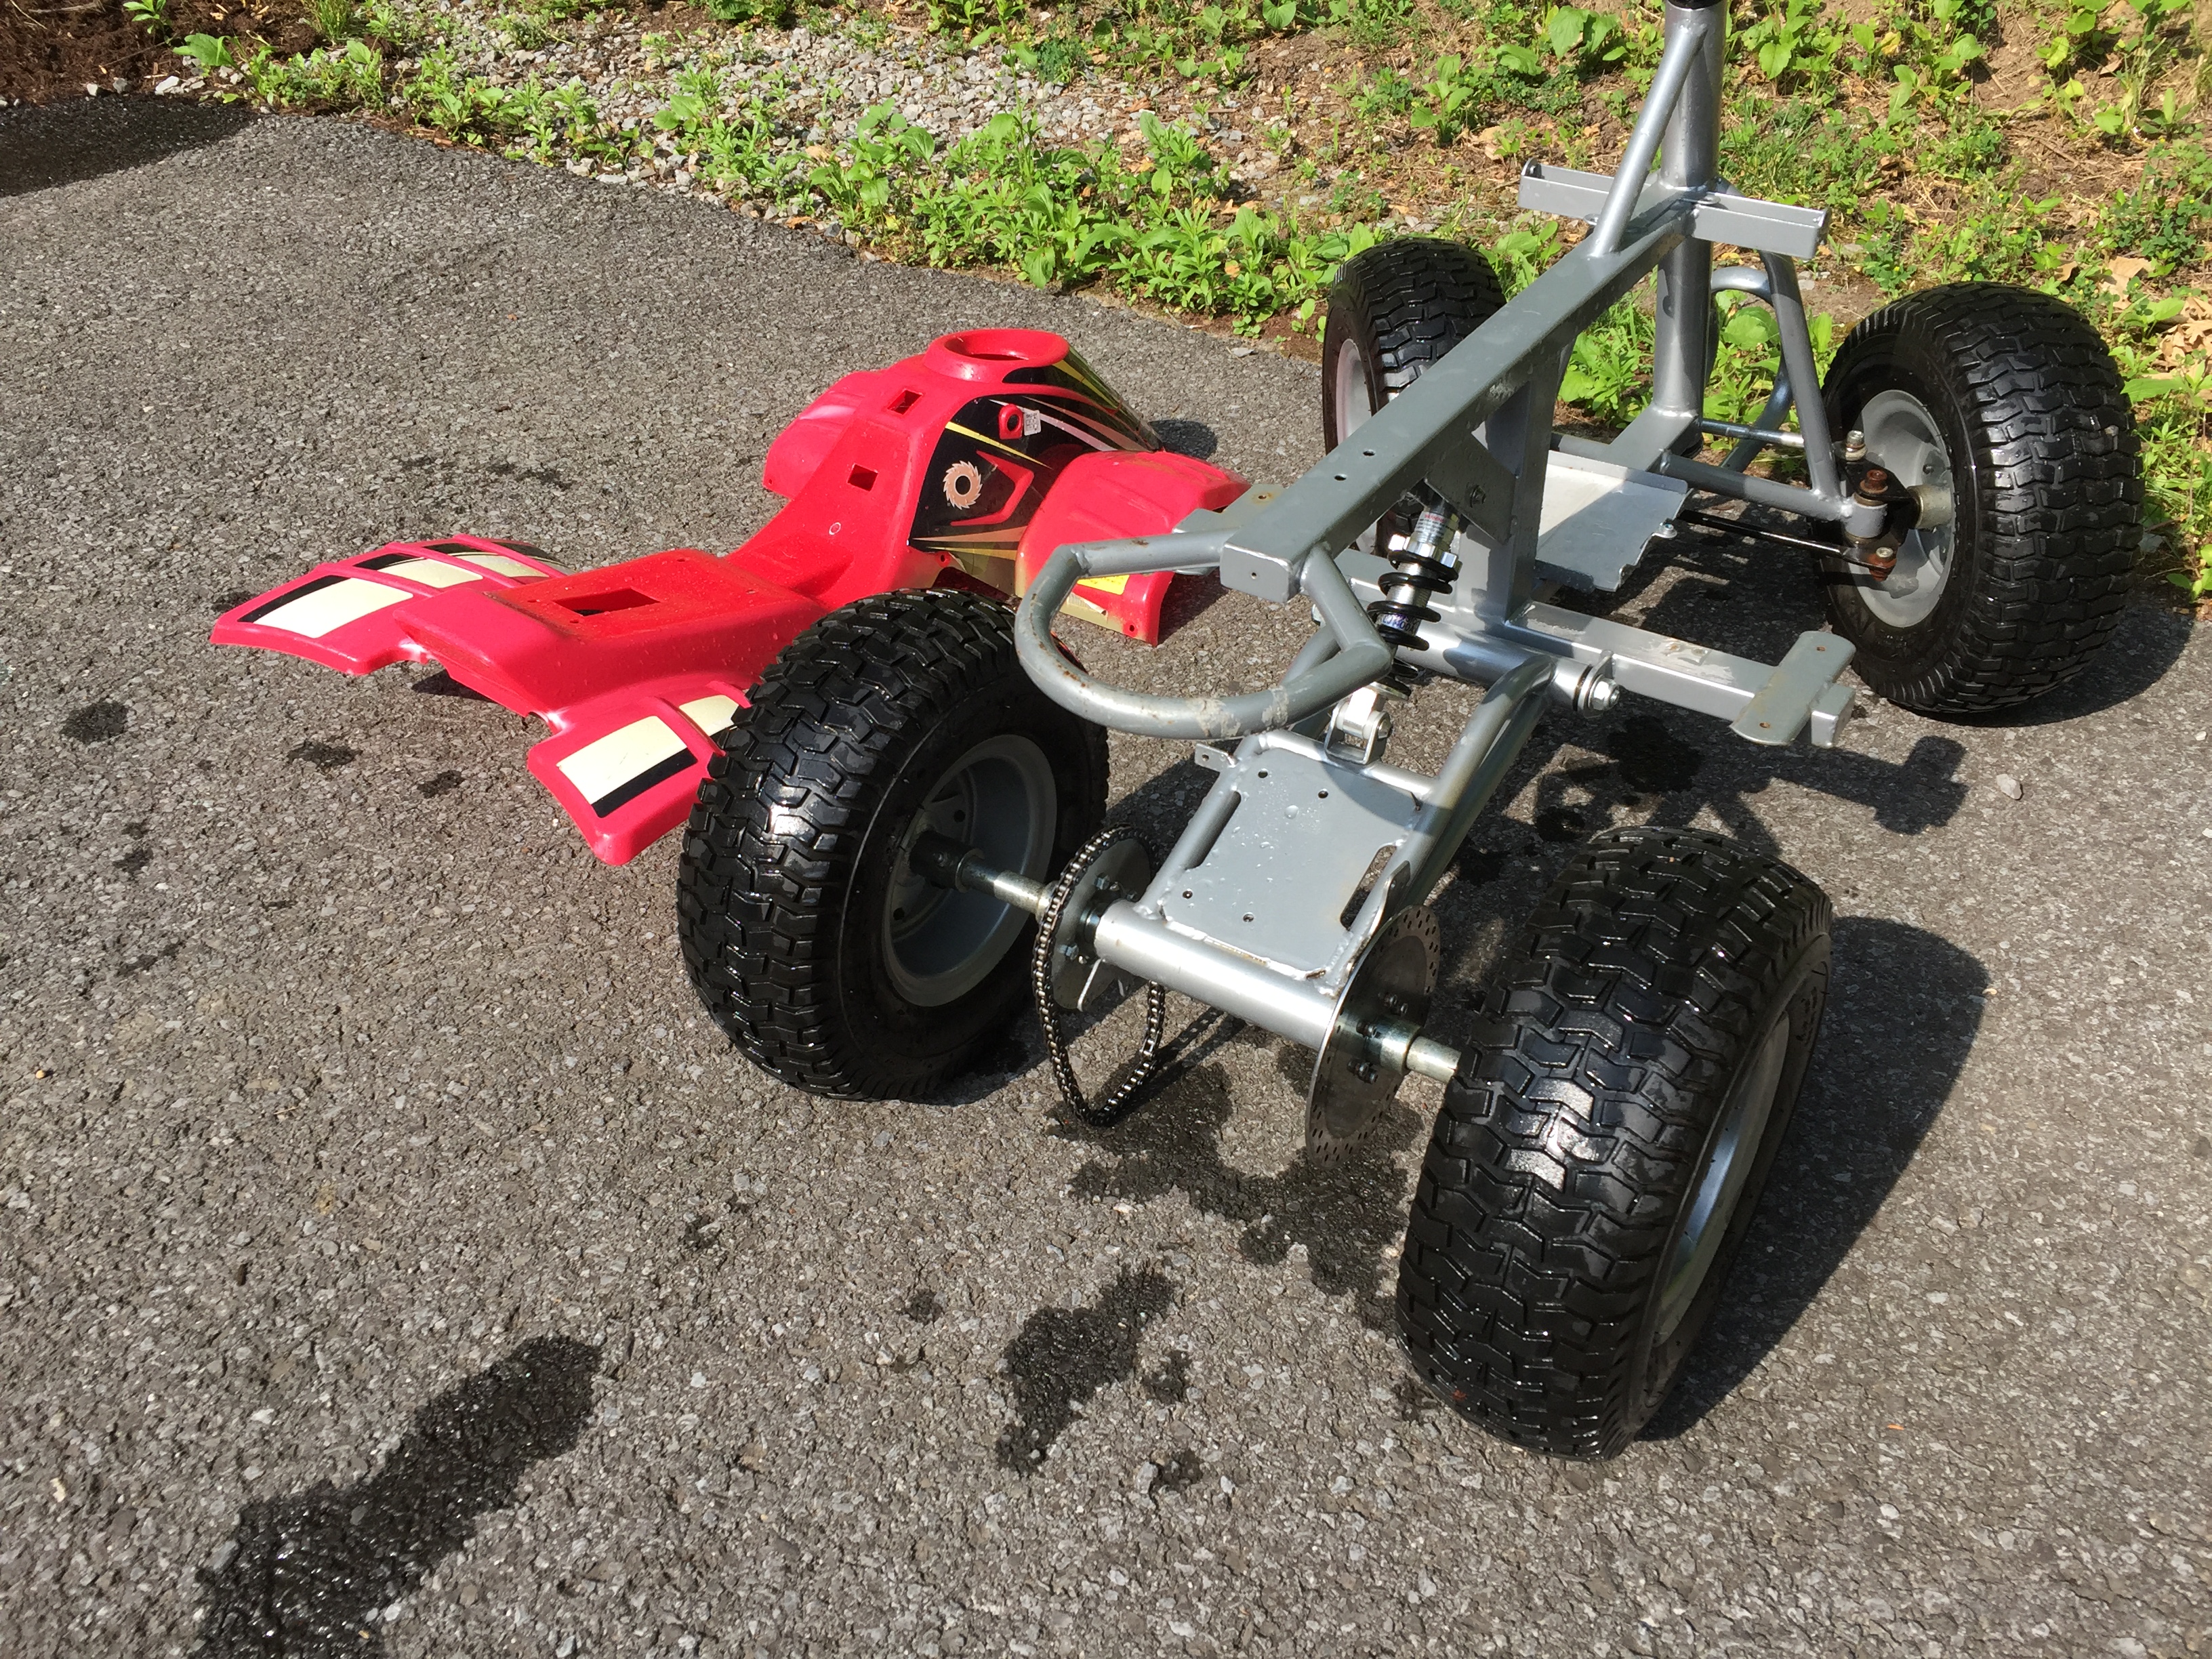
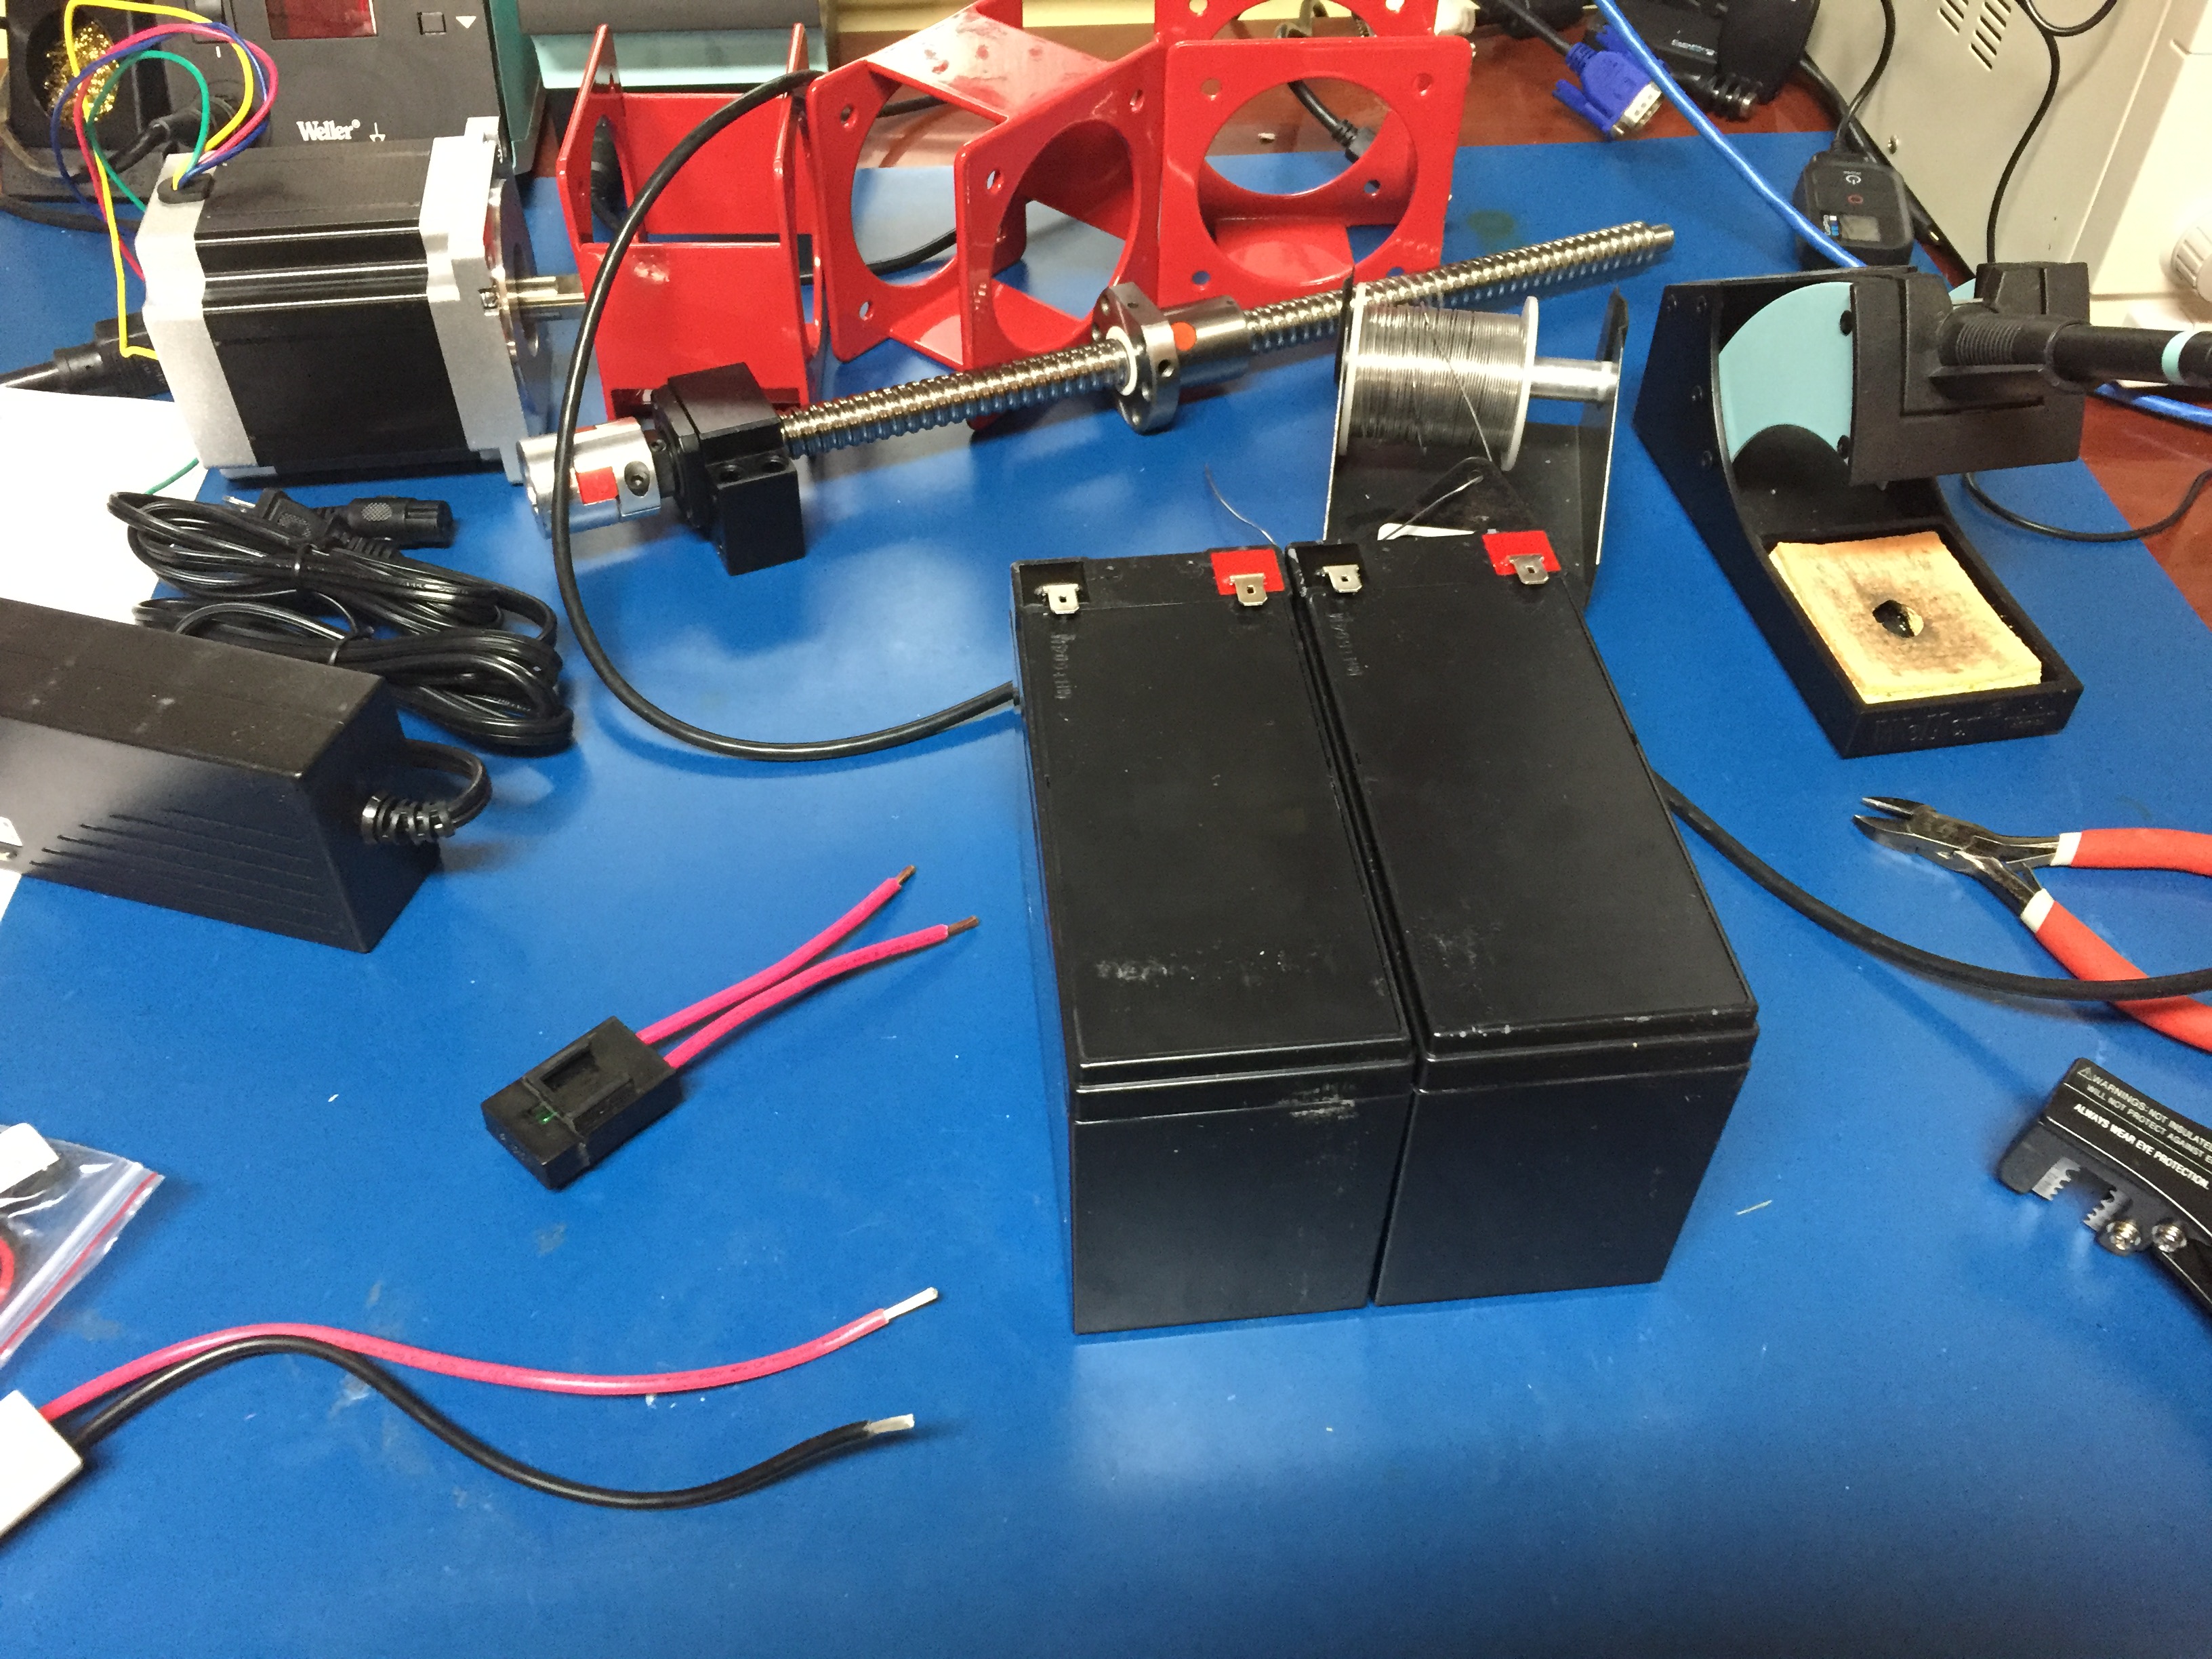
This thing is super simple, a pair of 12v batteries in series to give 24v, a Chinese ESC (electronic speed controller), 350W brushed motor with gearbox, single disc break on the rear, and droop travel rear suspension with a coil shock.
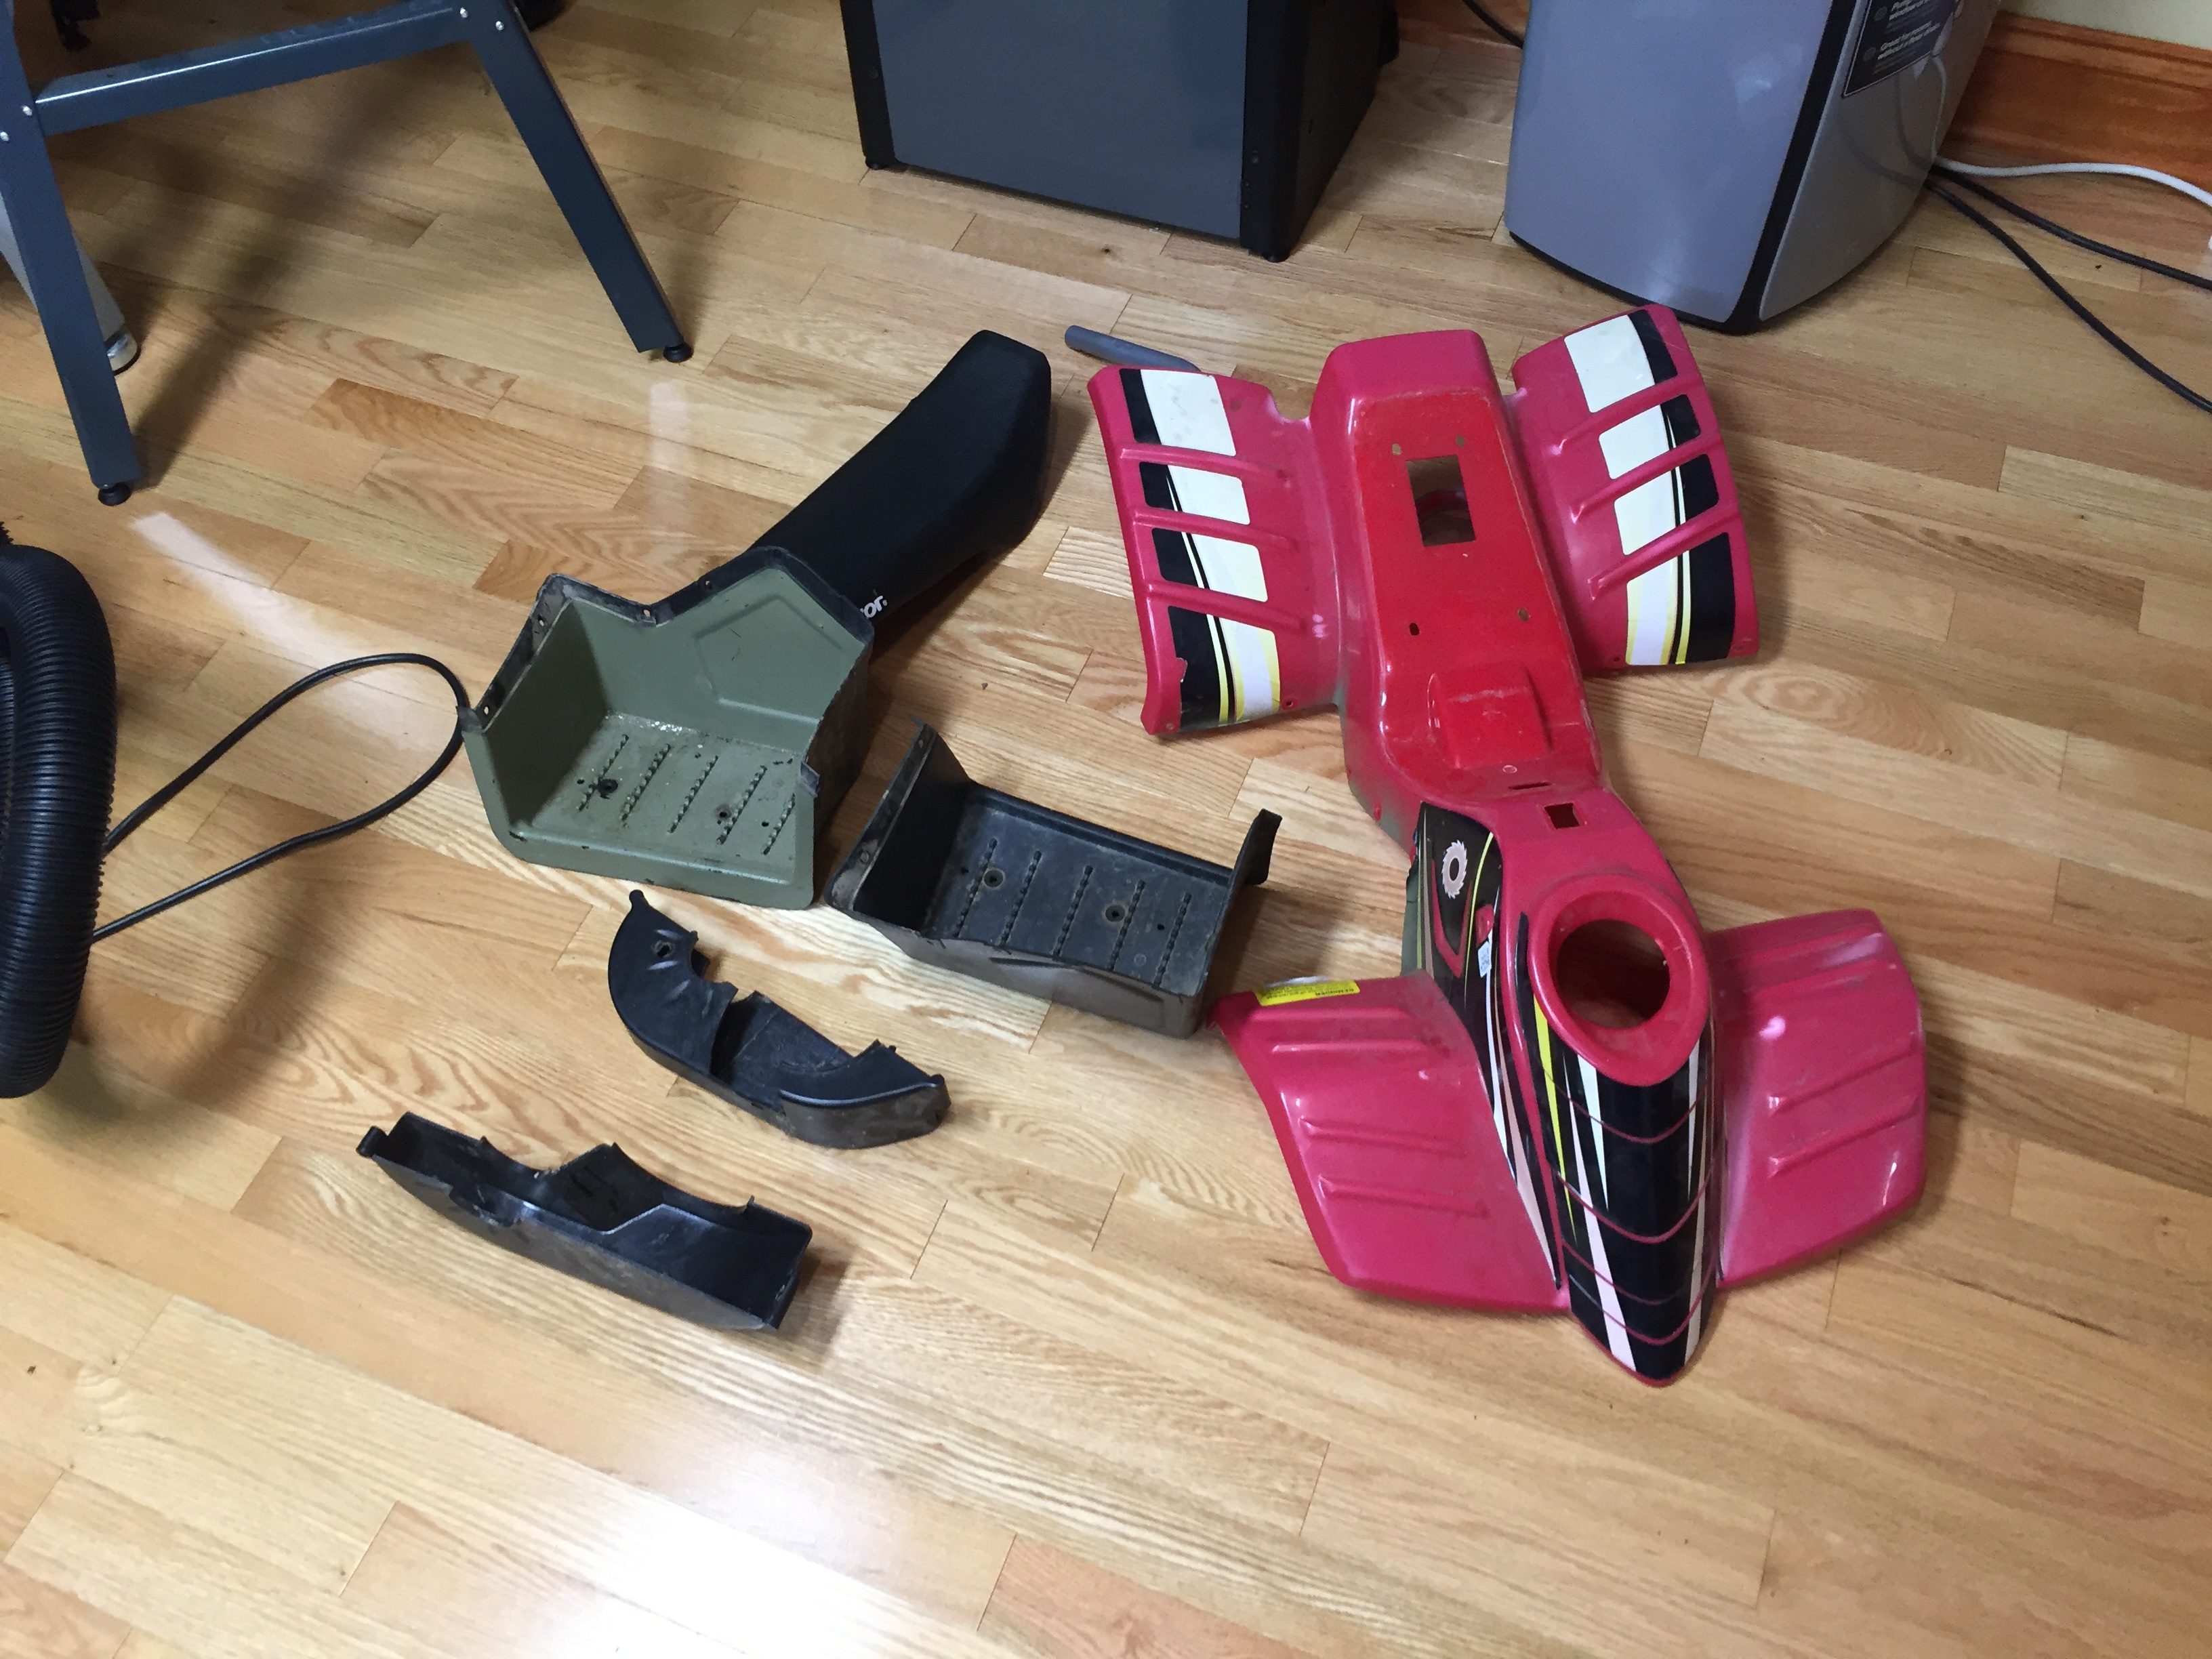
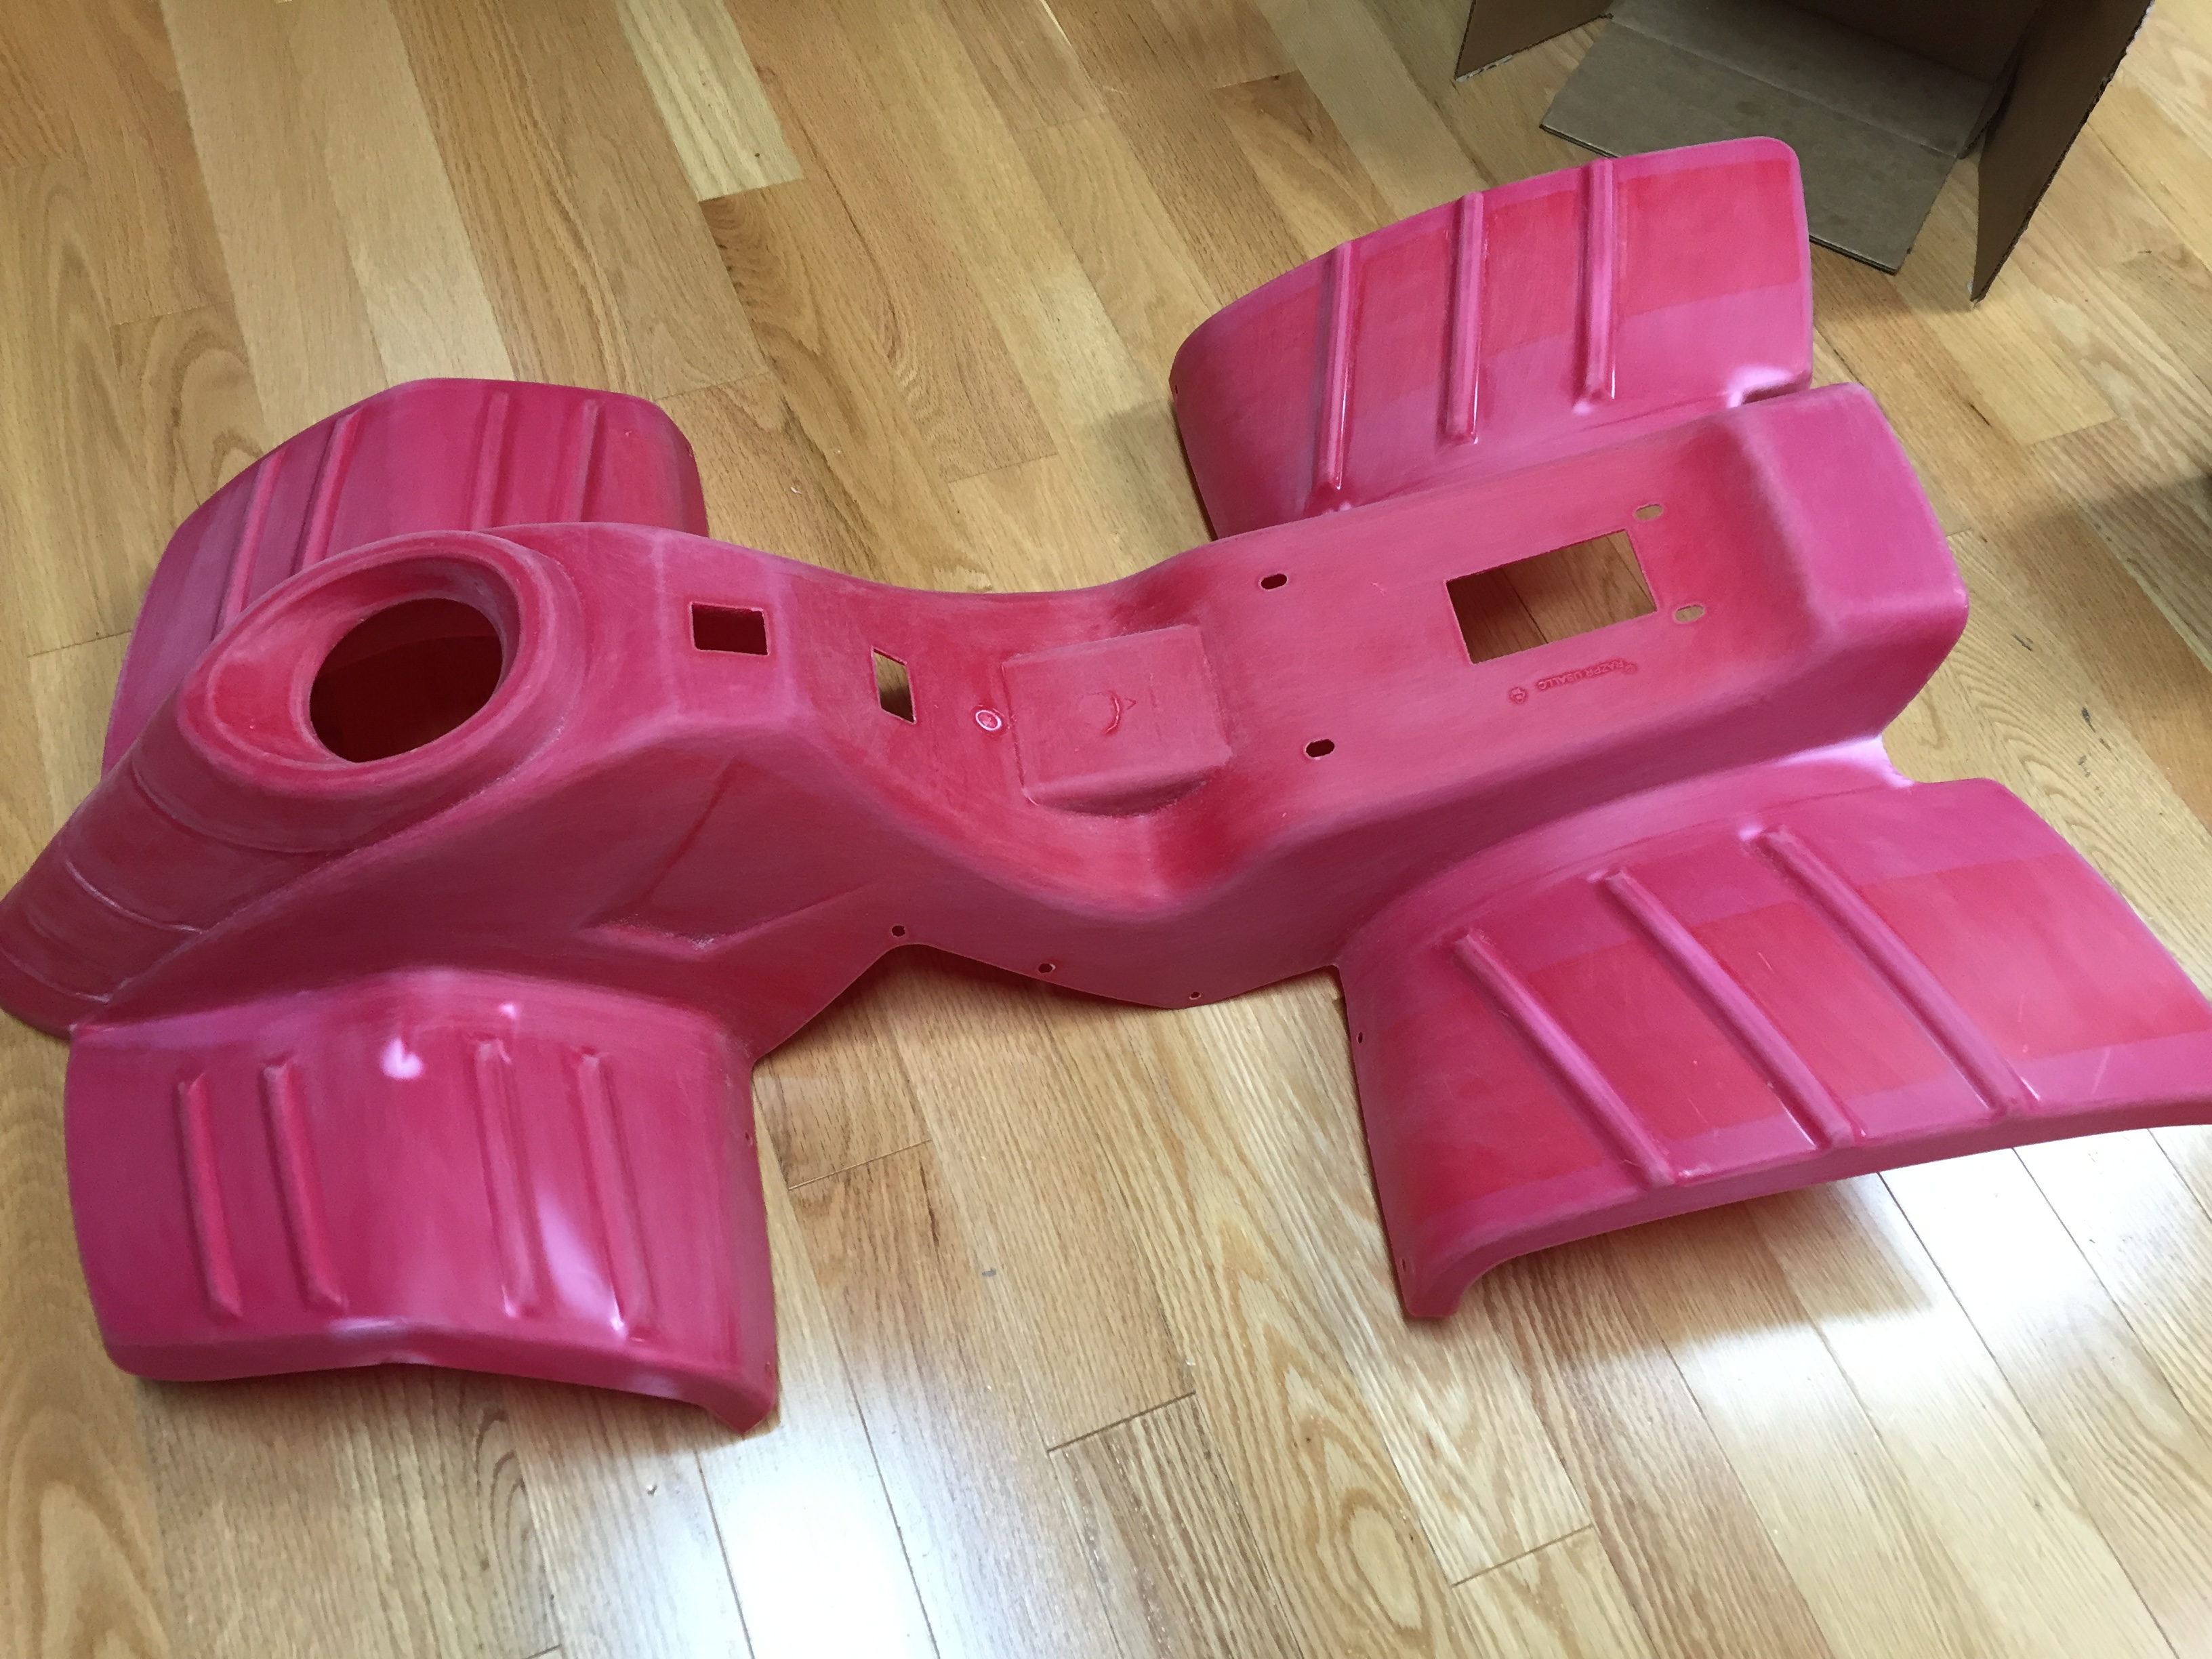
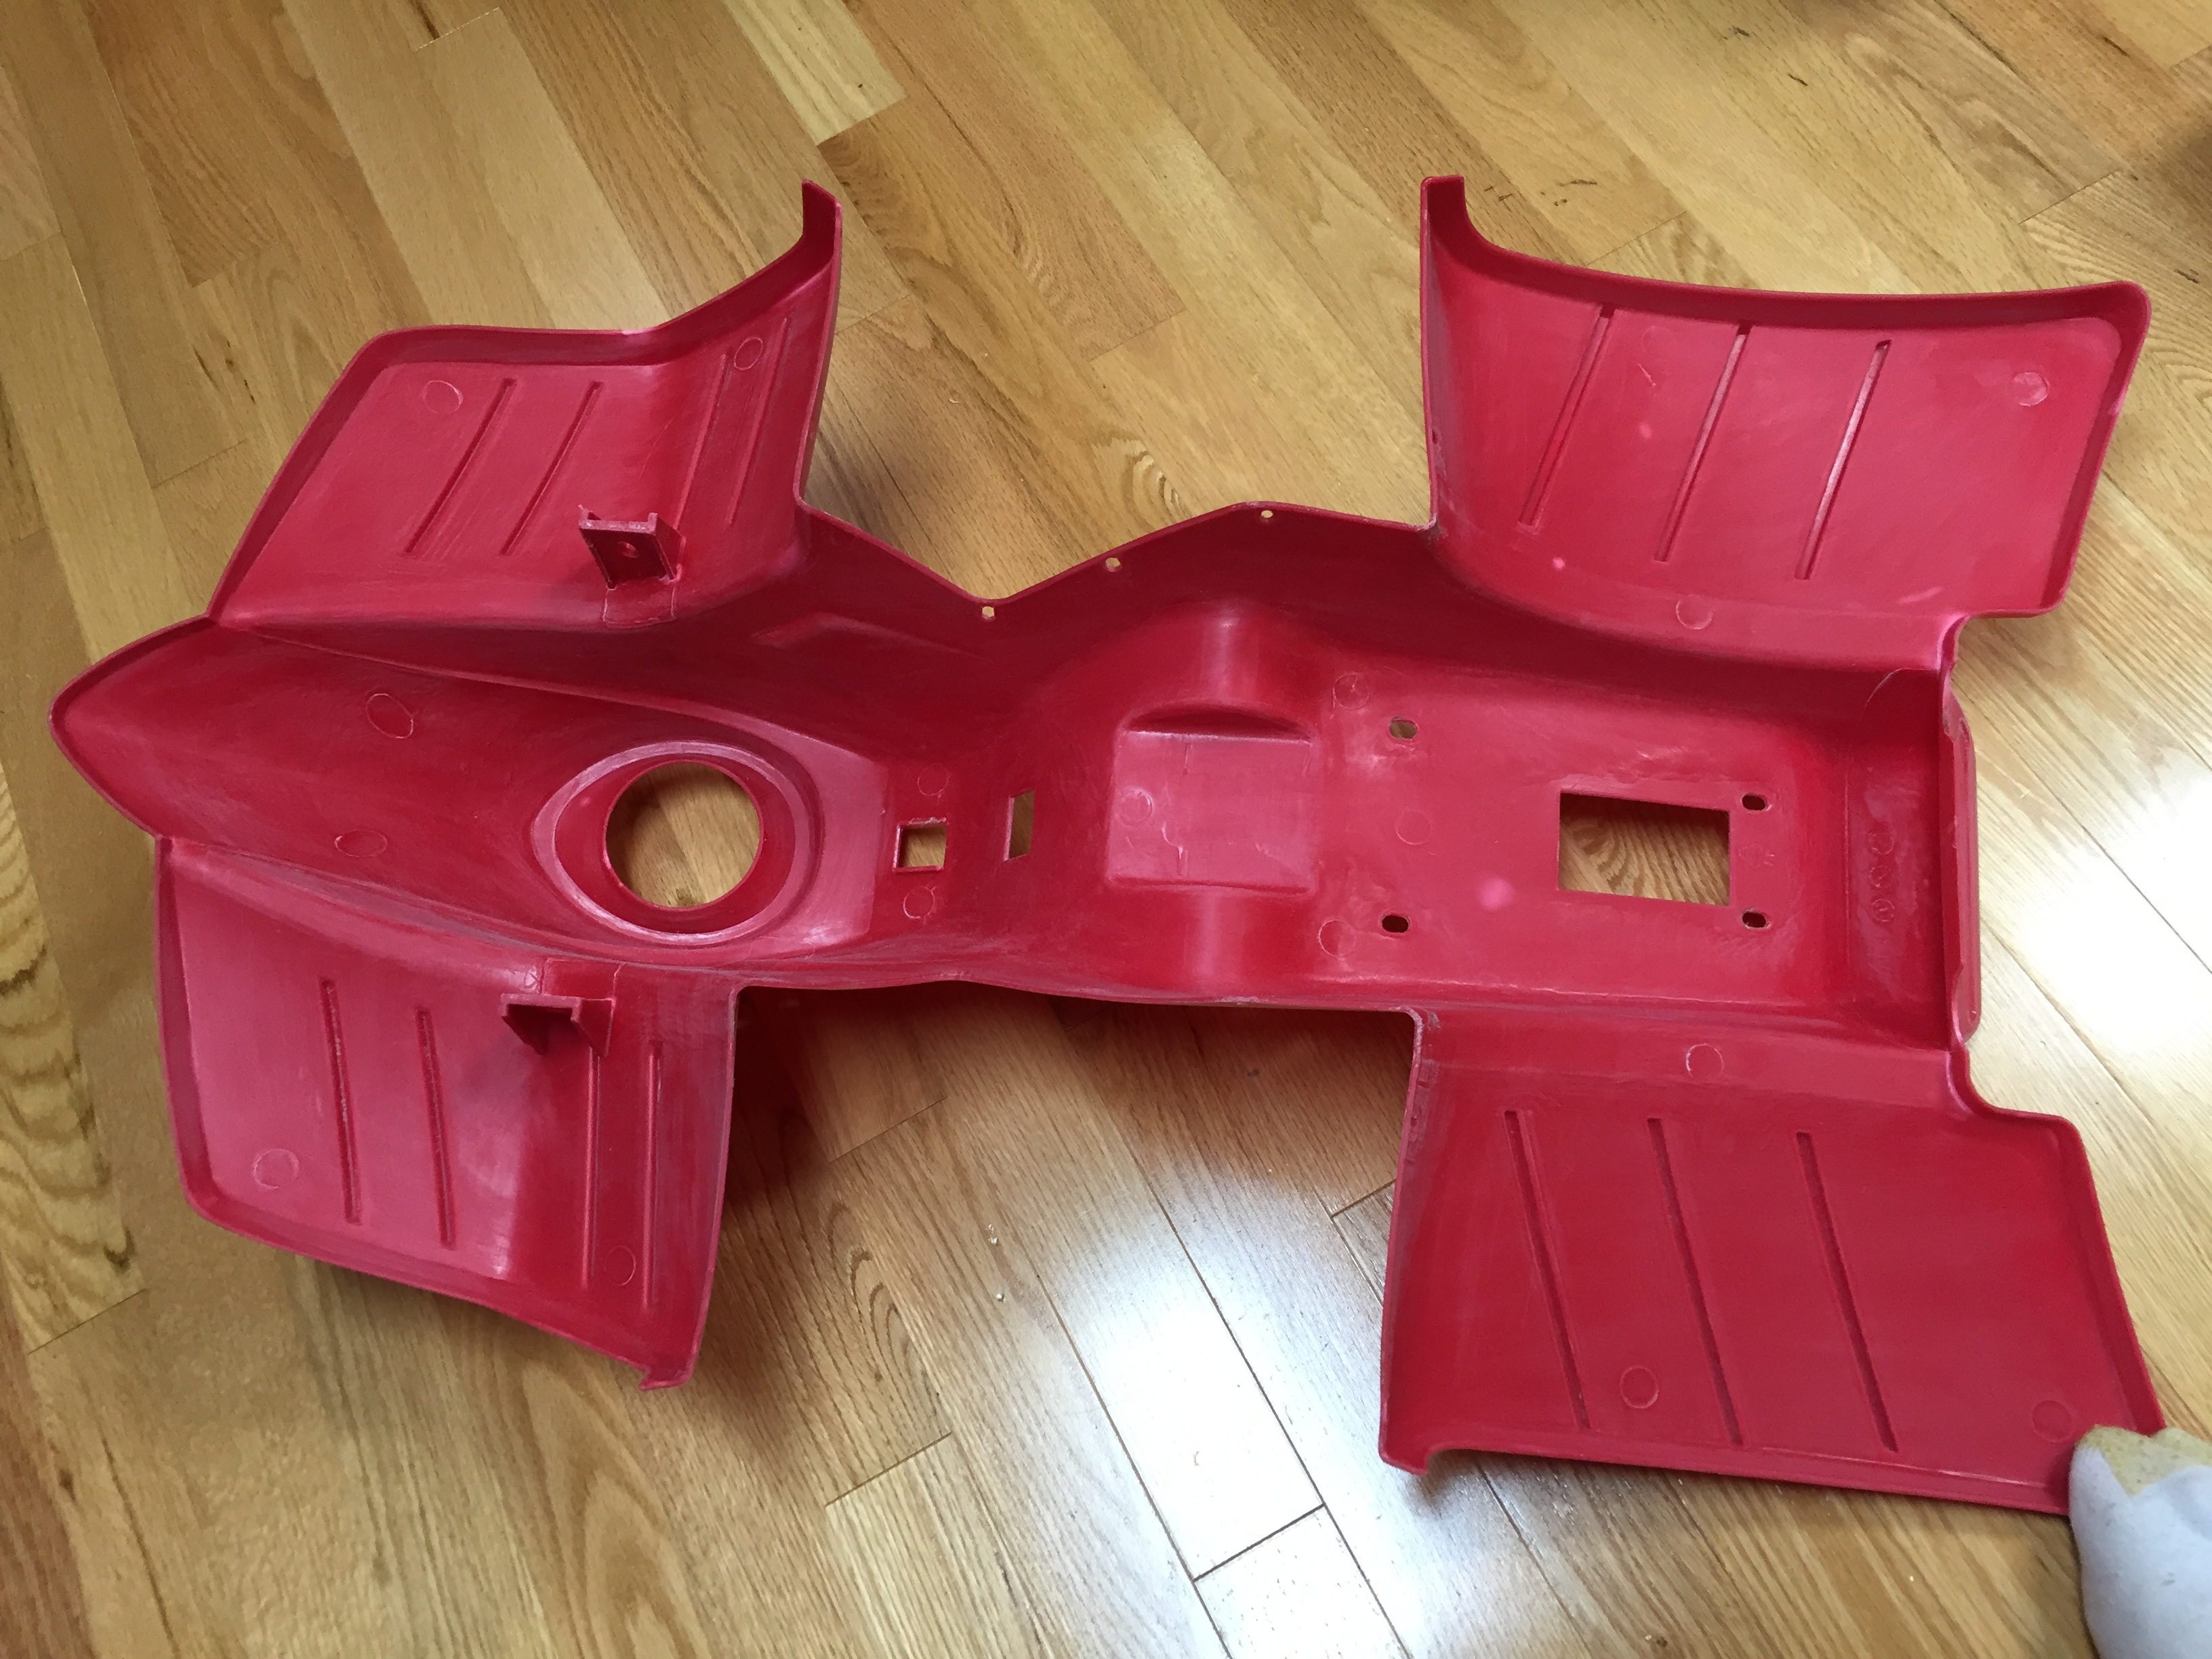
My guess is this was initially a bold red, but it had sun-faded to a perfect pink (ugh), also the prior owners had painted one of the foot rests with green paint. Re-painting and paint stripping was on my todo list. I later realized that the house next door to where picked this up from also had a mini quad, so they probably put the paint on it to distinguish one from the other.
With it all dissasembled, I gave everything a good cleaning.
Then I started in on removing the paint from the foot rest. I came across a few forum posts that suggested using brake fluid.
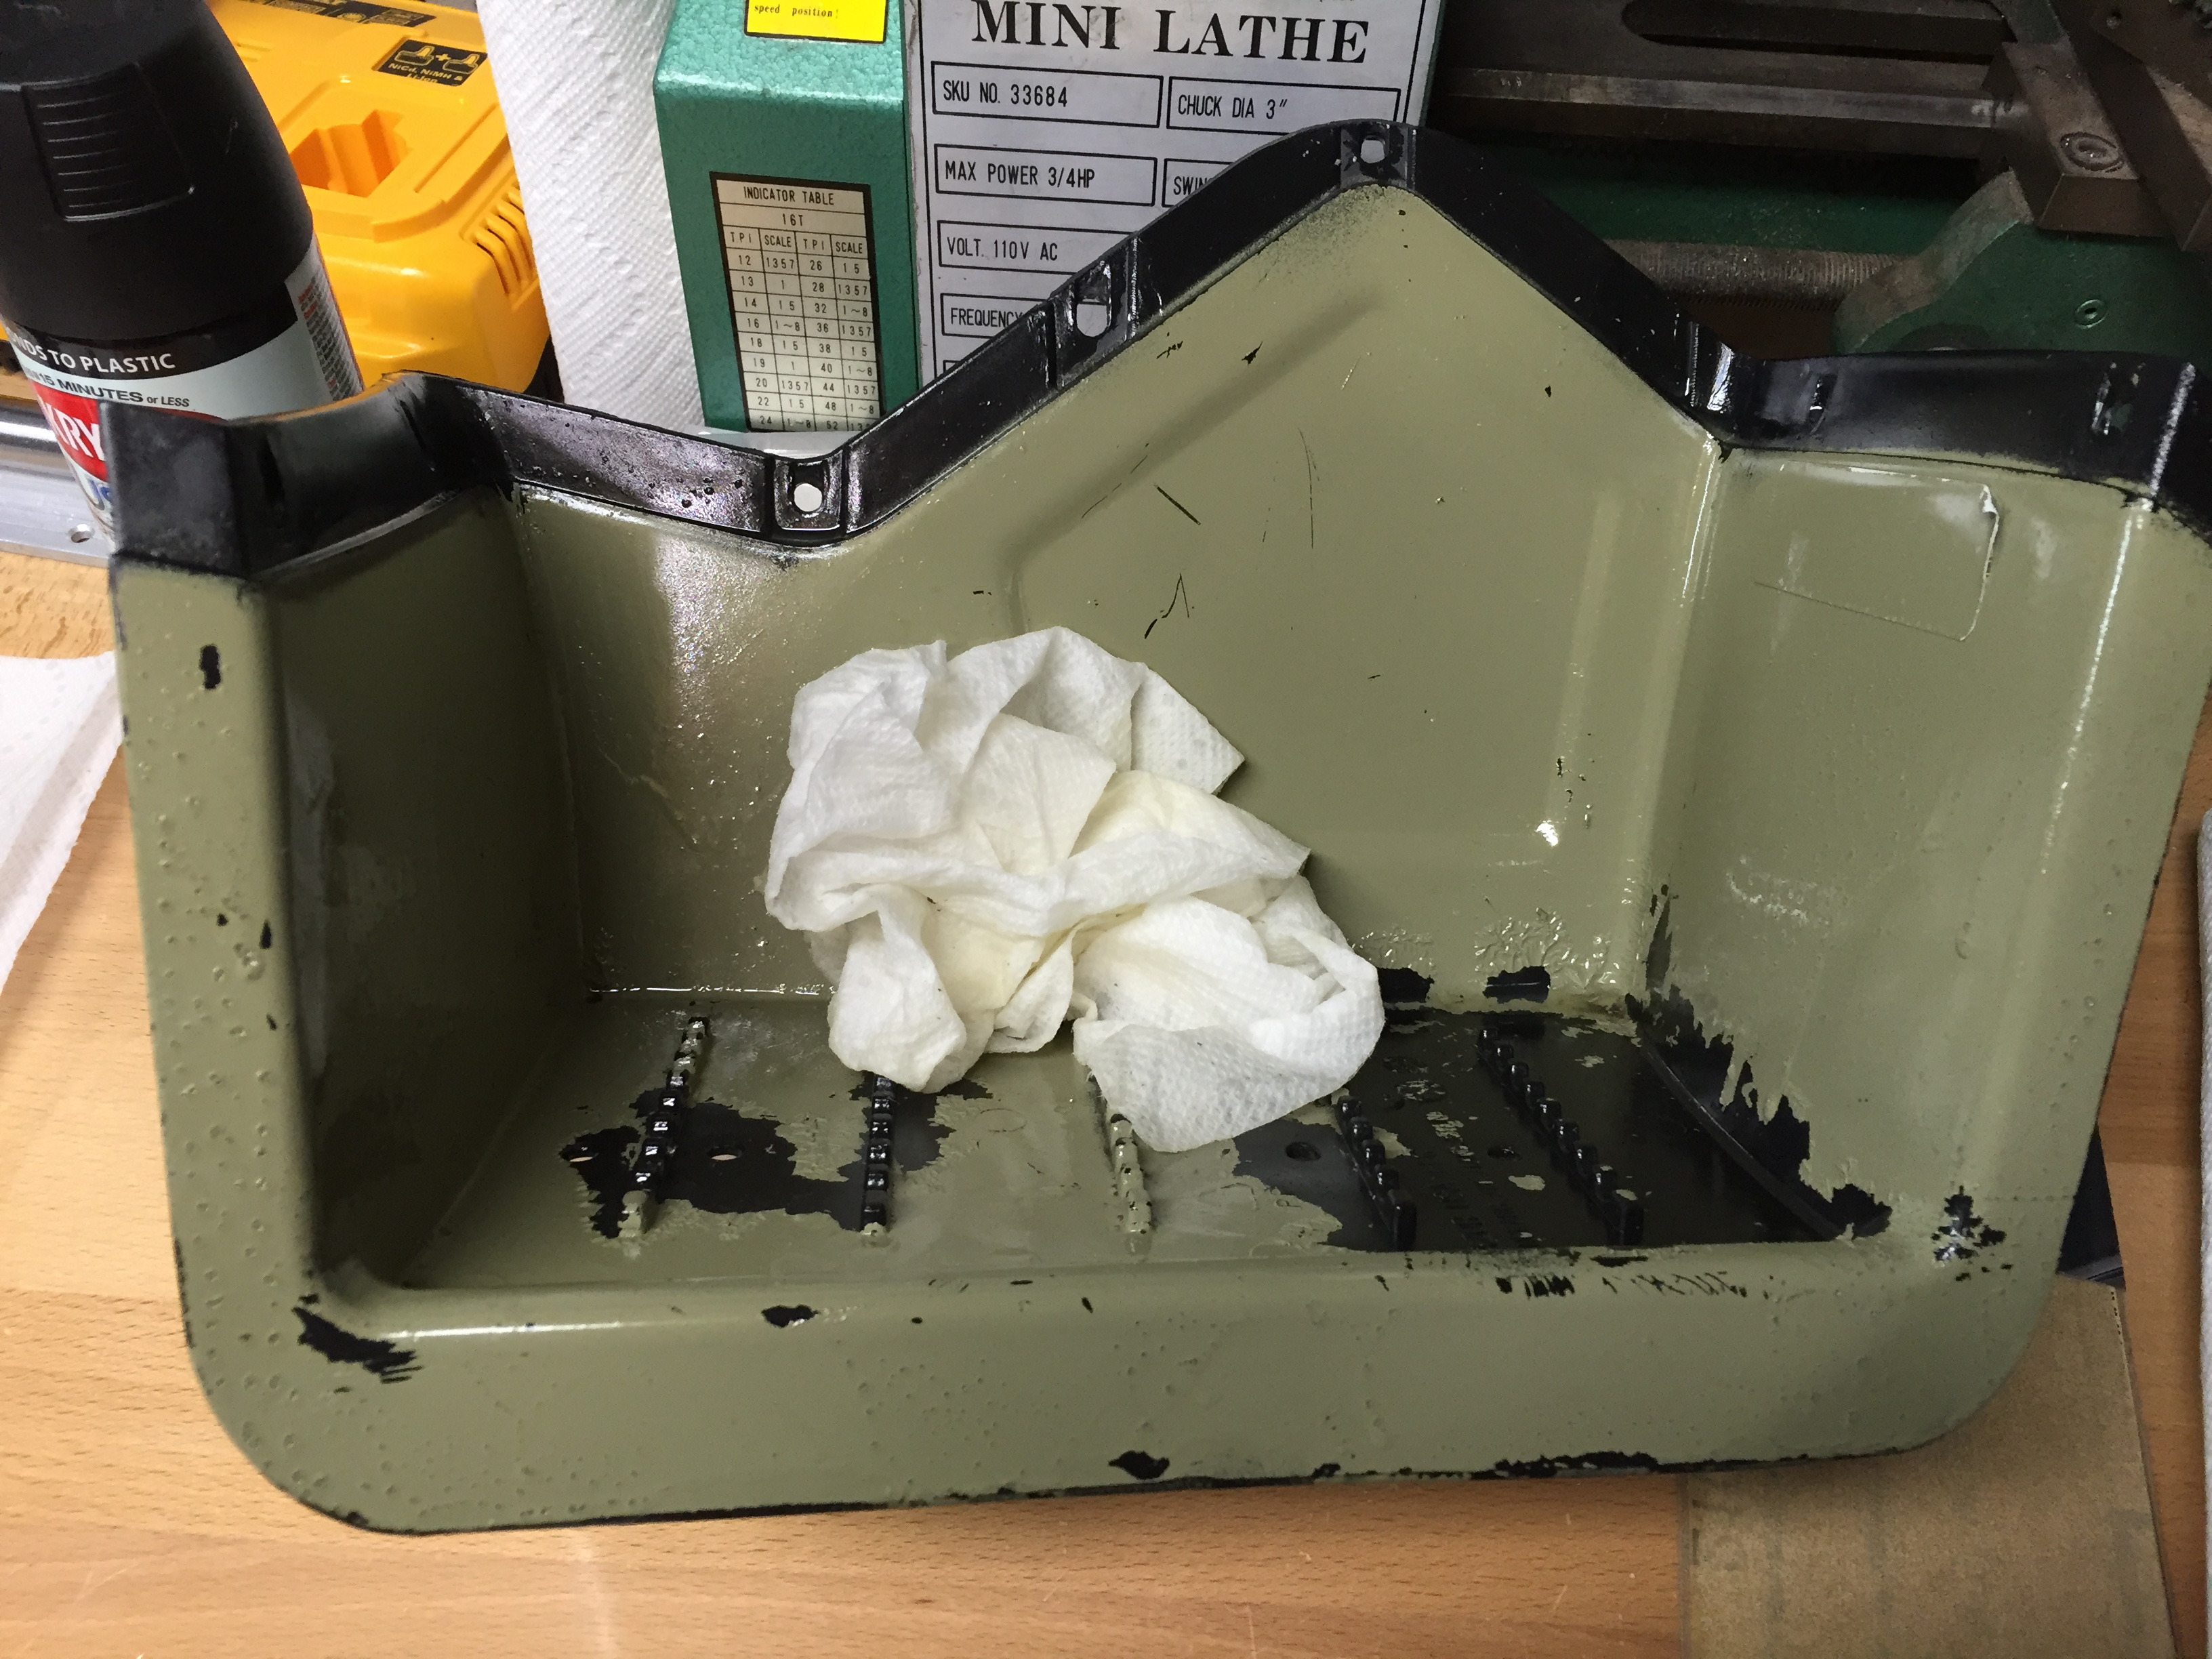
With a combination of soaking in brake fluid for 2 days, a wire brush and then finally some light sanding, it was free from the crappy green paint job.
The decals came off fairly easily when using a heat gun and putty knife.
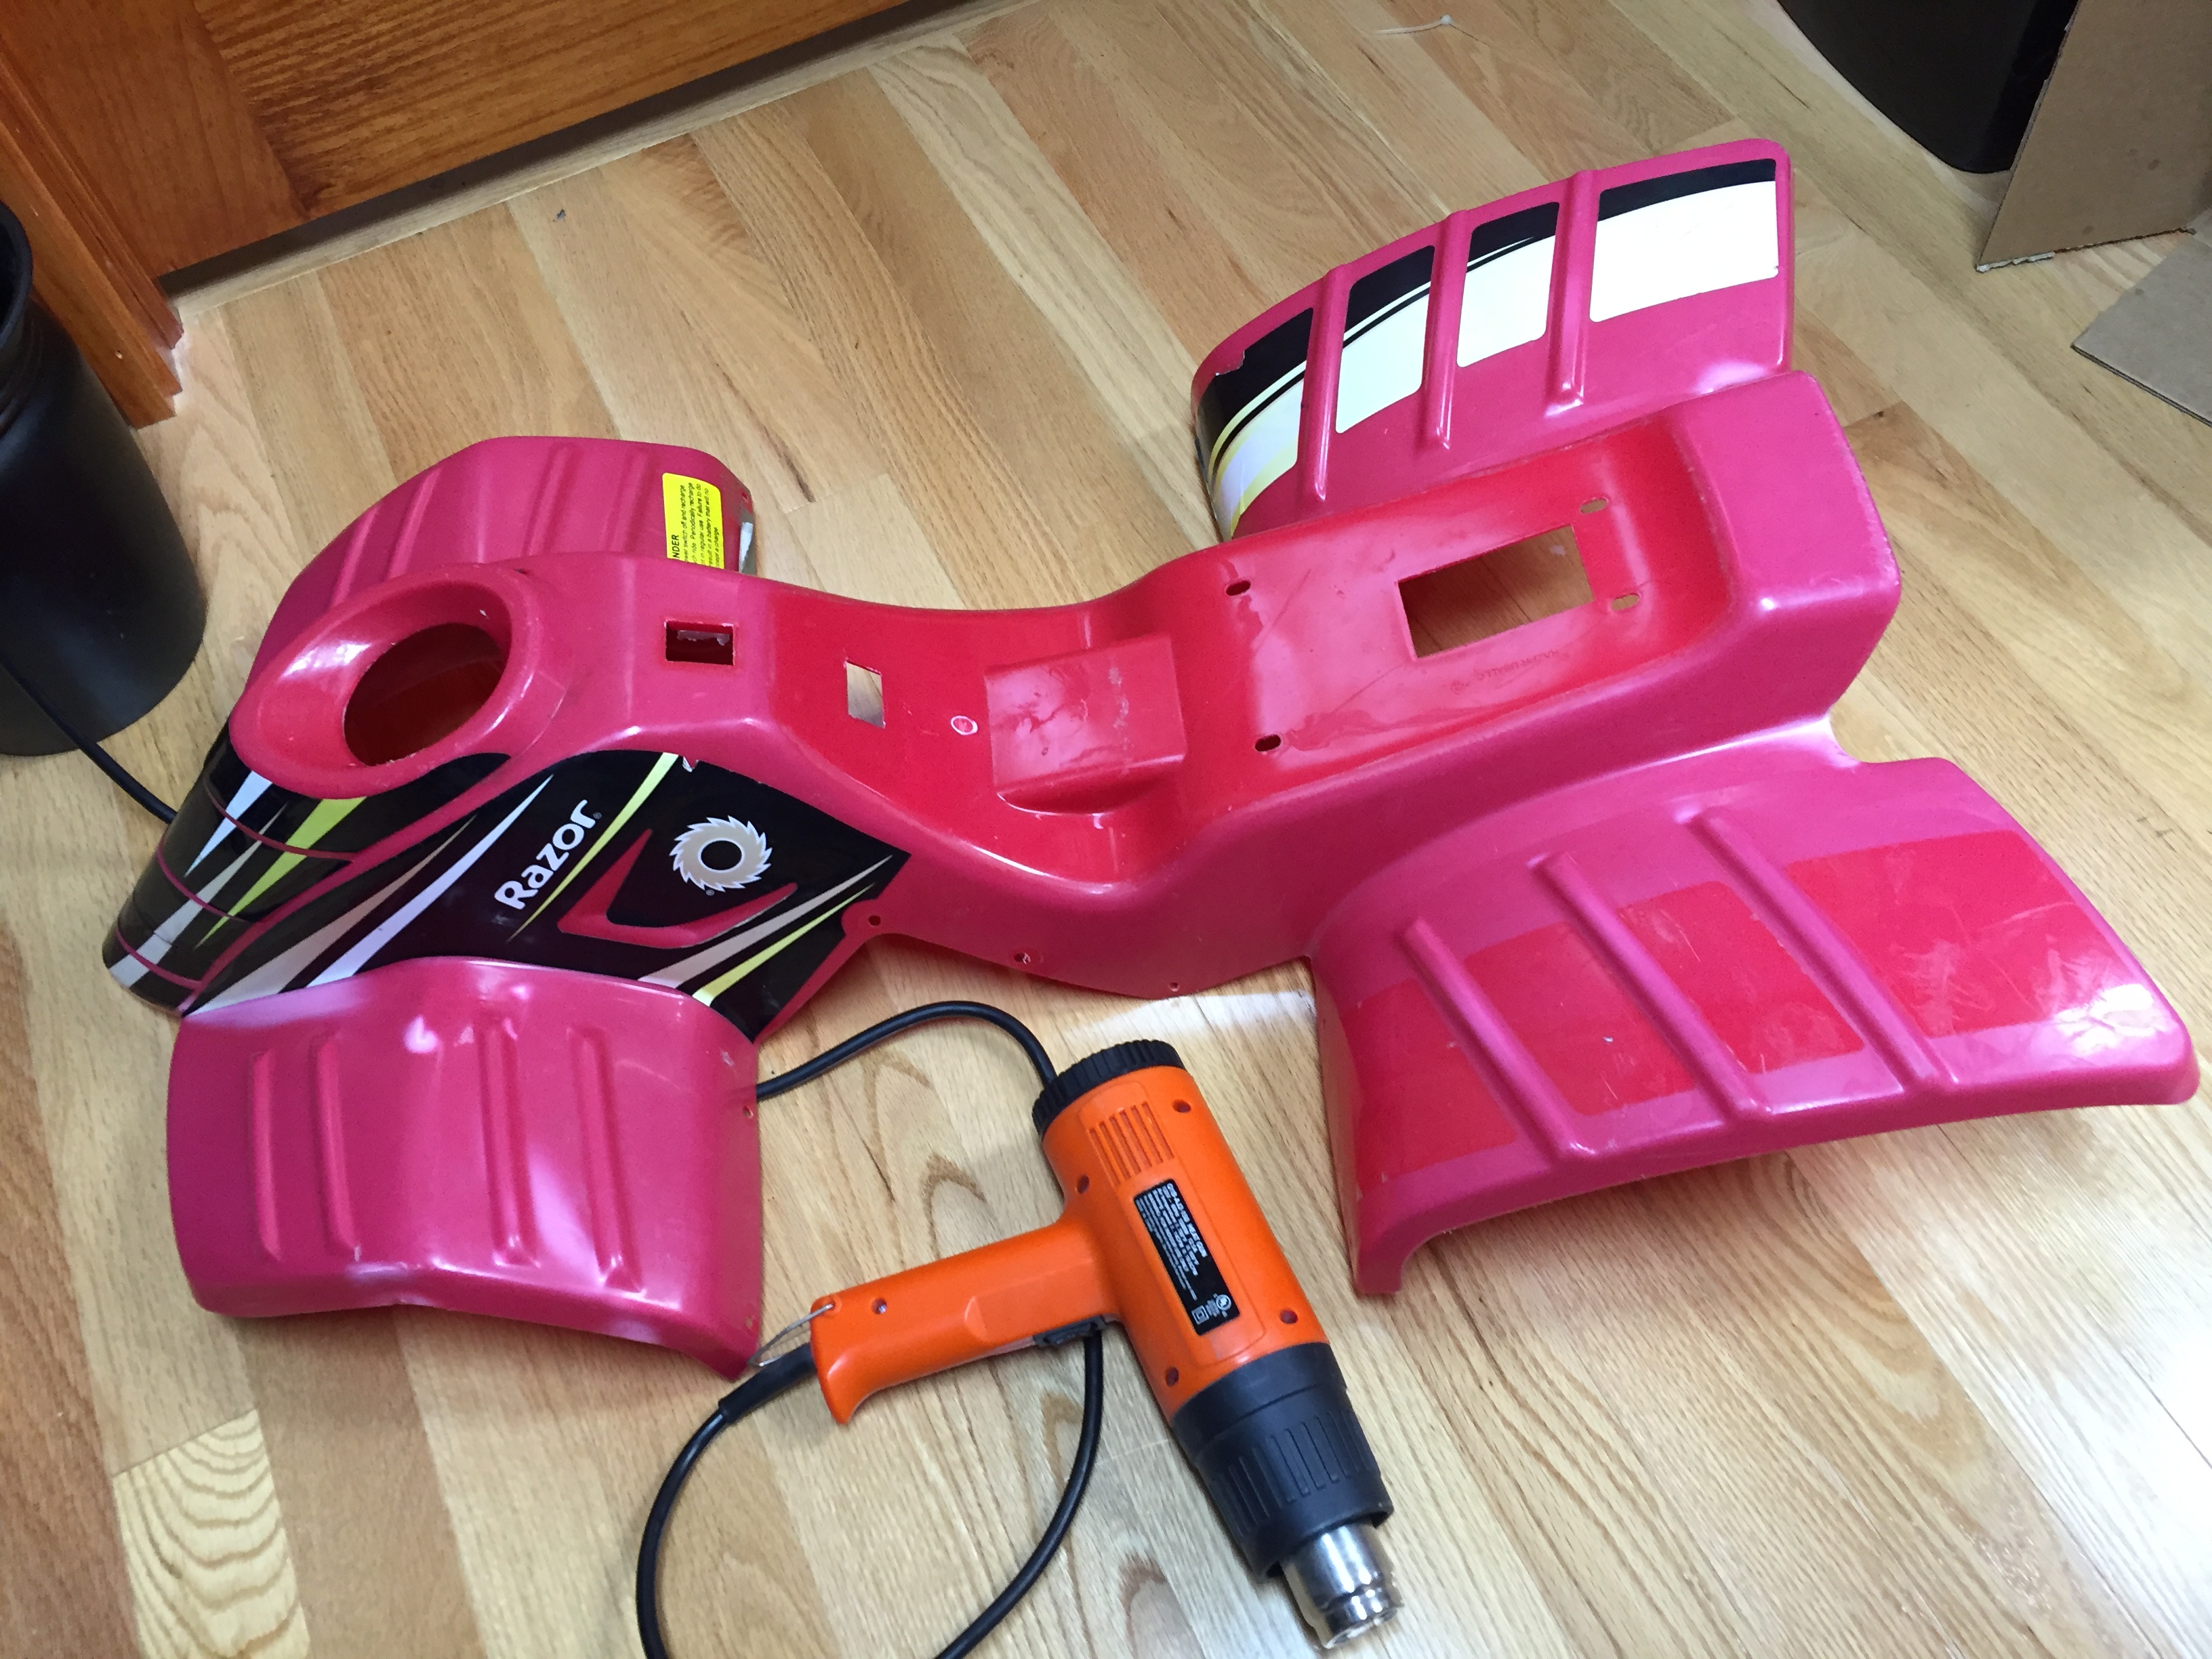
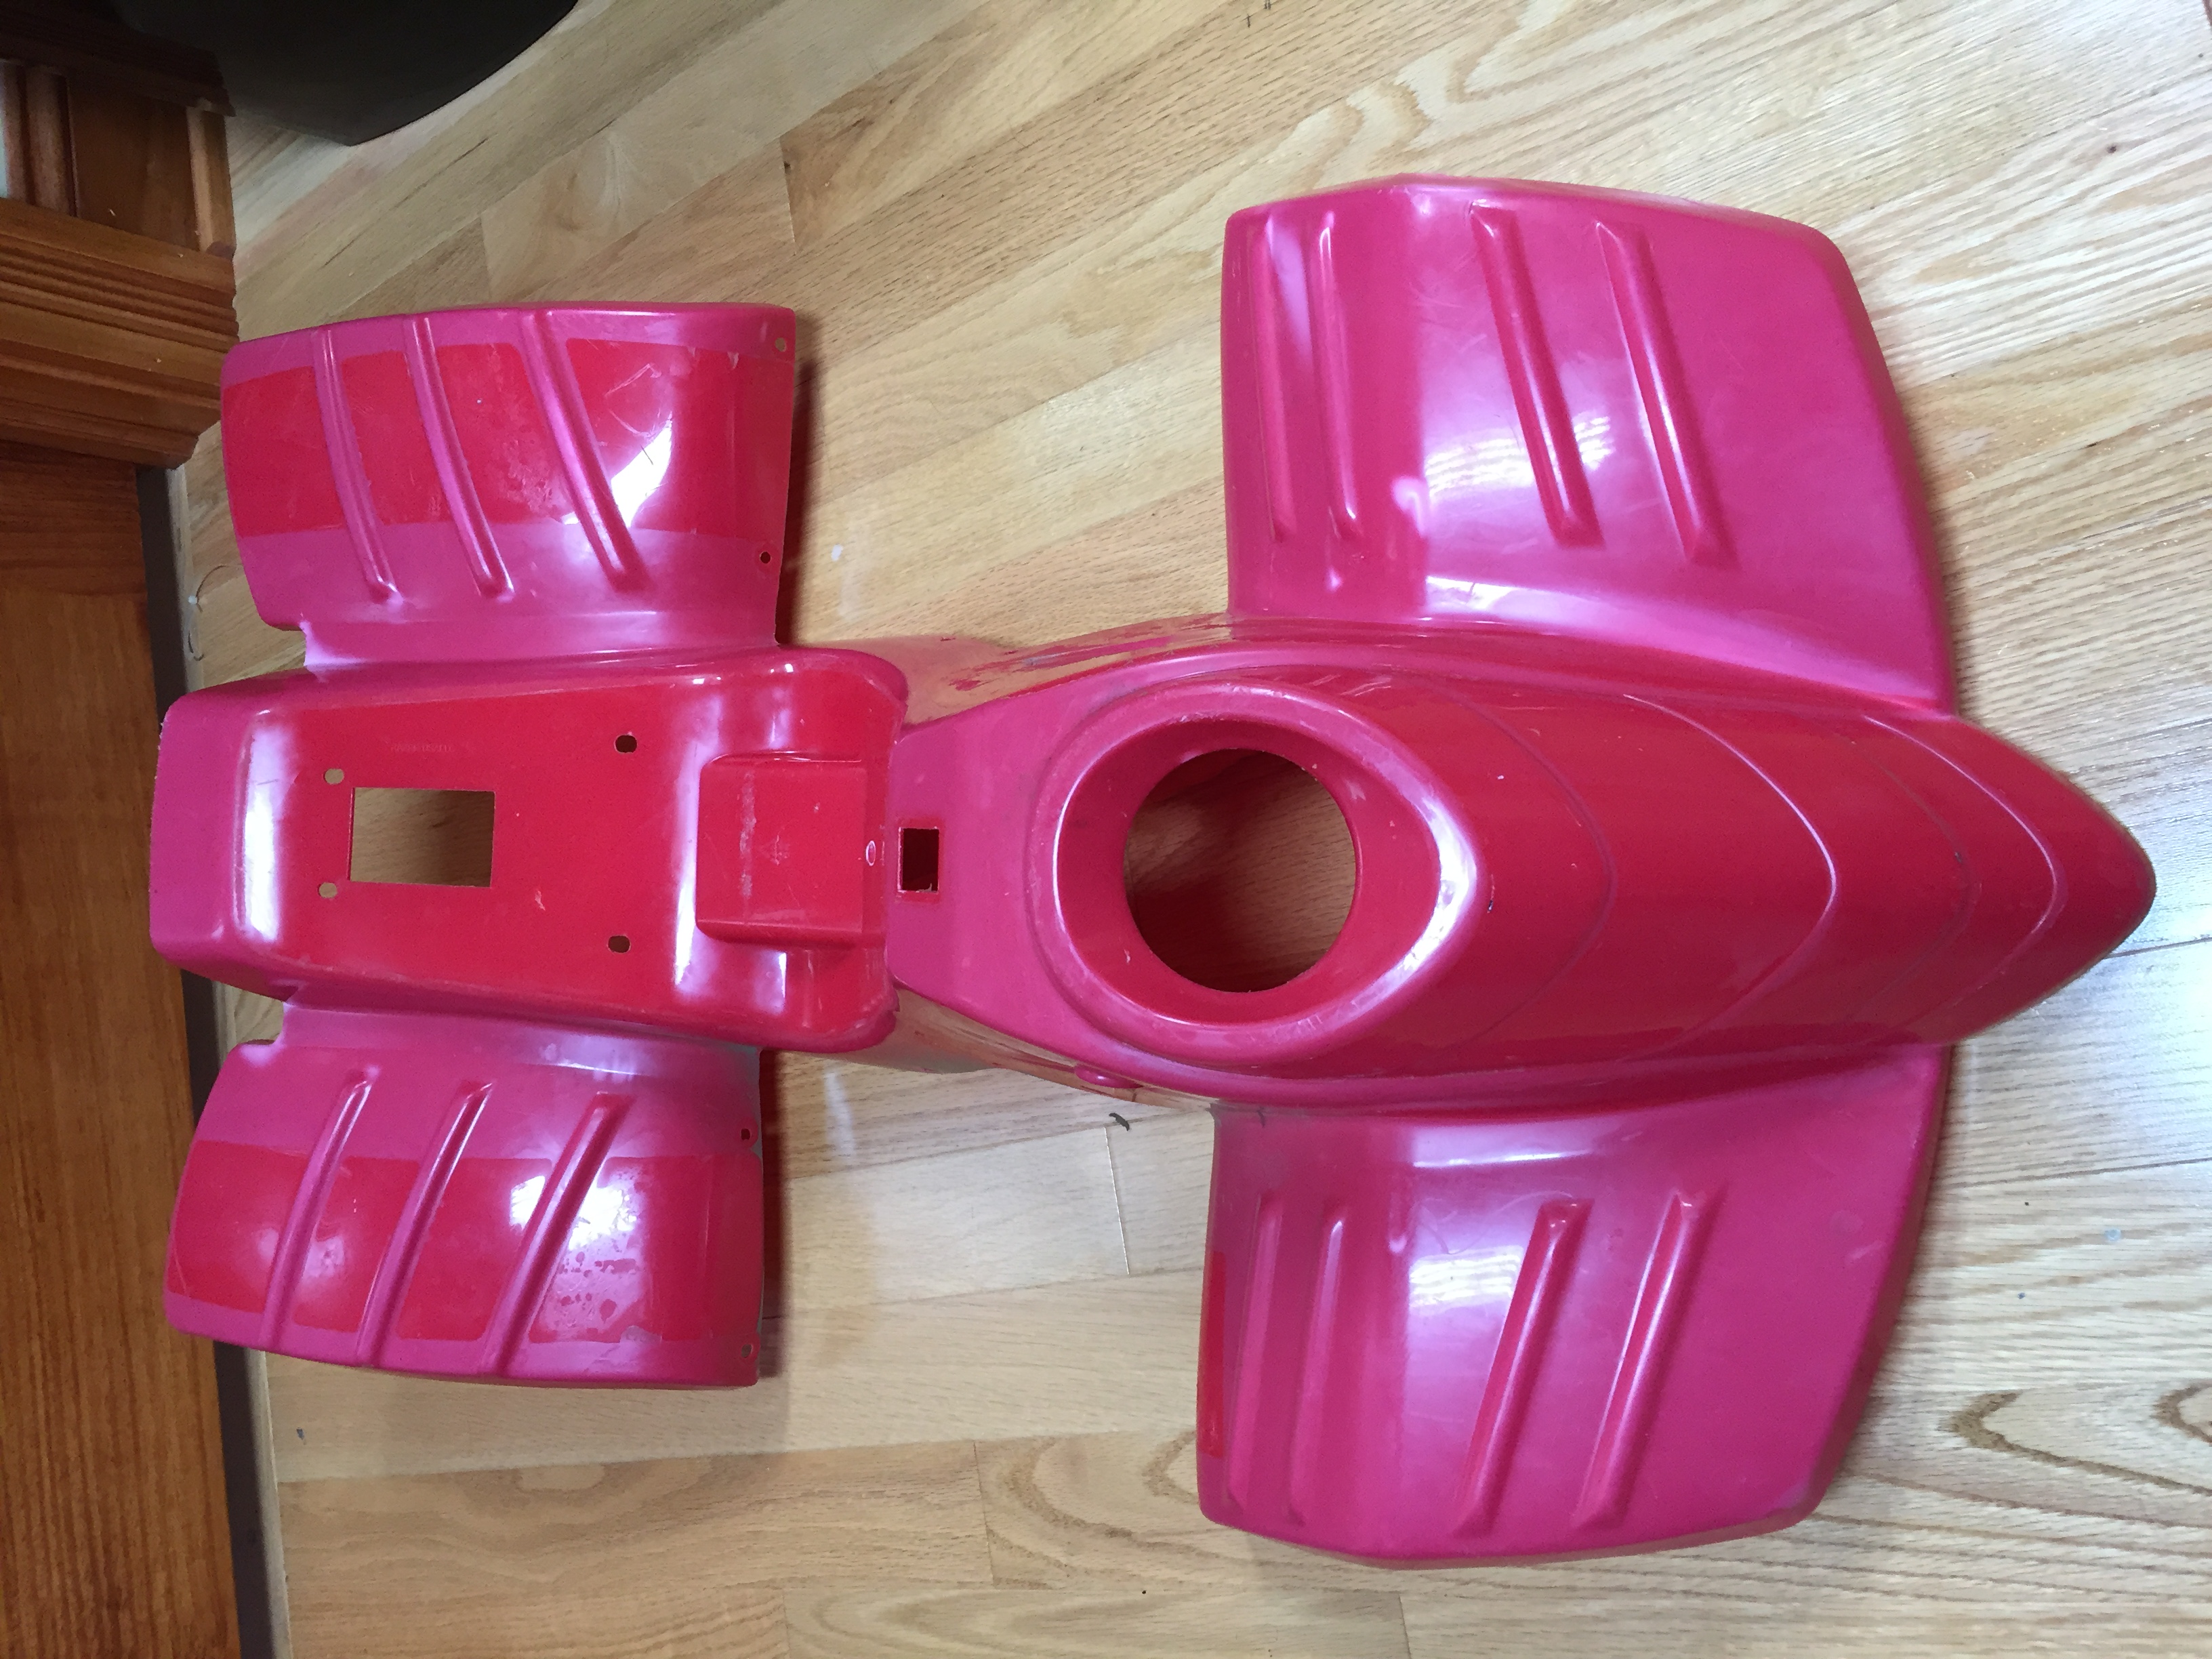
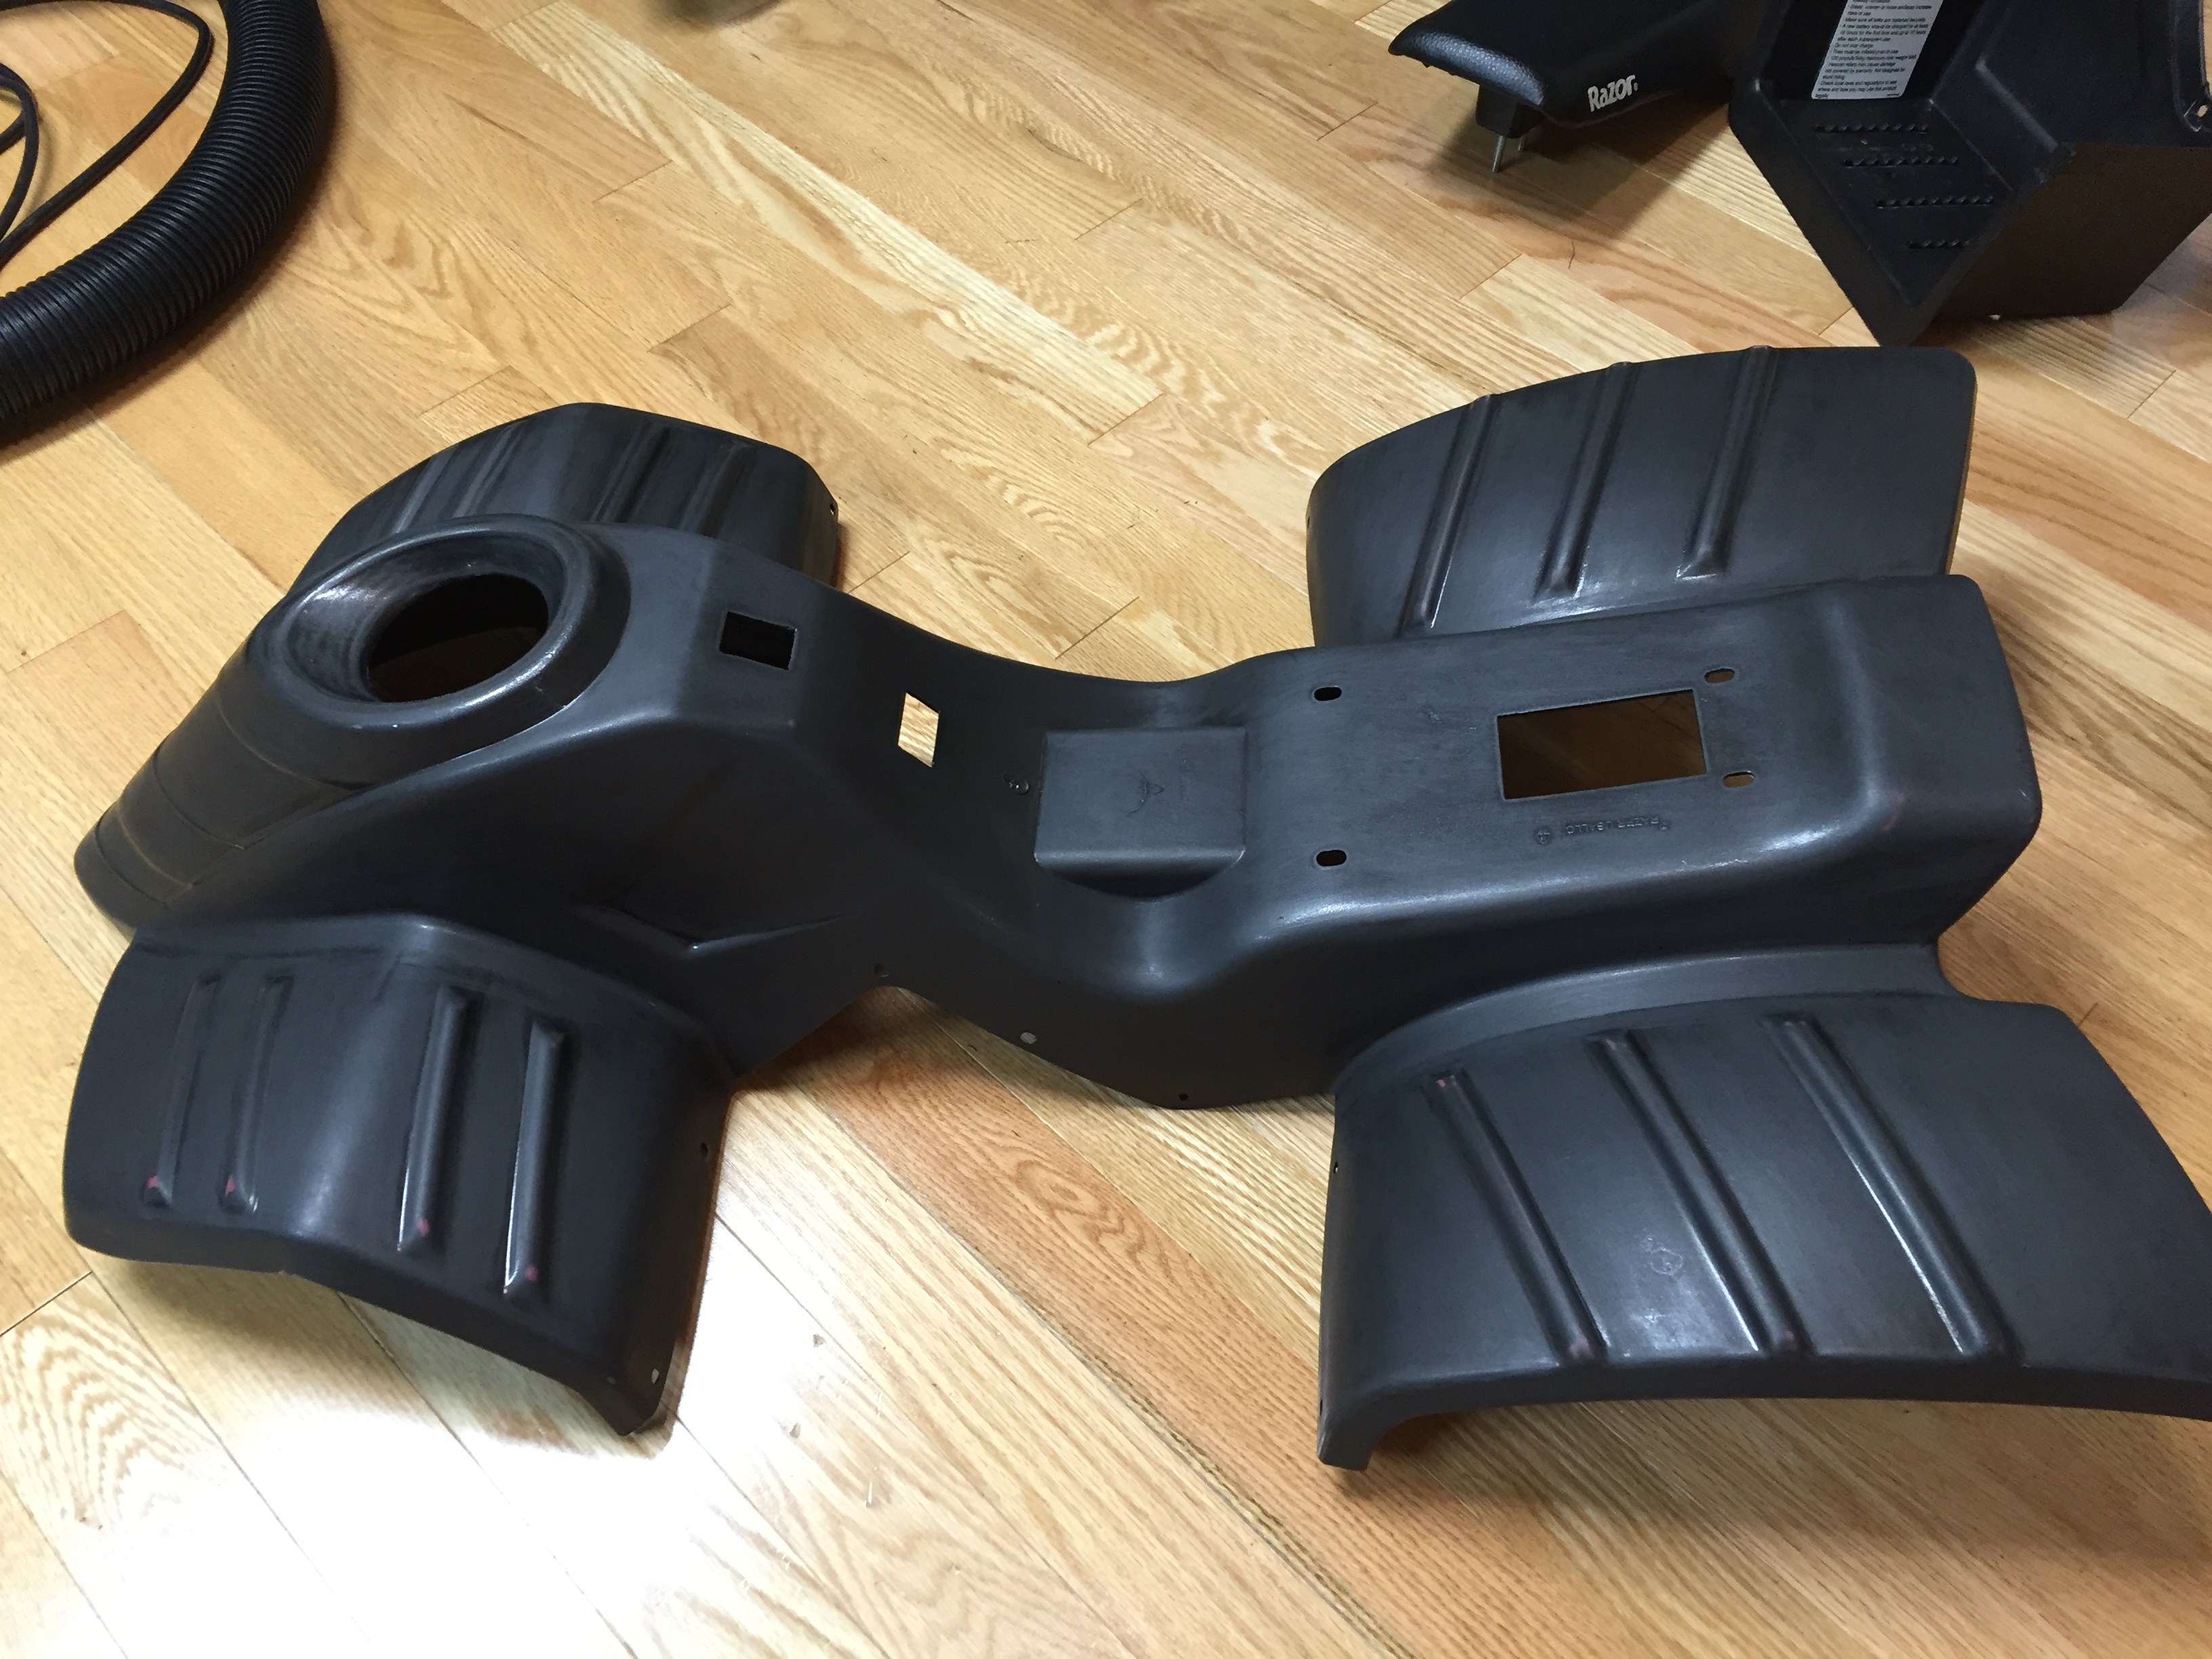
But eww that PINK.... it was bad. Next up was paint prep. I sanded first with some 150 and then finished up with some 320.
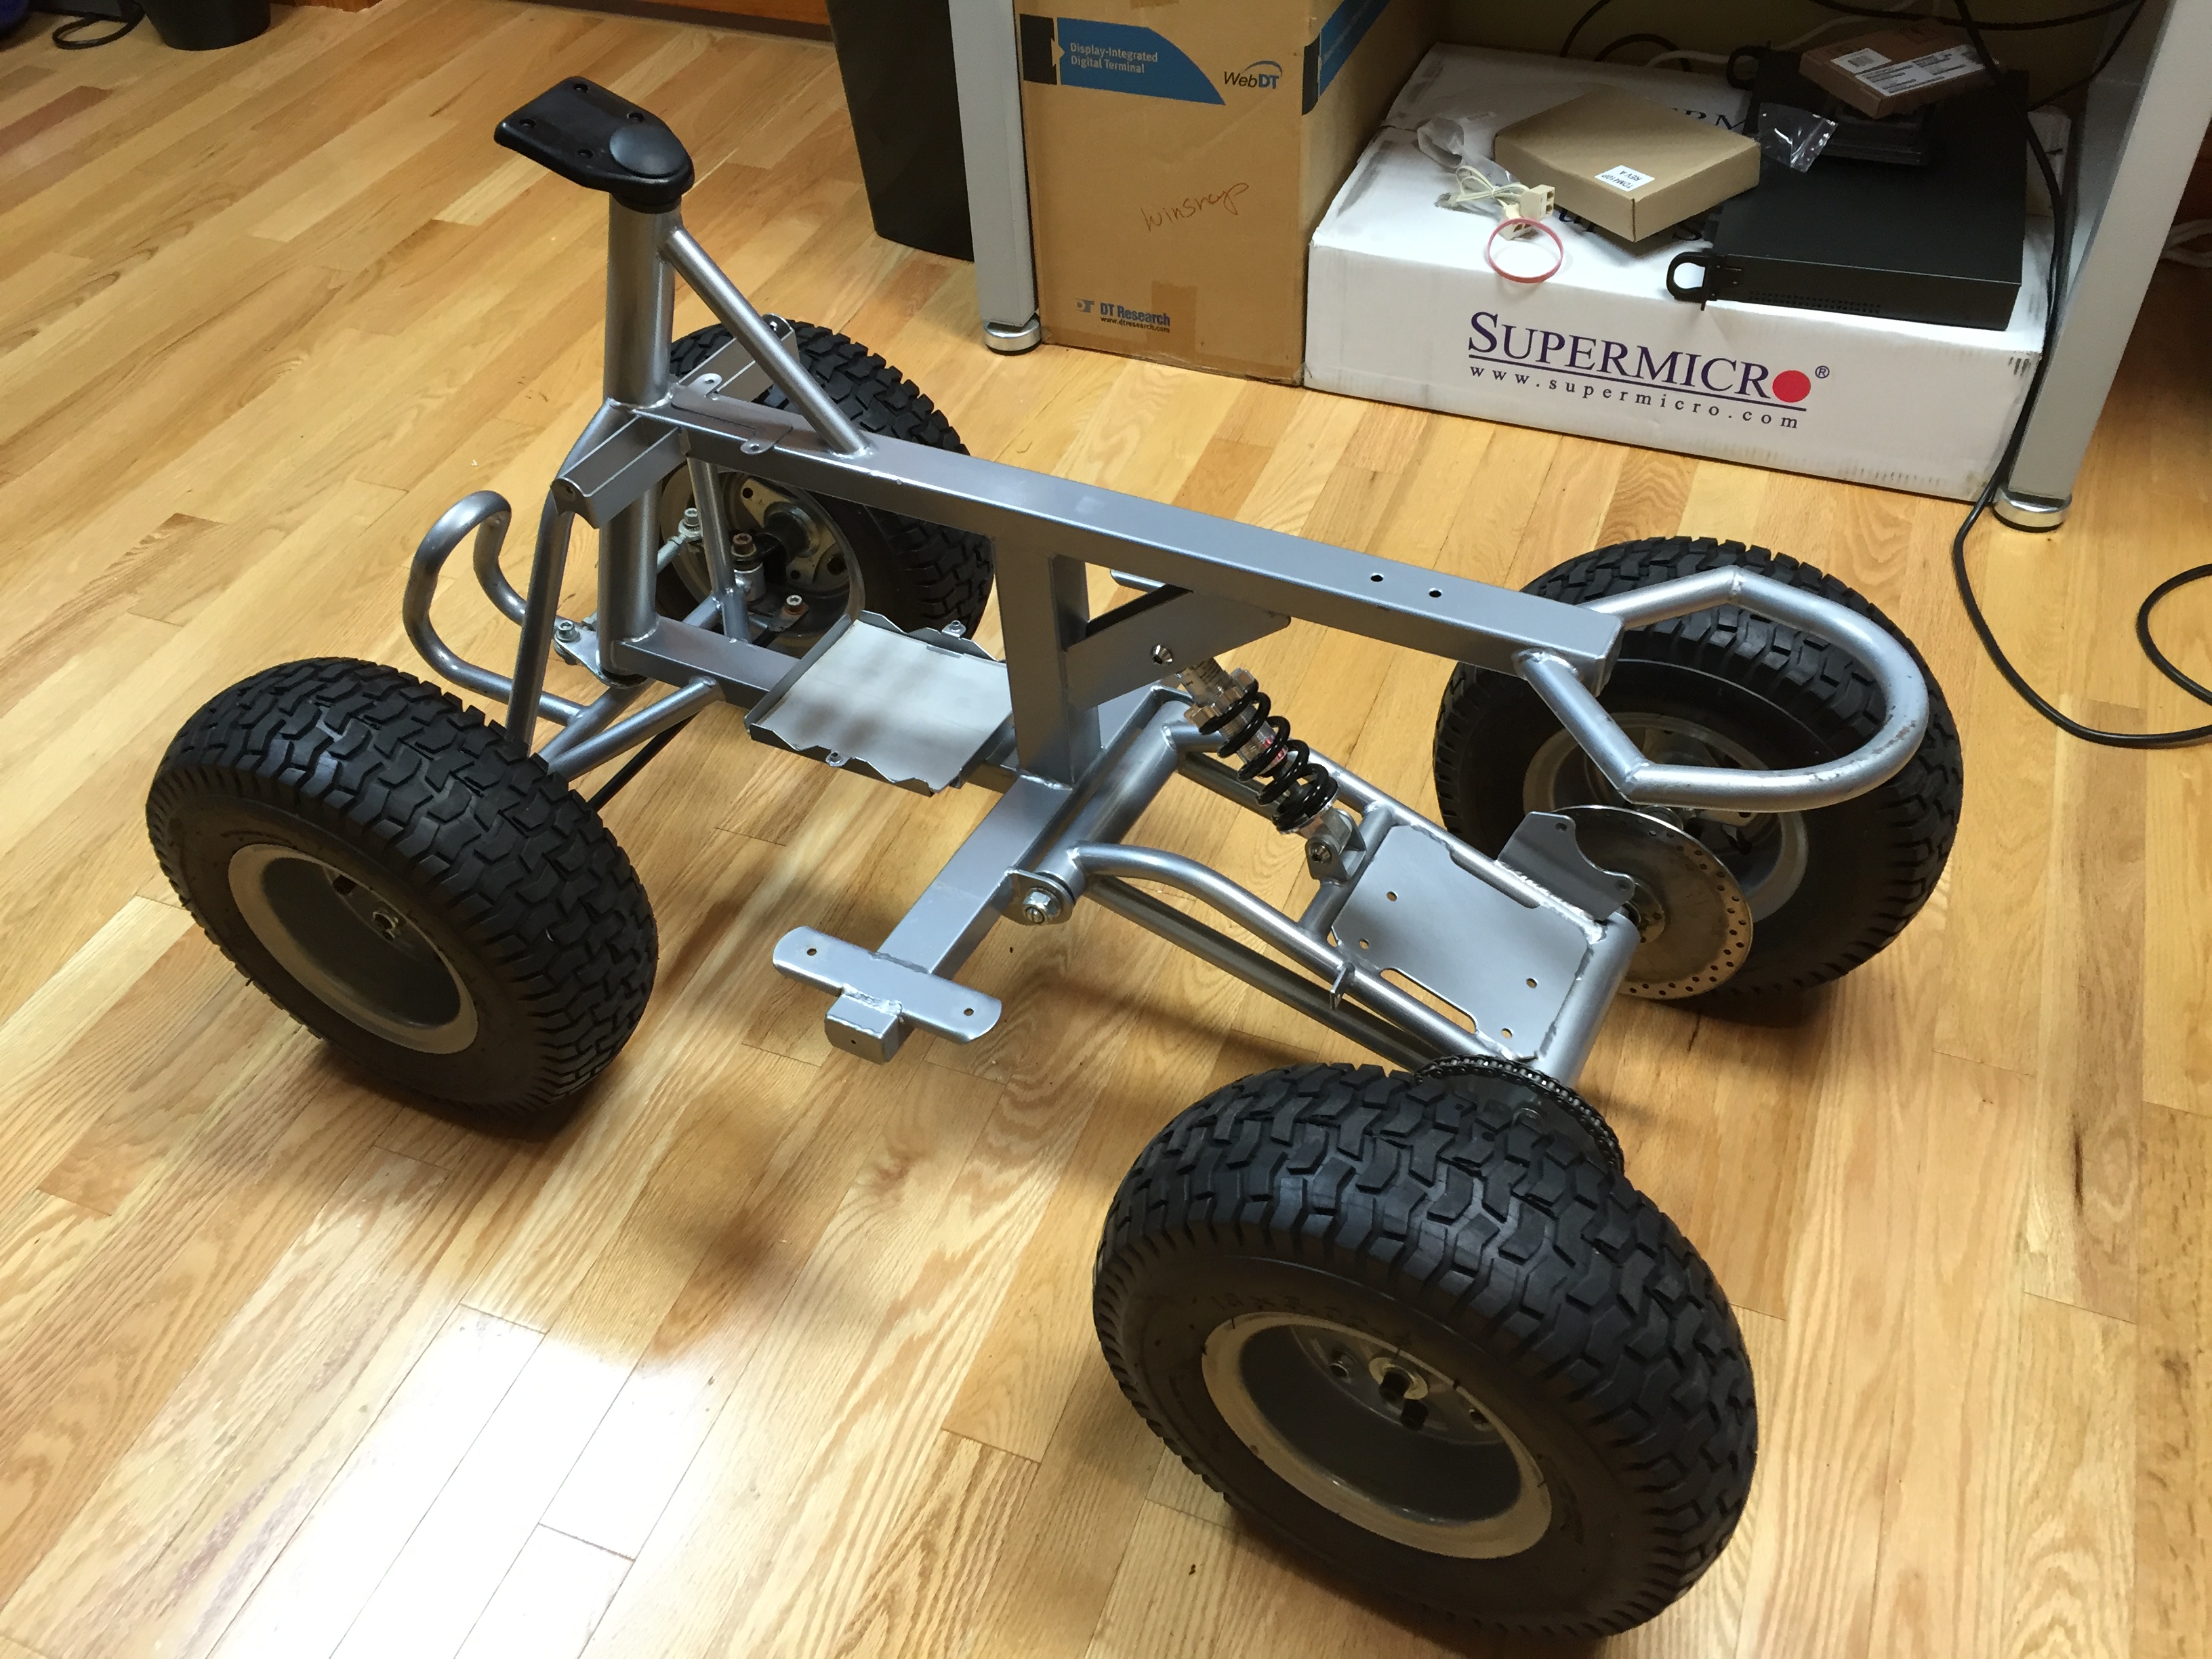
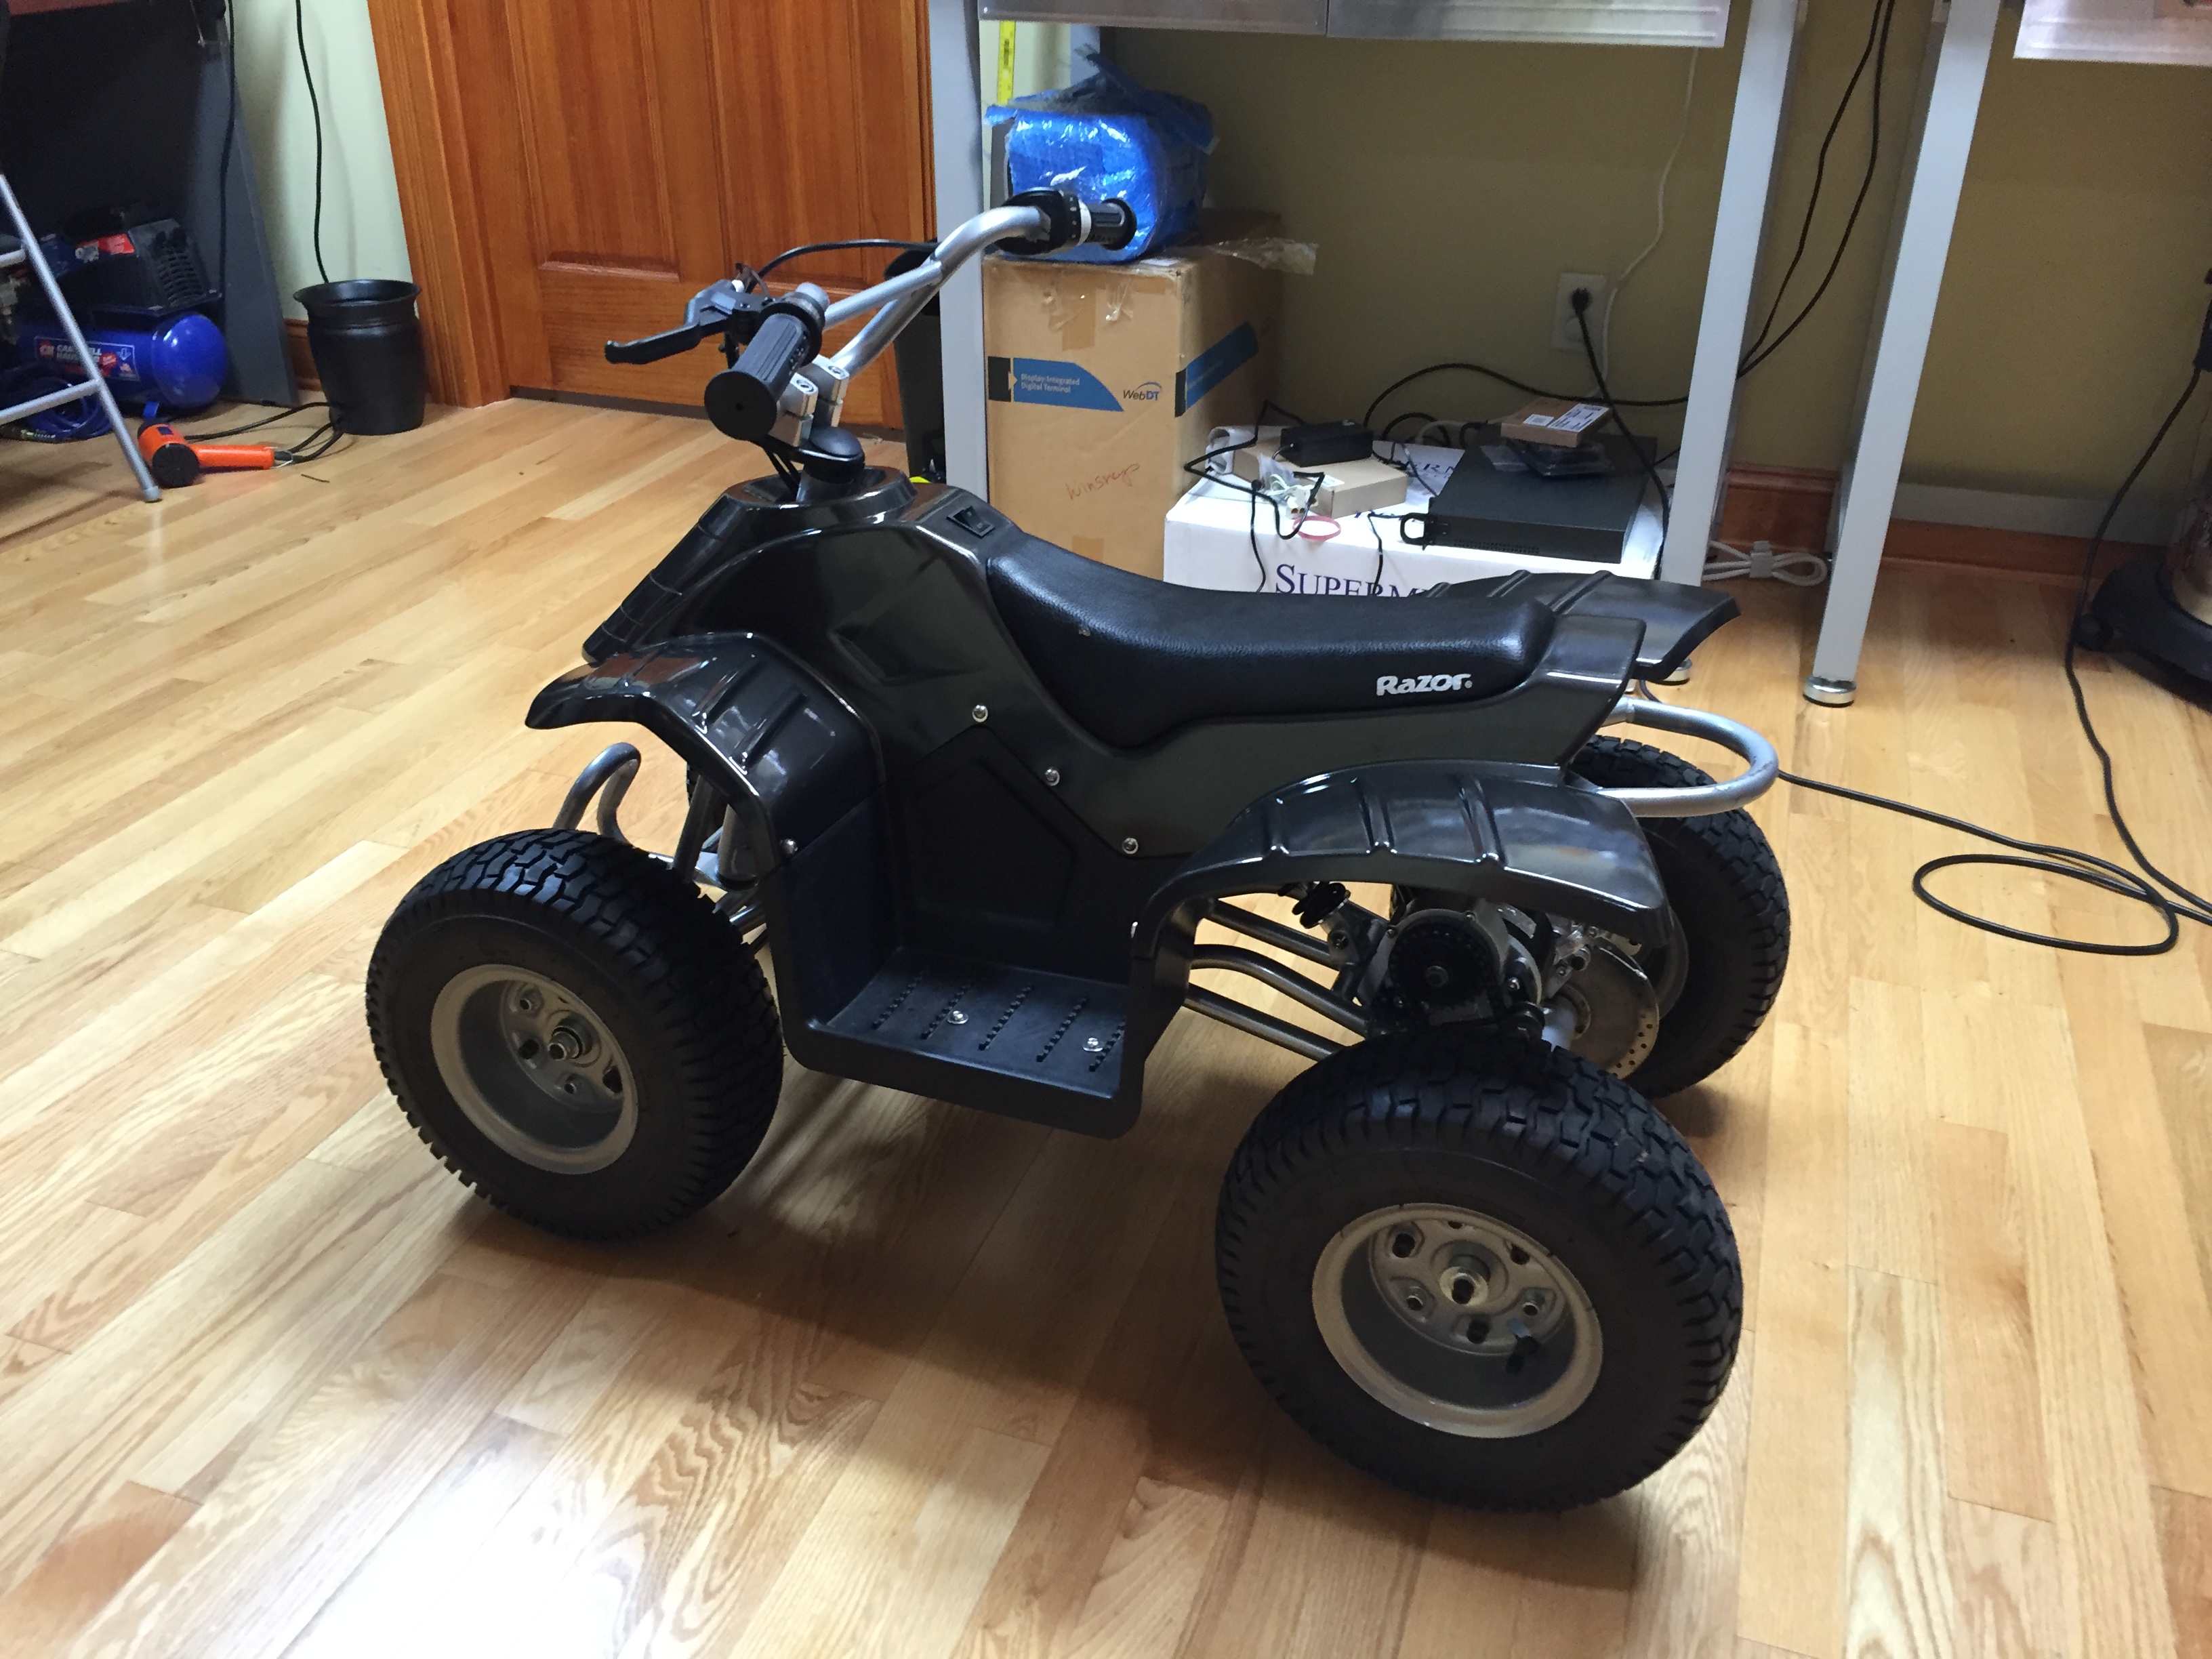
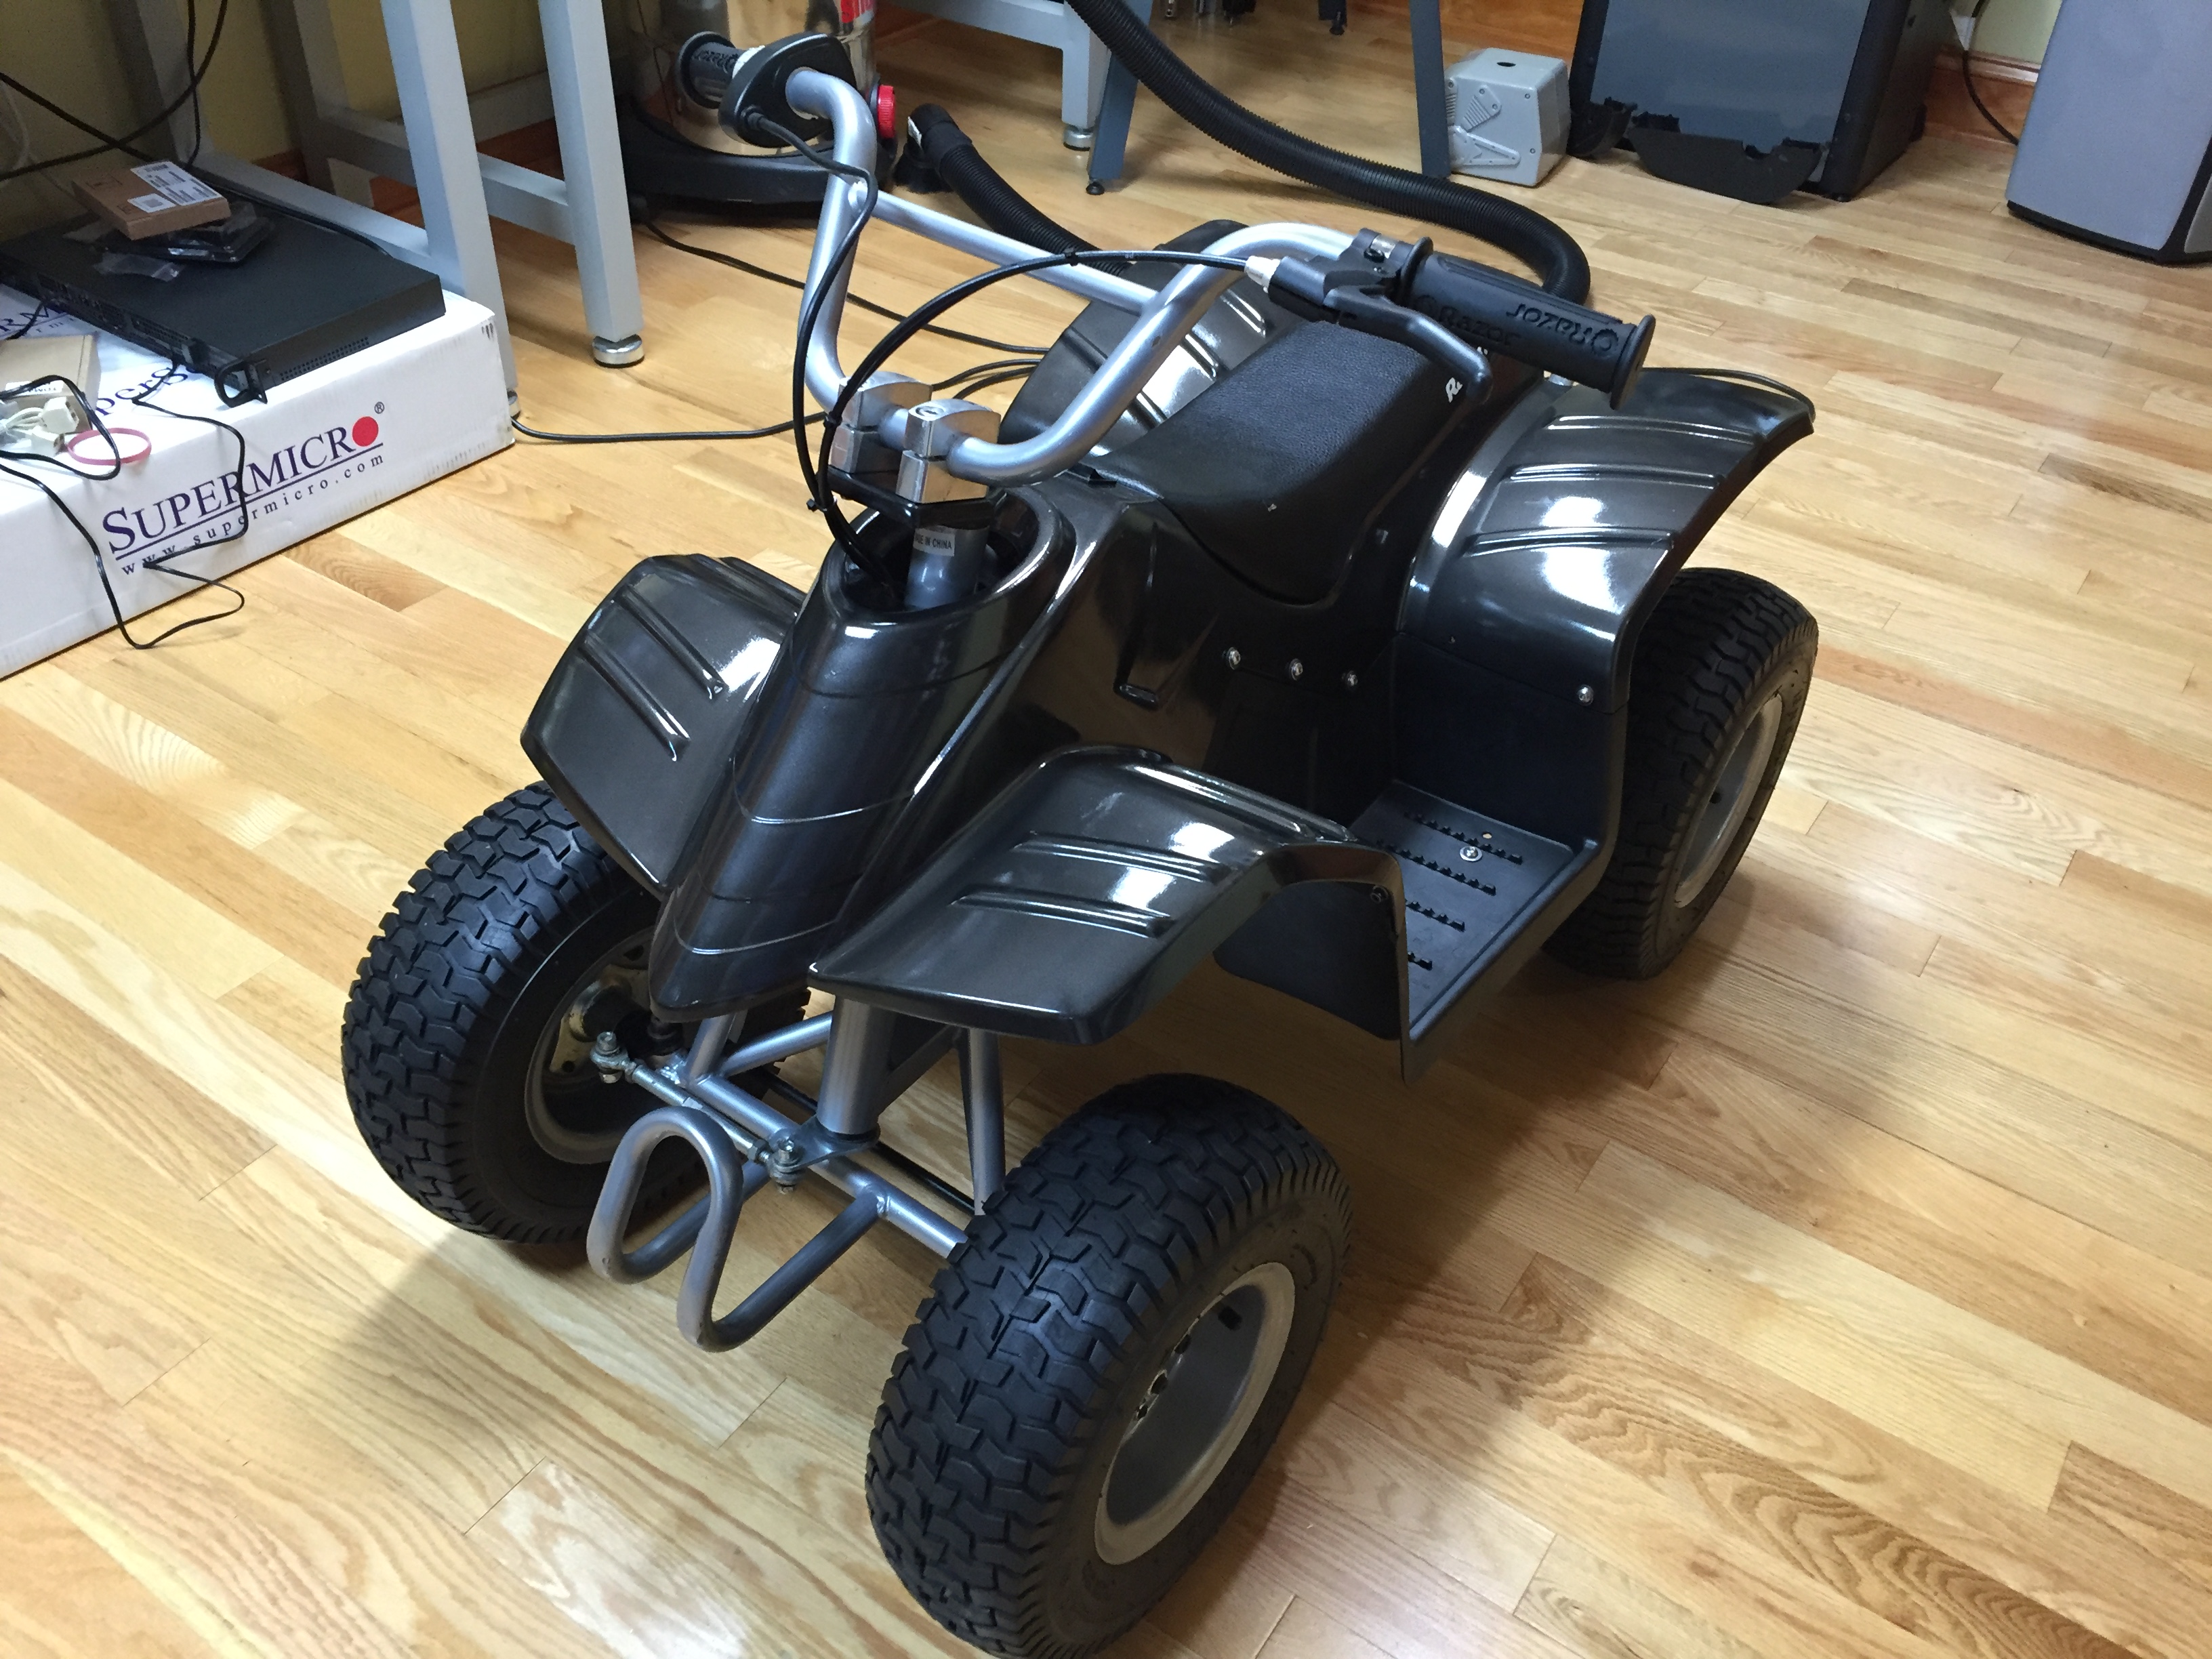
For paint I used Rust-Oleum Universal Metallic Paint & Primer in Carbon Mist. I did 2 coats and sanded between coats.

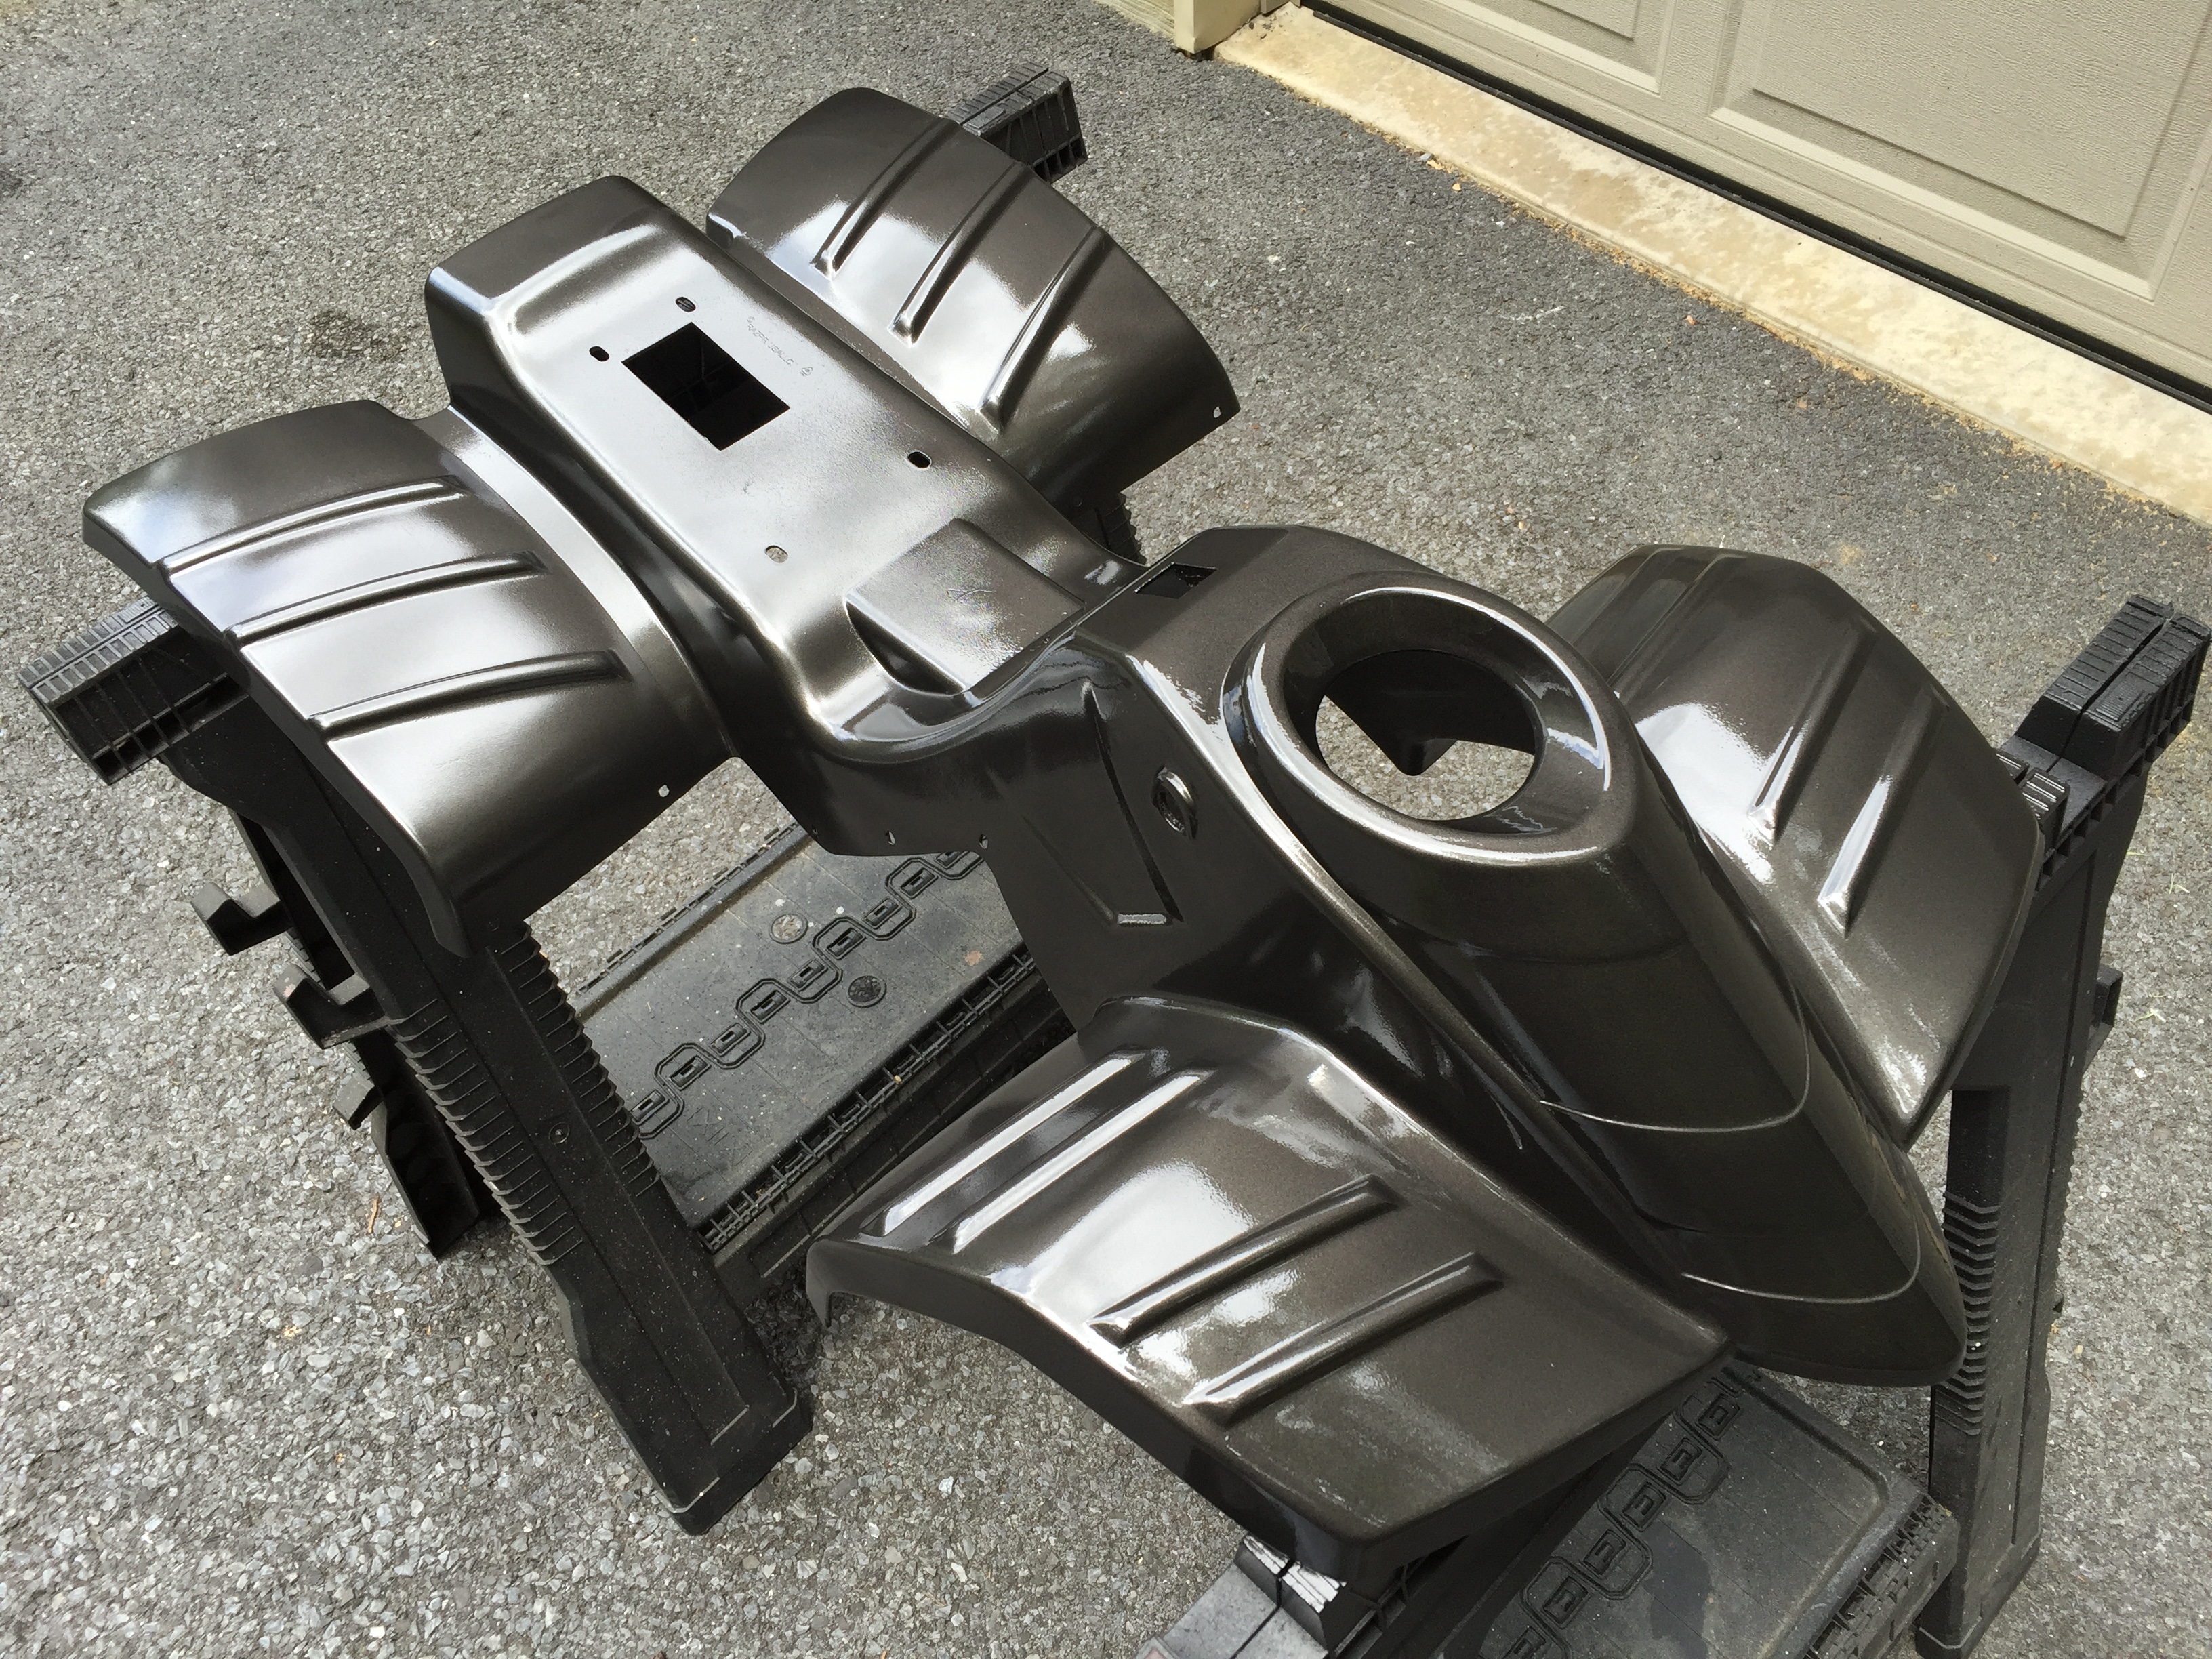
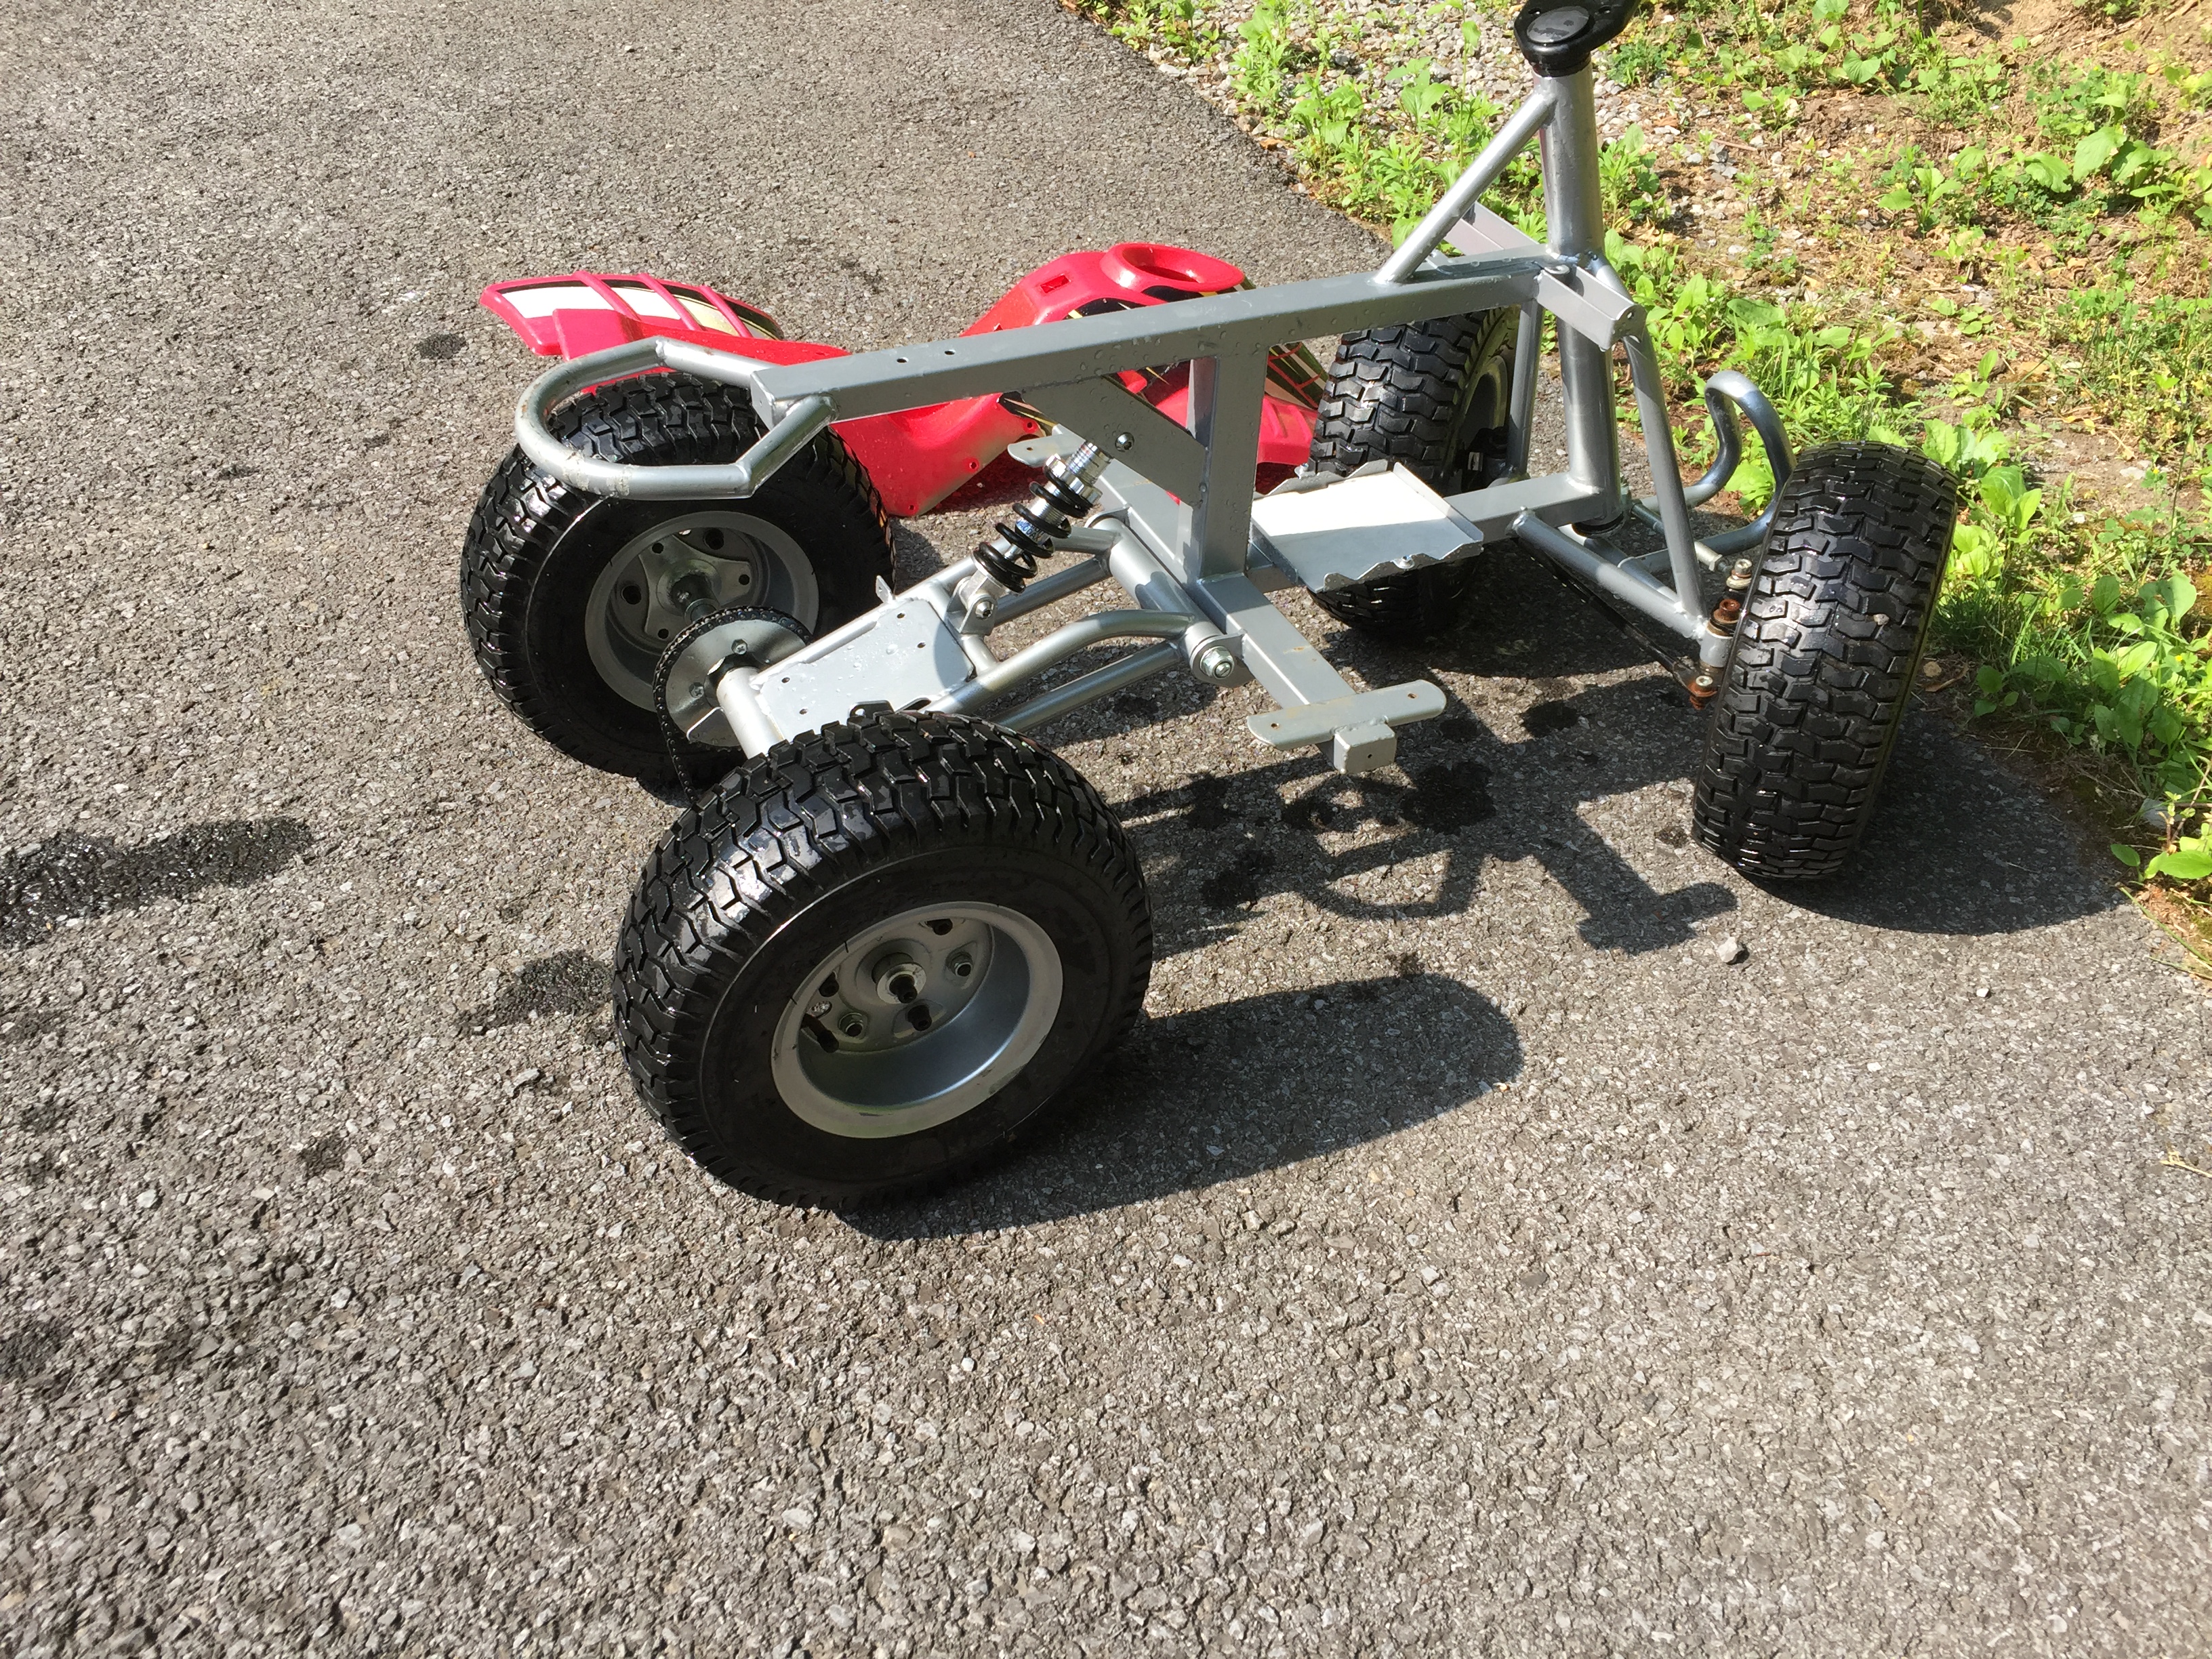
In the end the finish came our perfect, way better than I had anticipated.
Reassembly
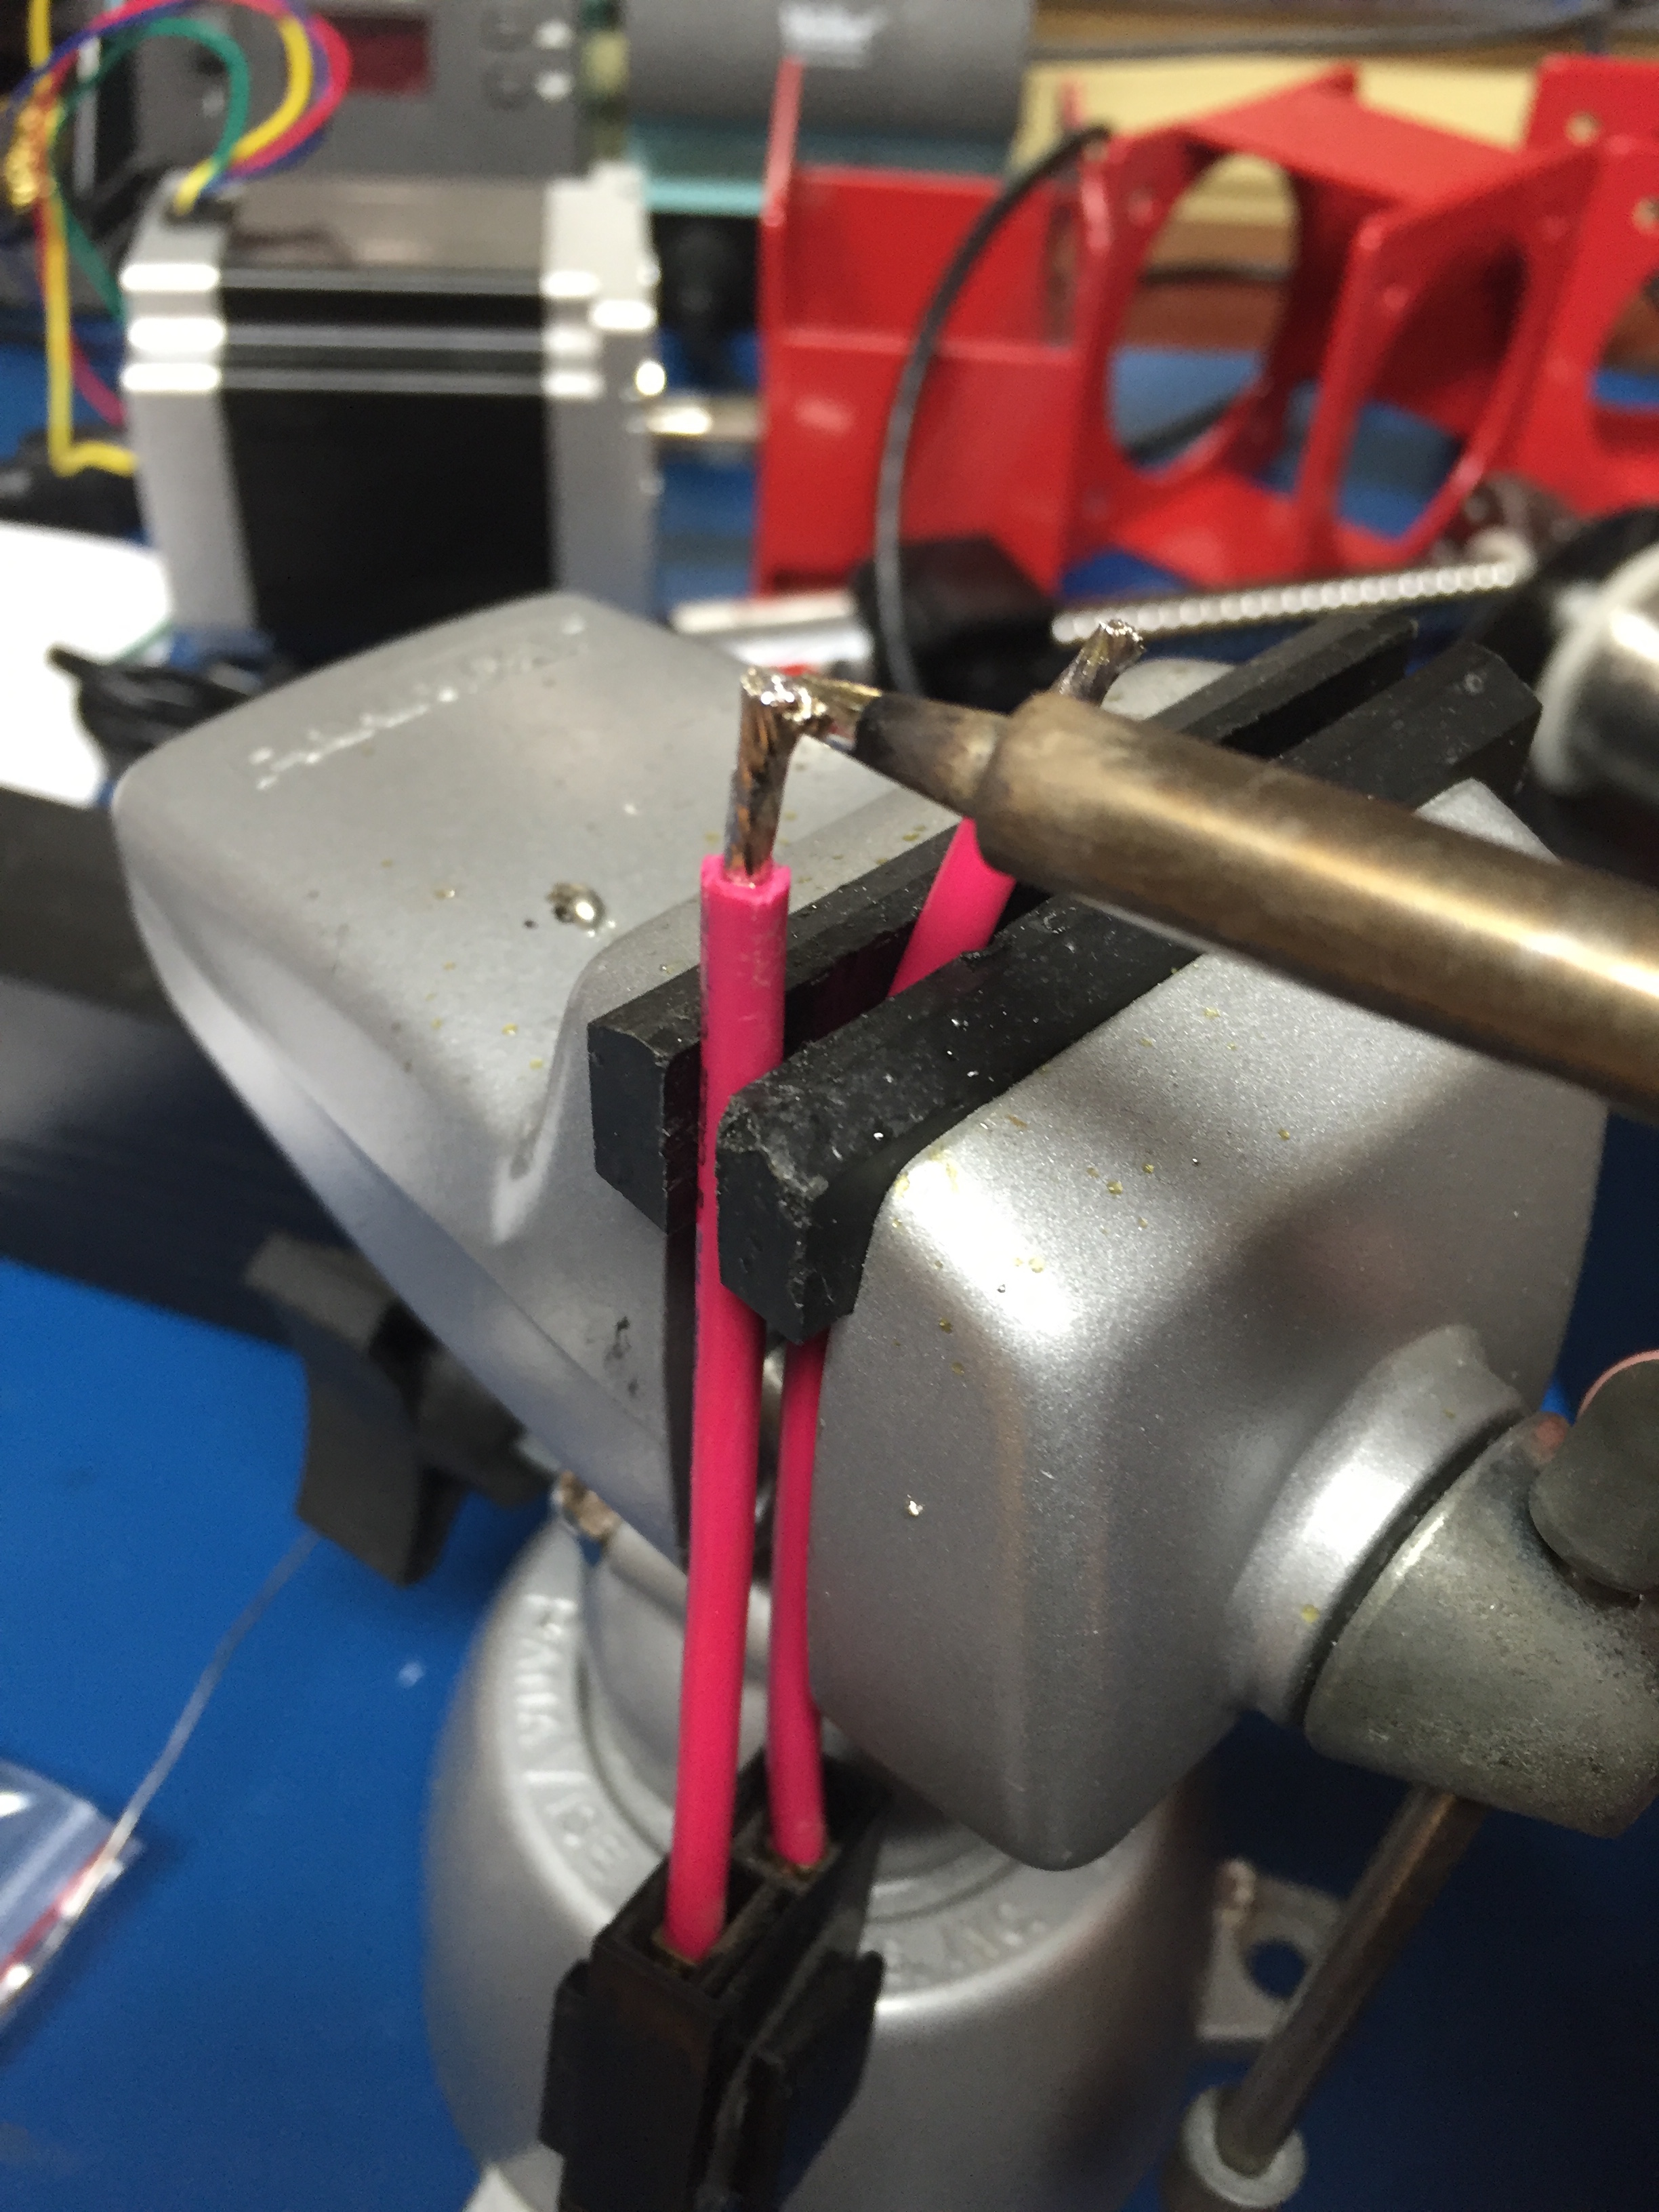
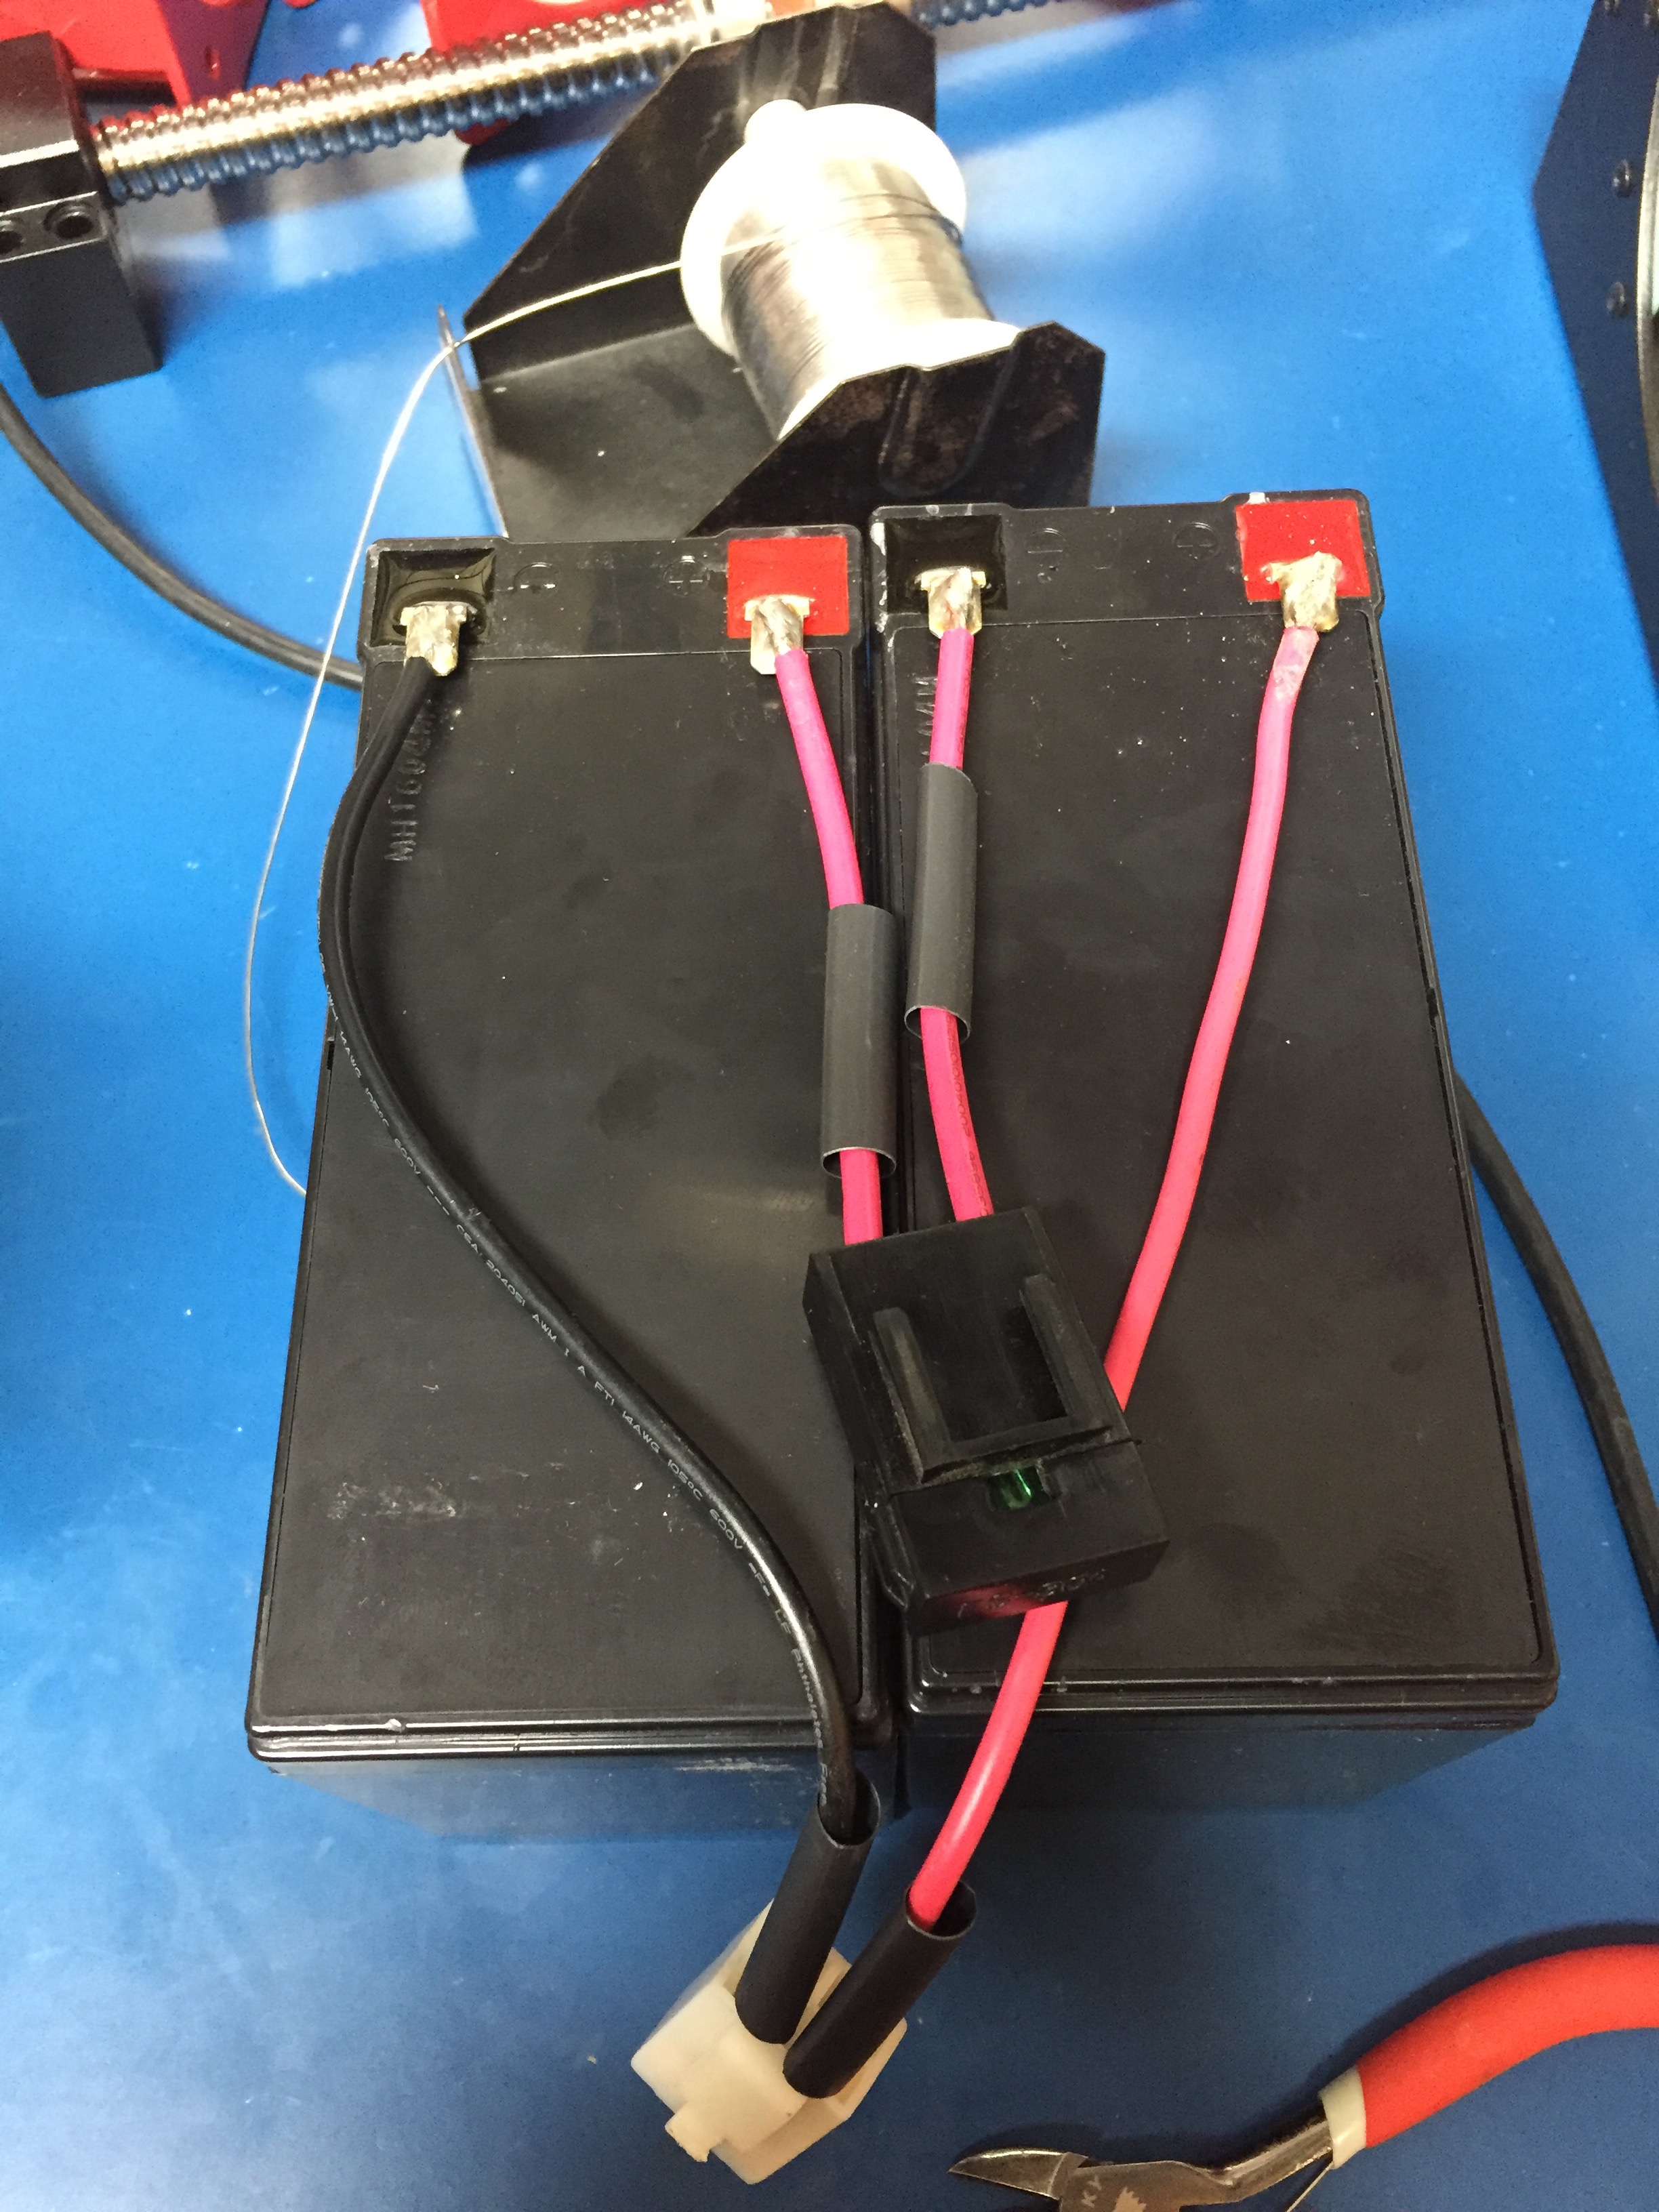
Soldering the battery leads on was straight forward, the batteries are wired in series with a fuse and a handy connector to plug in to the ESC. I used some heat-shrink on the battery terminals to give it a tidy finish.
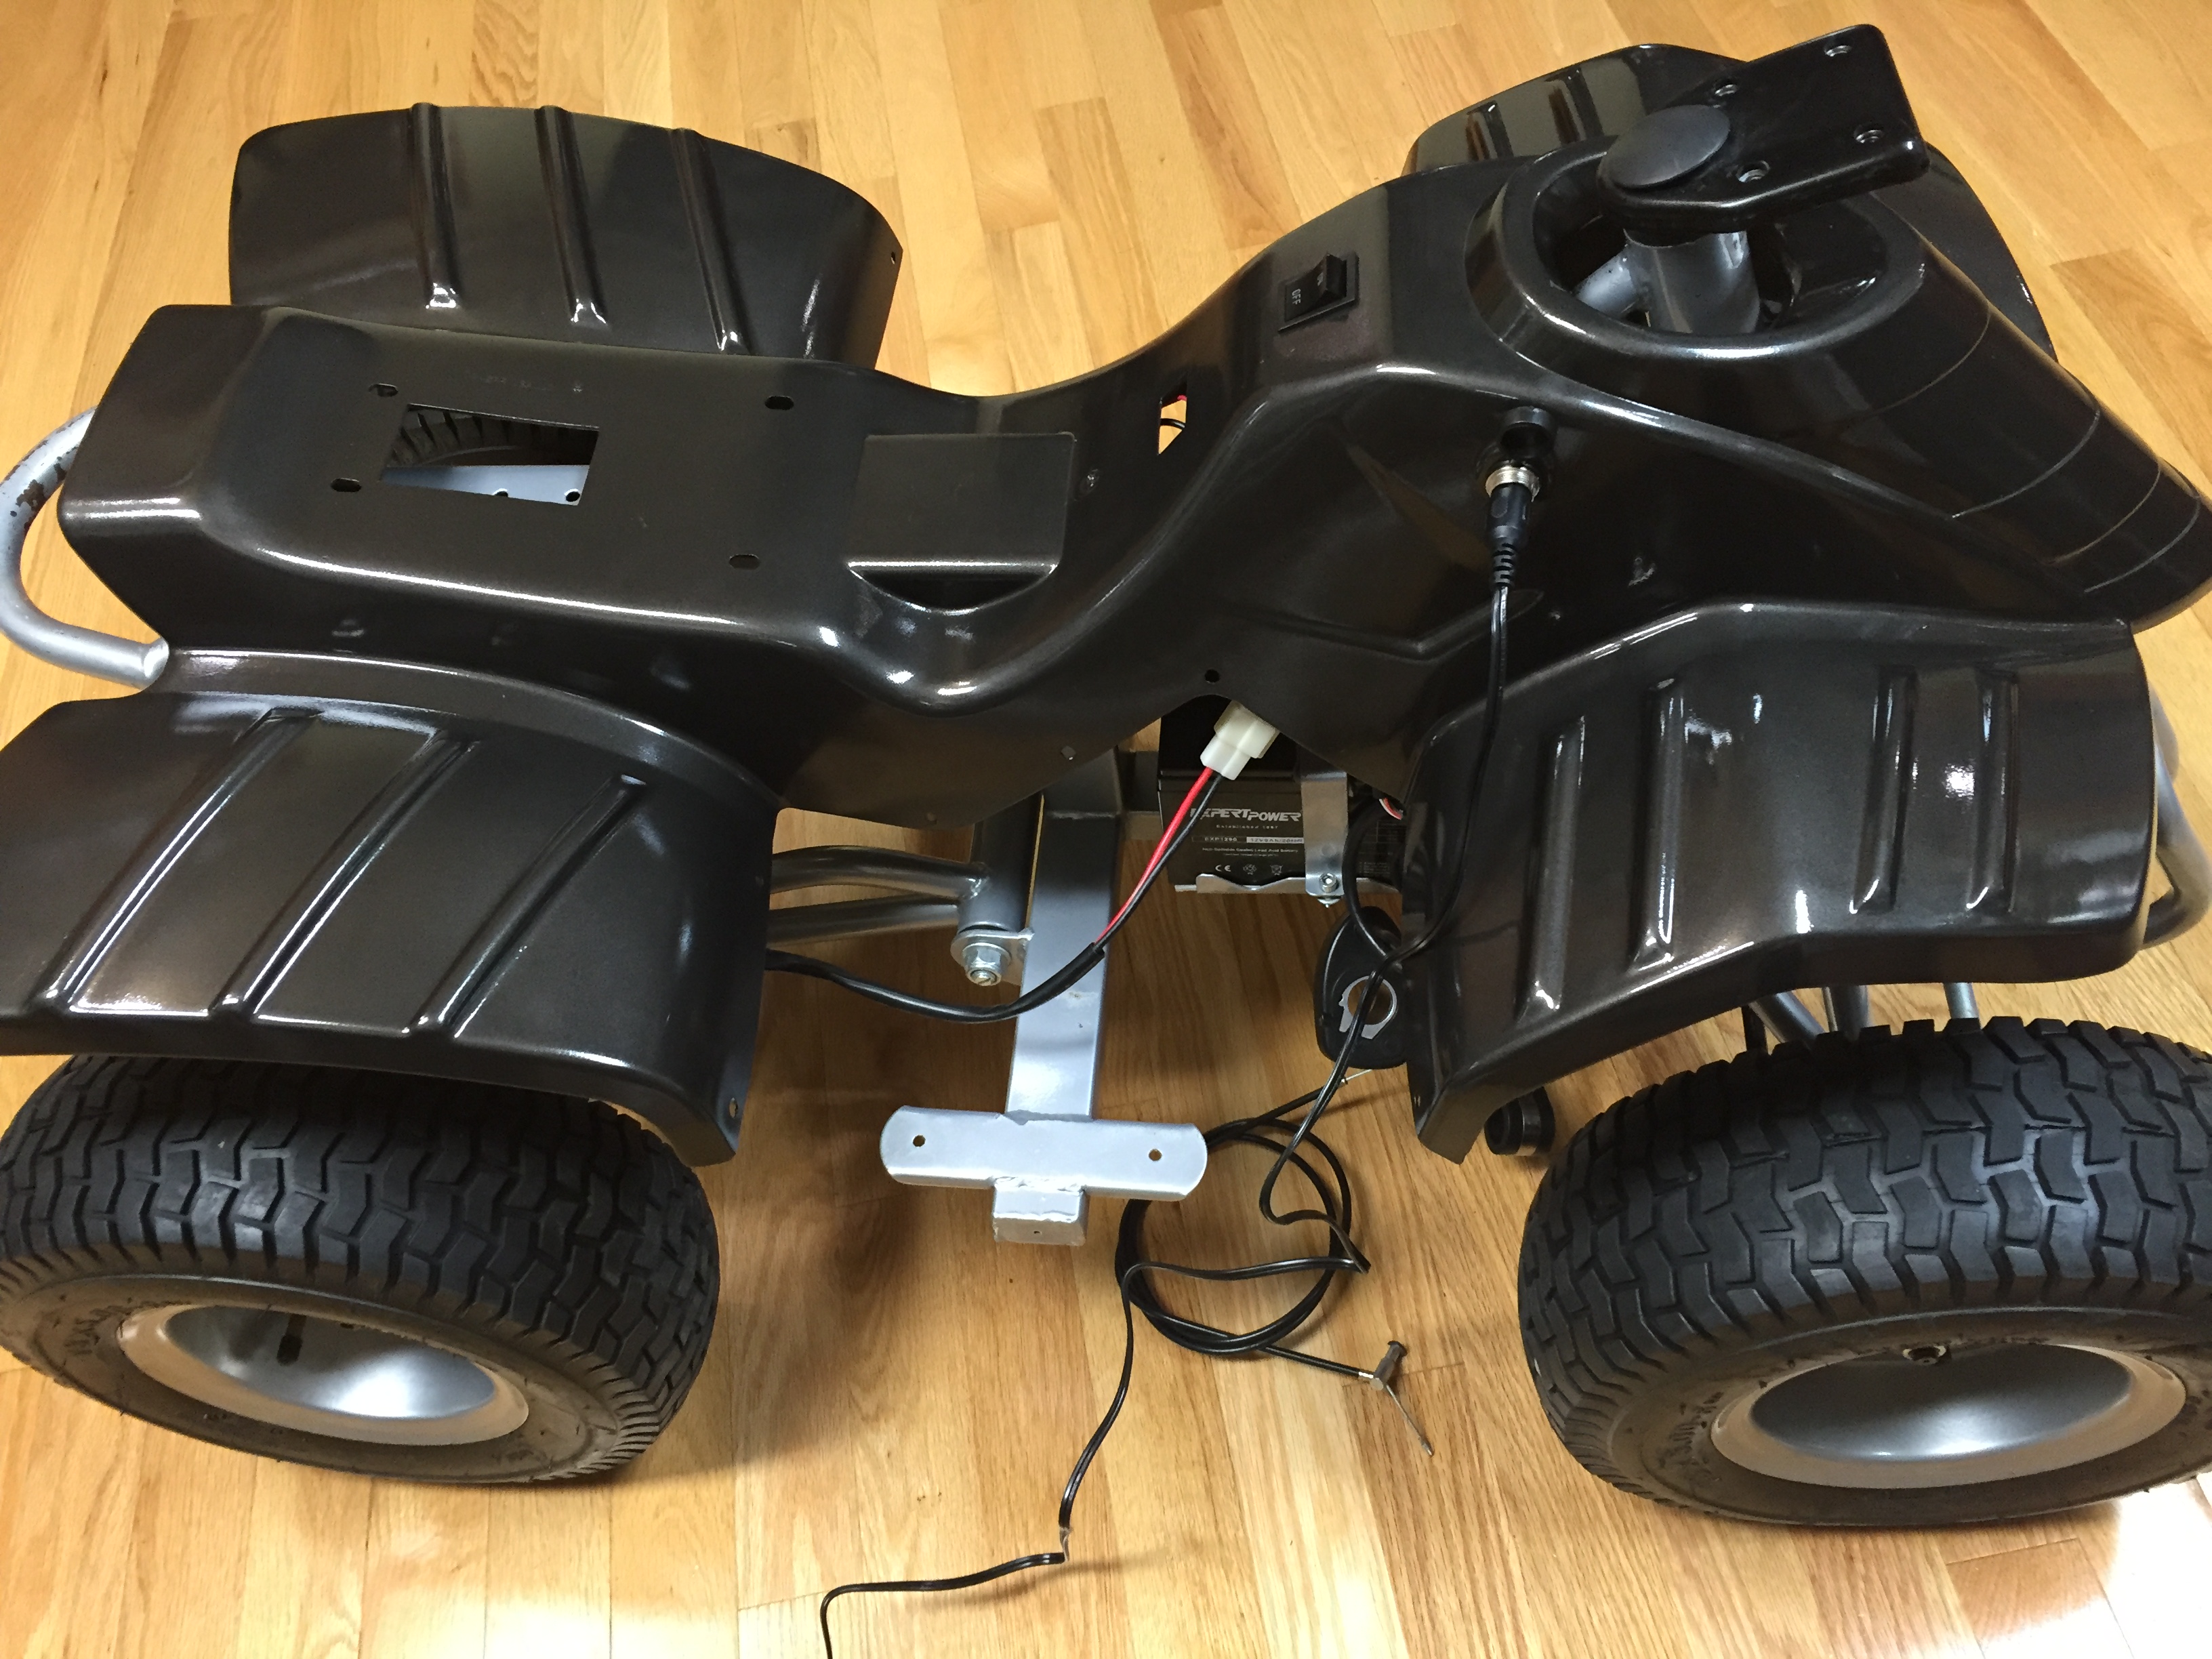
I cleaned everything down with acetone before re-assembly, and applied some rust inhibitor to some of the worn places. I then mounted the new batteries and put the ESC back in place, I routed the wiring cleanly and used zip-ties to fasten them to the chassis.
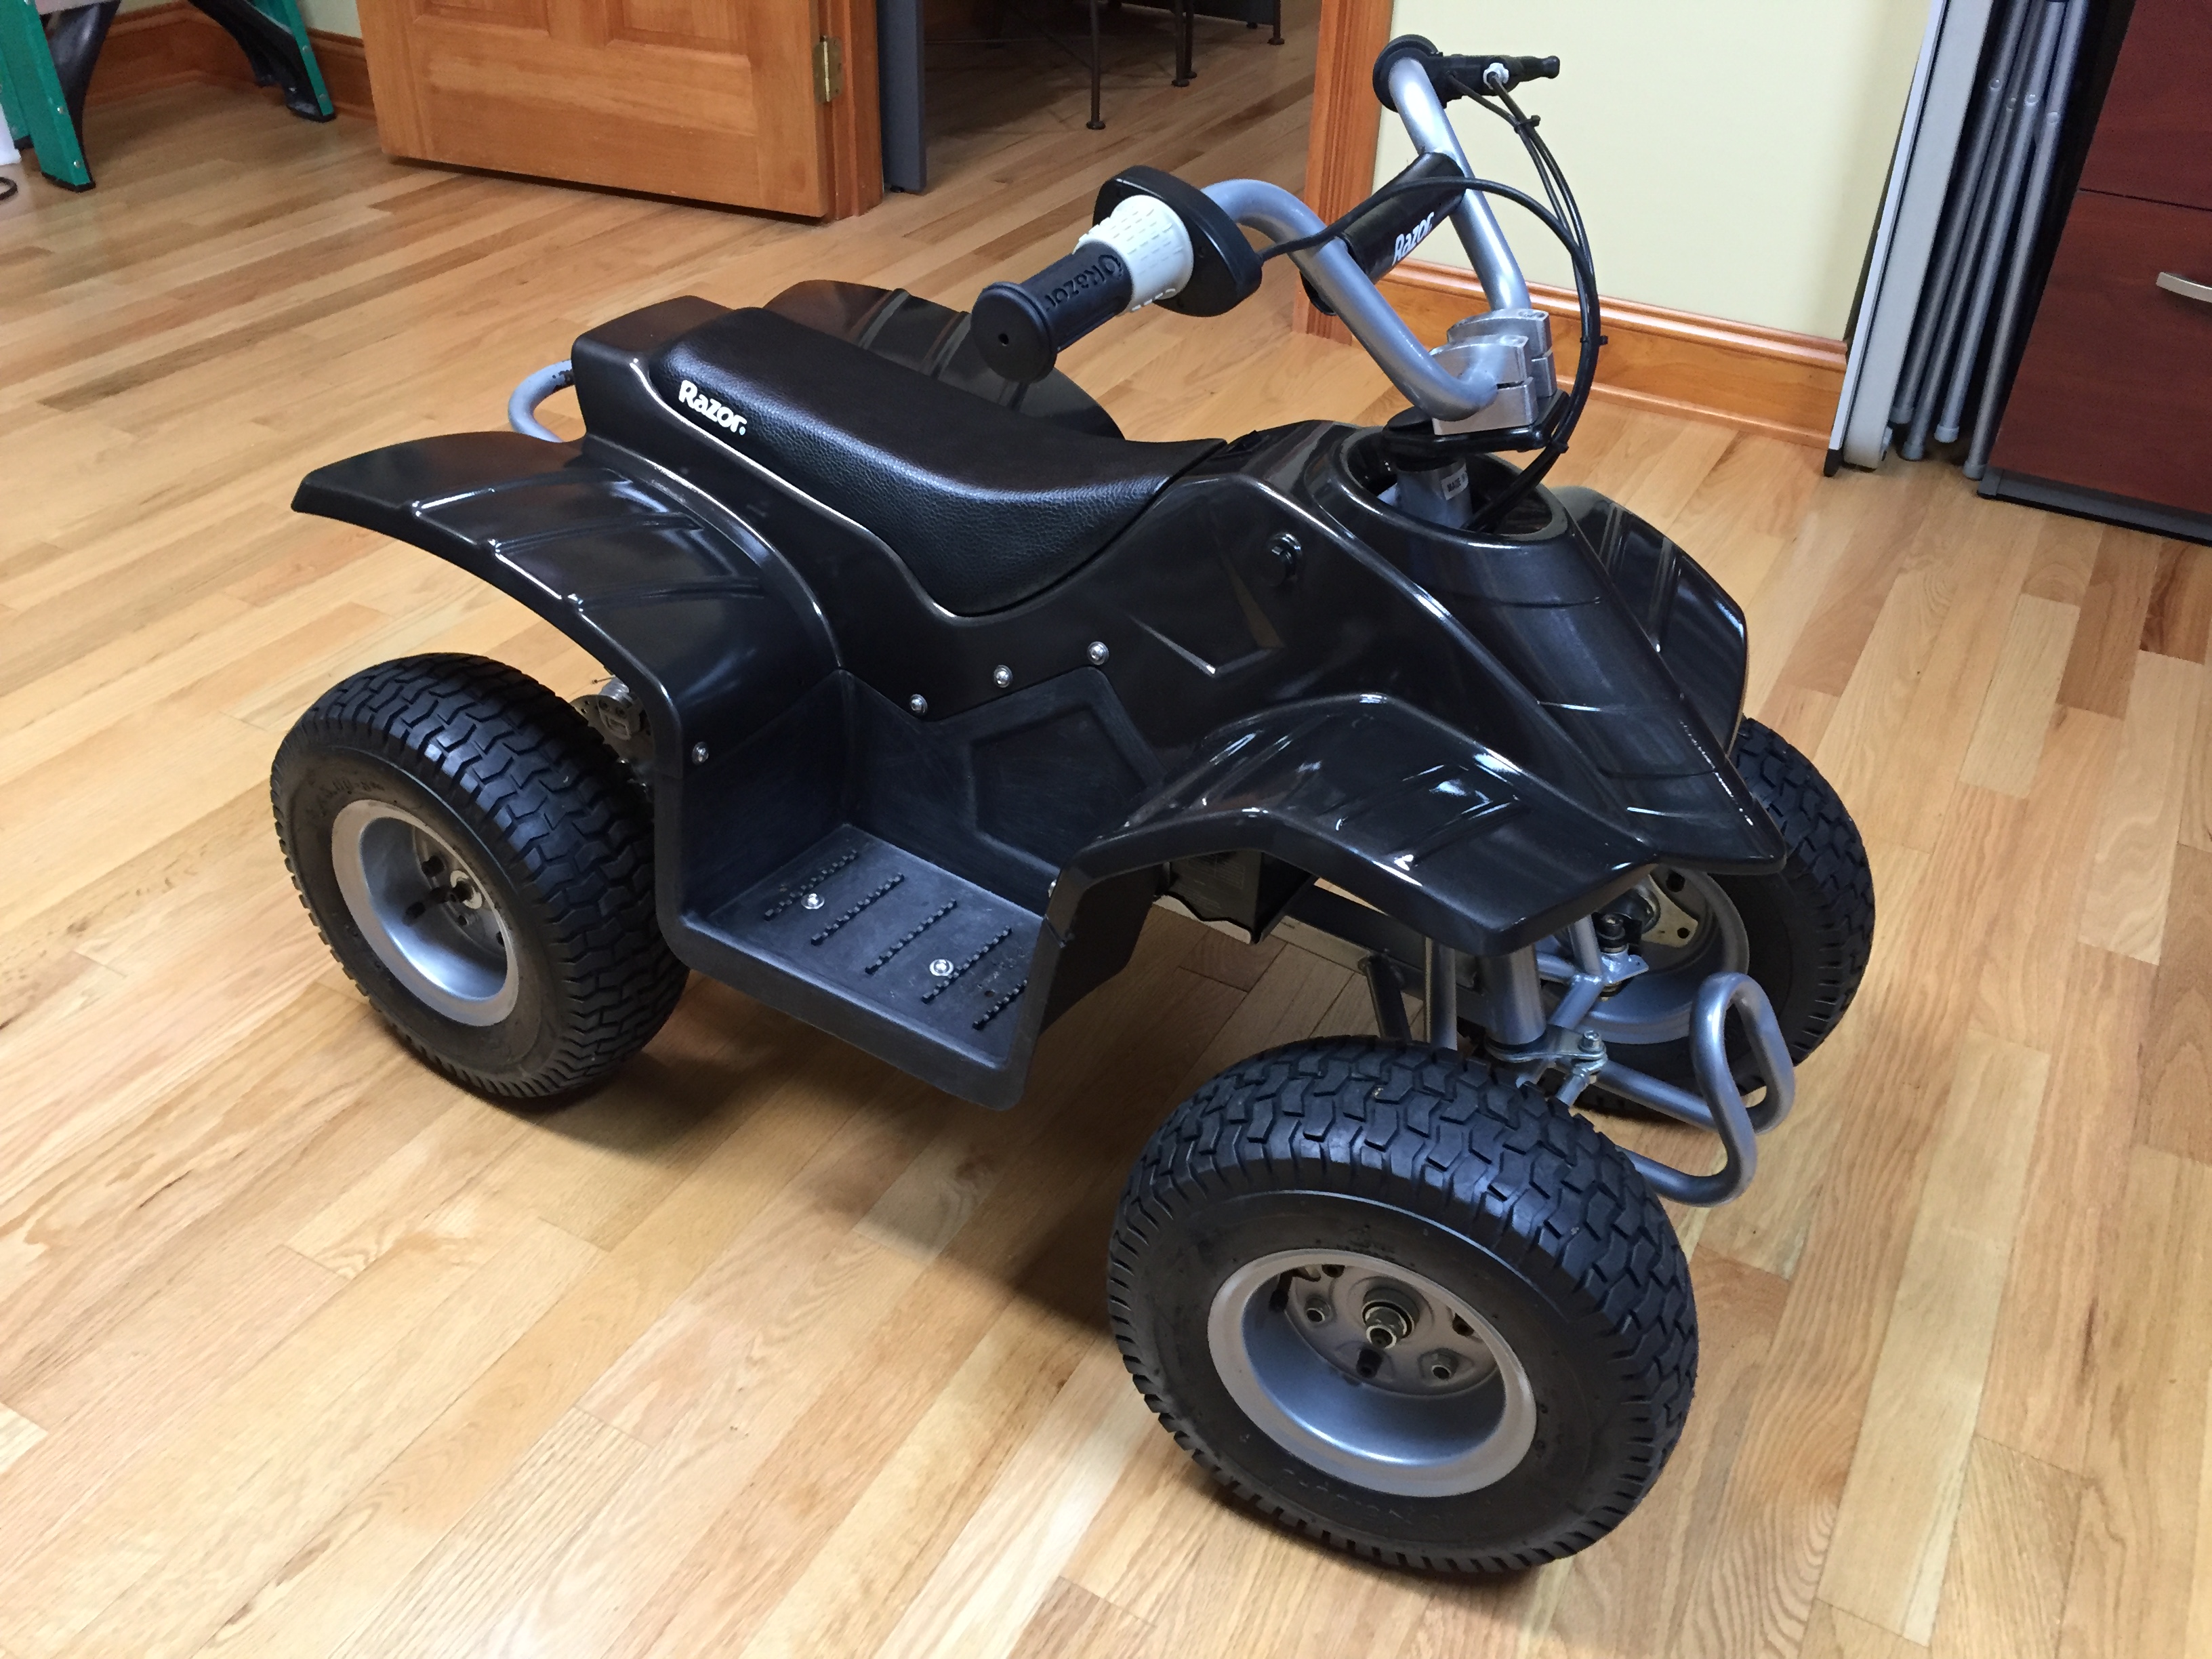
Conclusion
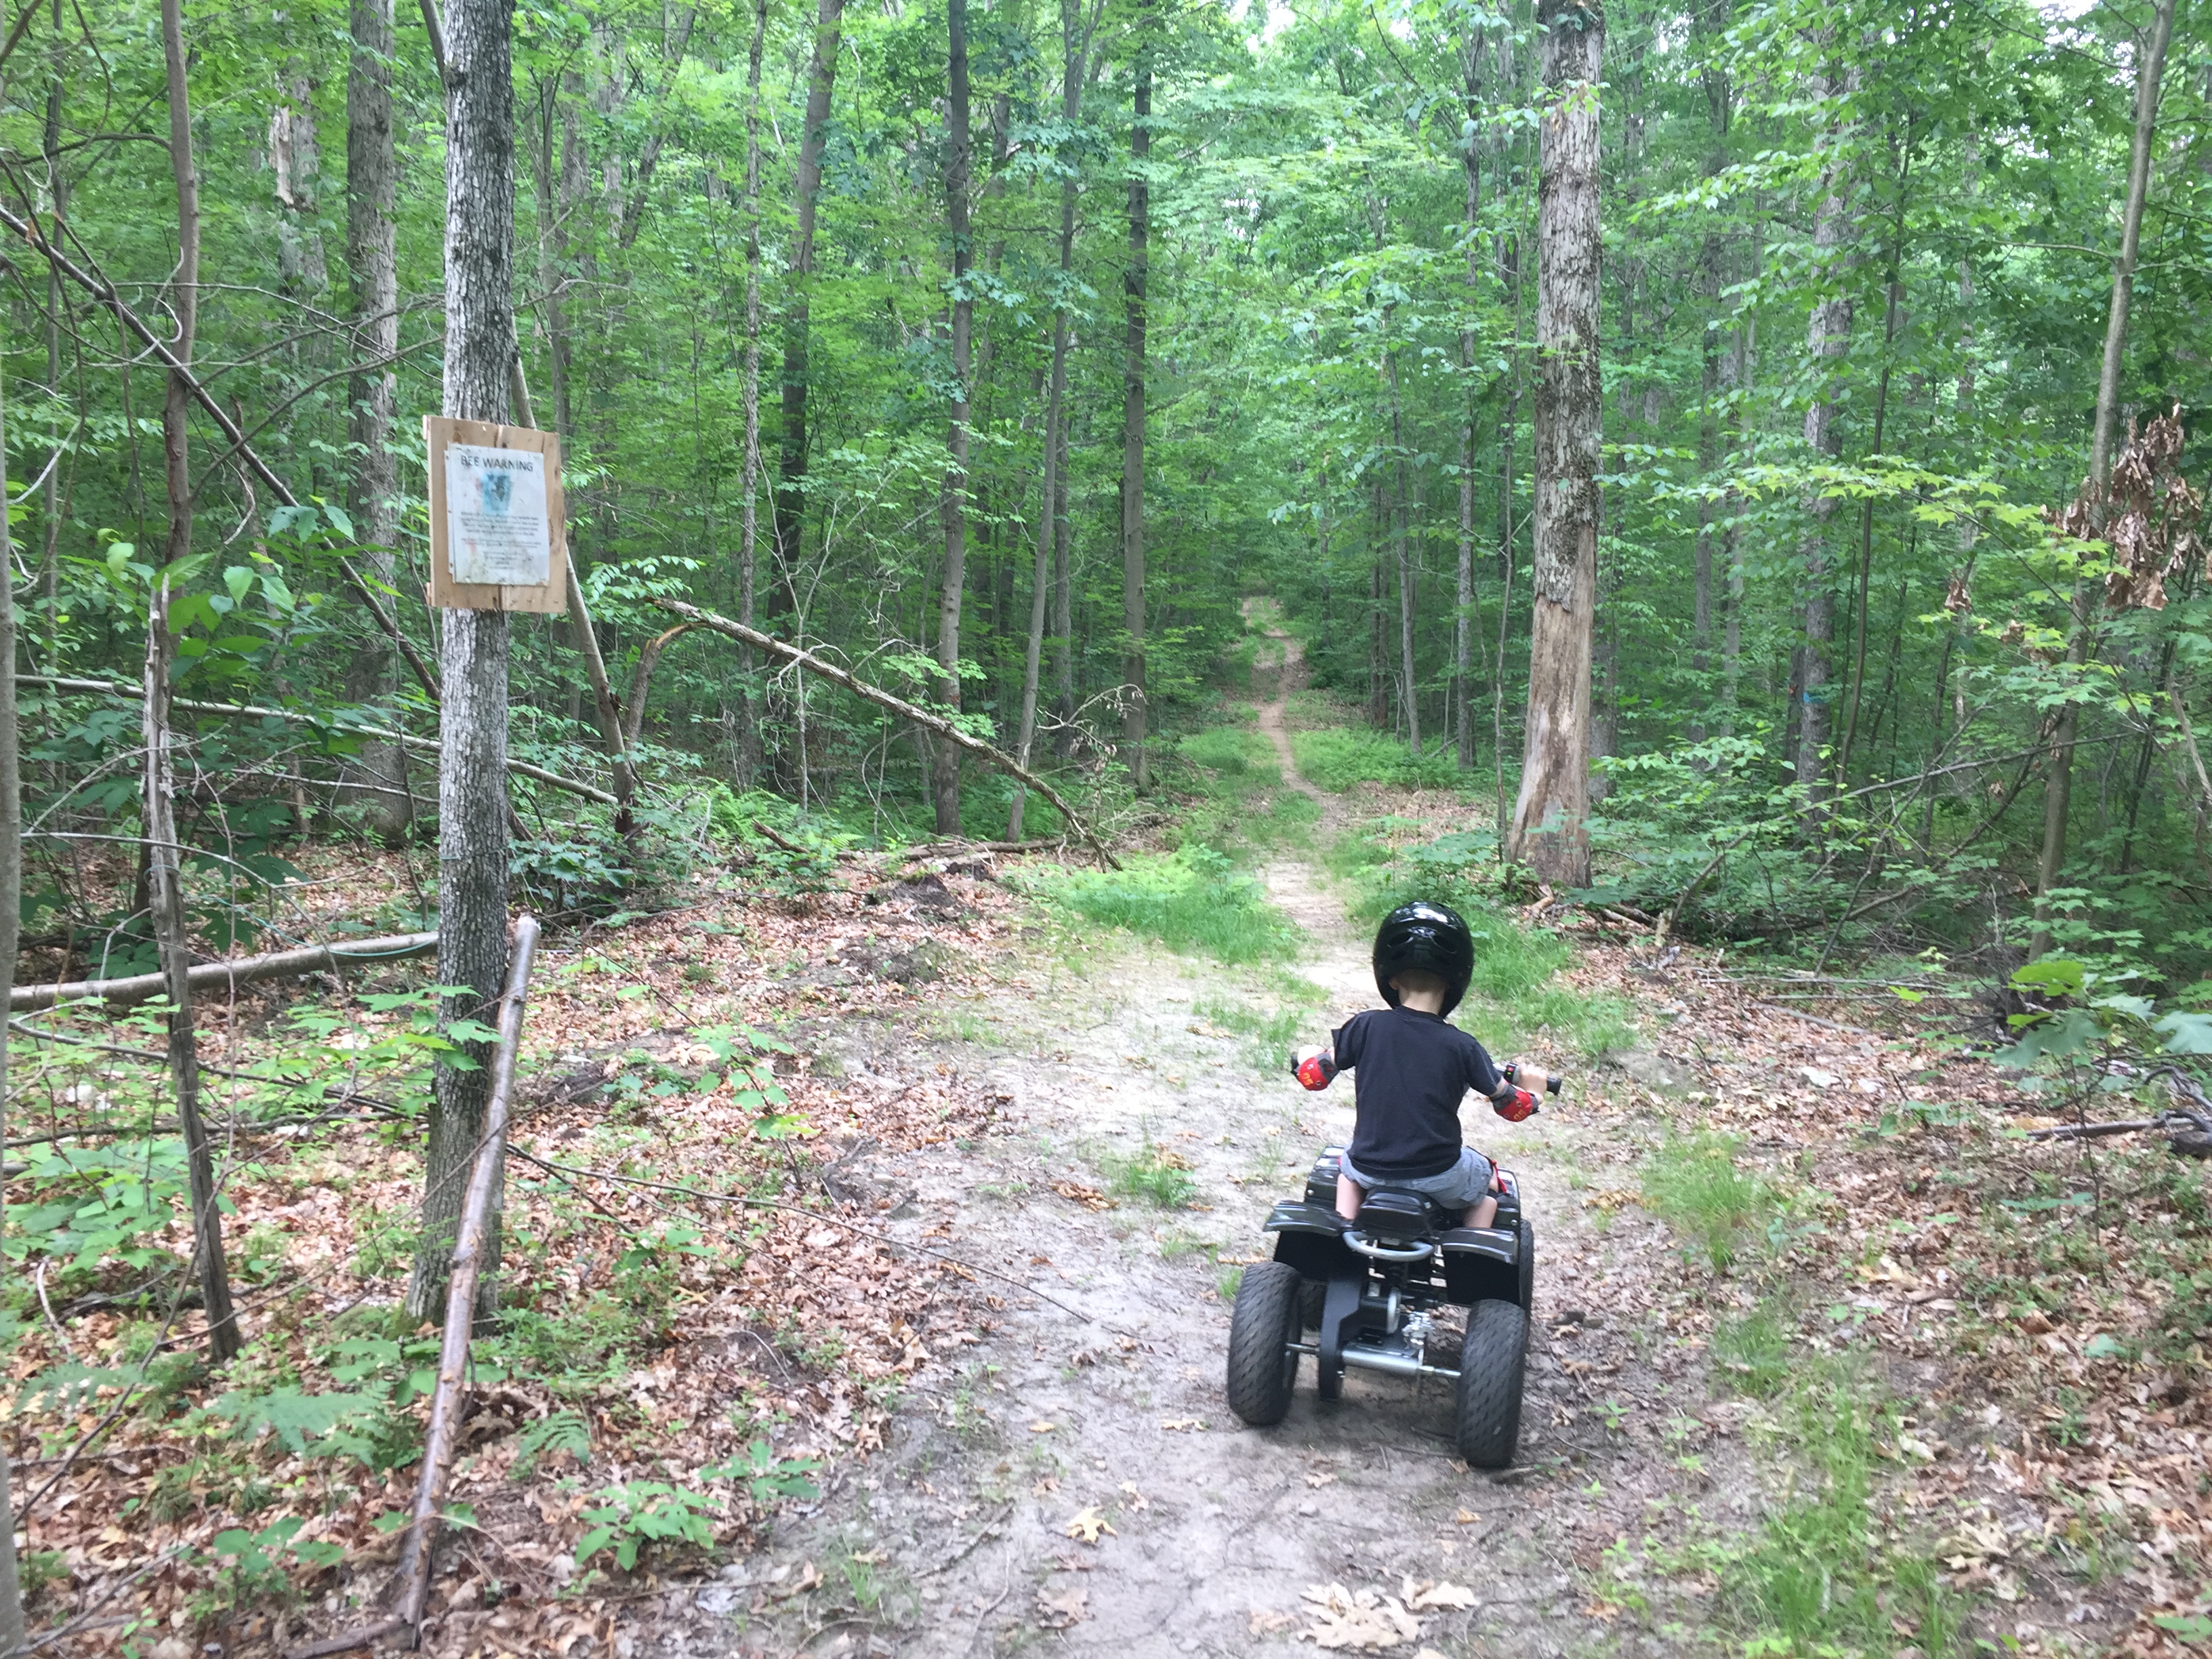
This mini quad is a perfect exercise in Keep It Simple Stupid. Razor build a solid foundation, kept the components as simple as possible, and also made it somewhat maintainable. Parts are readily available from a number of sources online, and even from Razor directly. All up I spent about $70 in replacement parts and paint.

My son LOVES it, our property backs on to state game lands with about 12 miles of trails. This was his first time out on something like this, but he was very confident and had a great time!